

-
Laid out some temporary sticker eyes for The Batman to establish placement.
Last edited by darklord1967; Apr 8, '17, 10:40 PM. -
Just 2-1/2 more months, buddy, and you'll be able to say hi to him, Batman, and a handful of their friends (and enemies) UP CLOSE and IN PERSON at Mego Meet! Last edited by darklord1967; Apr 4, '17, 10:50 AM.
Leave a comment:
-
Nice work on making the custom body, and those custom shoes are awesome... Keep up your great work on him...Leave a comment:
-
Thank you so much for the compliment!
When Figures Toy Company recently released a Robin The Boy Wonder figure, I thought there might be some hope of me being able to use their new pixie shoes sculpt for my figure.
However, the FTC shoes proved to be too large, and they were the wrong shade of green to match the other green garments on the costume which i had begun to create. So I had no choice but to go back to my original plan and make my own pixie shoes out of my own green cloth.
Each SINGLE shoe takes about one full waking day to make (about 12 solid hours of work).
Not particularly fun, I gotta say.
One teensy-weensy little slip-up with my cuticle scissors, and i am forced to start the shoes over again from scratch! Grrrr!!Last edited by darklord1967; Apr 3, '17, 11:26 AM.Leave a comment:
-
Thanks for the kind words everyone.
I will be at MEGO MEET this year with this group of FINISHED Bat-character figures, and some other goodies... so that you can see them all up close and personal!! I look forward to meeting all of you!Leave a comment:
-
Leave a comment:
-
I didn't know customs could be so good! I really enjoy your process and the results you get. Thanks for posting and inspiring everyone with your projects!Leave a comment:
-
-
Wow, I don't think I could be more impressed. They're beautiful. The craftsmanship is second to none. This is easily professional quality. I look forward to seeing more. ThanksLeave a comment:
-
Dude, I'd love to see an improved female body, both adult and teen, you'd come up with. With ball joints and no rubber bands, with heads that are in scale, they'd be a better alternative to what FTC has available.Leave a comment:
-
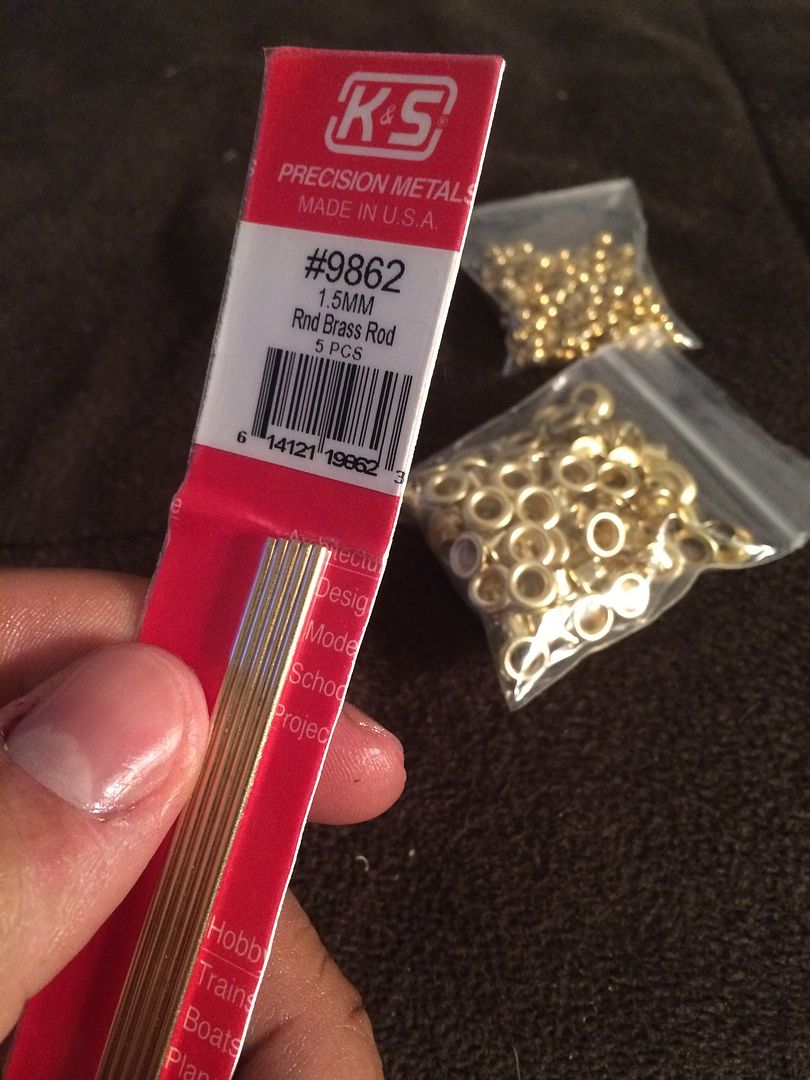
Over the years, as an action figure designer / customizer, I have amassed a variety of shapes and objects made of different materials that I thought would come in handy for future projects.
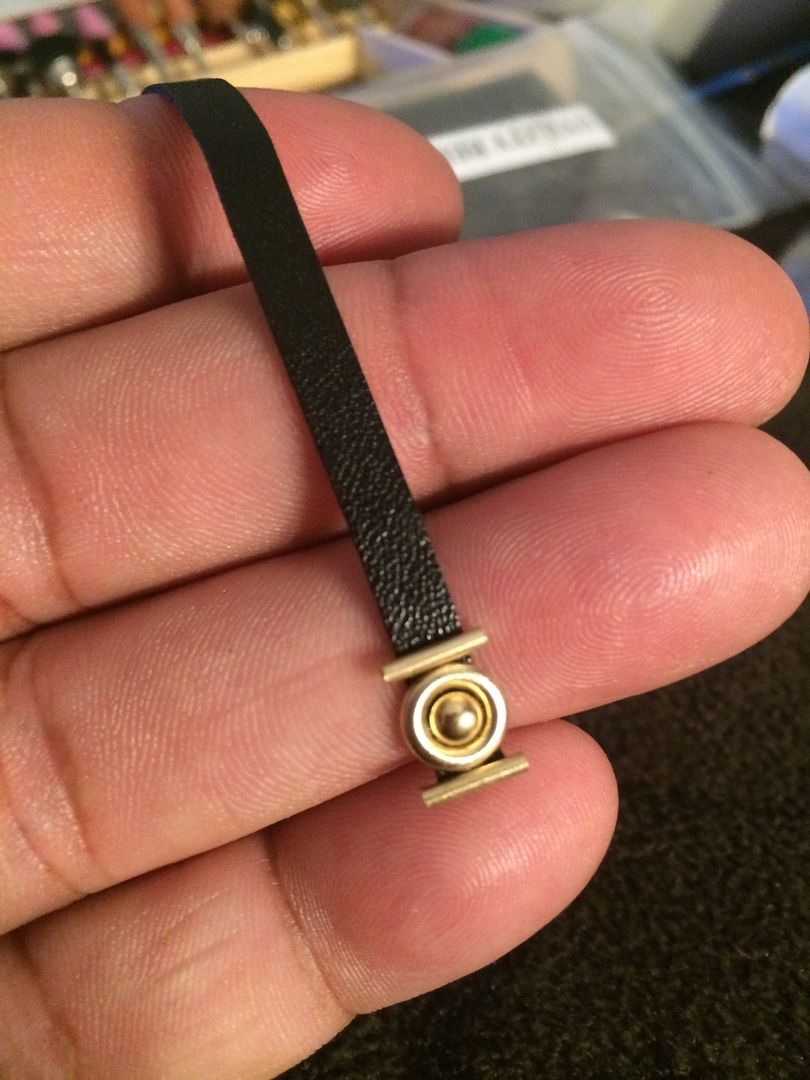
When putting together Robin The Boy Wonder's comic book based utility belt, I decided that I wanted the buckle to be made of real polished brass, as a reflection of the intended richness of the final figure.
Looking in my materials bin, I found a series of brass studs, loops, eyelets, and rods that would prove to be very handy for me to create the Boy Wonder's buckle...

 Last edited by darklord1967; Jul 28, '17, 1:51 PM.
Leave a comment:
-
Pixie Shoes
My custom “athletic boy” body (used to create Dick Grayson / Robin The Boy Wonder) features feet and ankles that were kit-bashed from a MEGO adult female body. This created a unique set of problems when fashioning Robin’s classic pixie boots that would fit appropriately on these small feet.
I really wanted the pixie boots to be made of cloth, and I wanted them to be in a shade and texture of green that was IDENTICAL to the t-shirt, trunks and gauntlets of the costume. I also wanted the booties to feature a lifted and pointed toe which is classically traditional on these types of shoes.
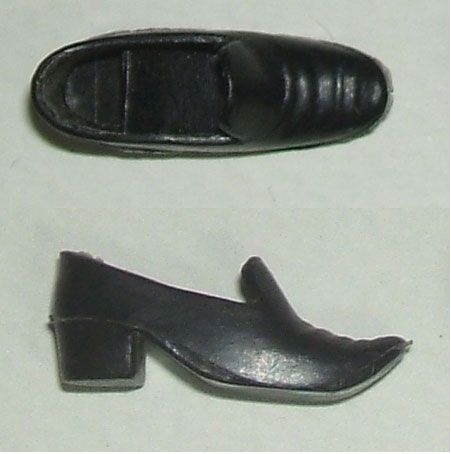
It did not take me long to settle on the original shoes that MEGO created for the Ellen action figure of their WALTONS line as my starting point for Robin's pixie shoes.
The Ellen shoes featured the upturned pointed forward tip I was looking for. Unfortunately, they also had a large top flap (which I removed), and a very tall and bulky heel (which I would need to contend with since I wanted Robin to wear FLAT pixie shoes). I cut out the tall arch support inside the shoes, and made the big heel into a hollow cavity that the back portion of the foot could fit inside of (effectively turning the shoes into flat loafers). The cut out arch support resulted in a triangle-shaped hole gap in the middle of the shoes that I filled with Milliput sculpting compound.
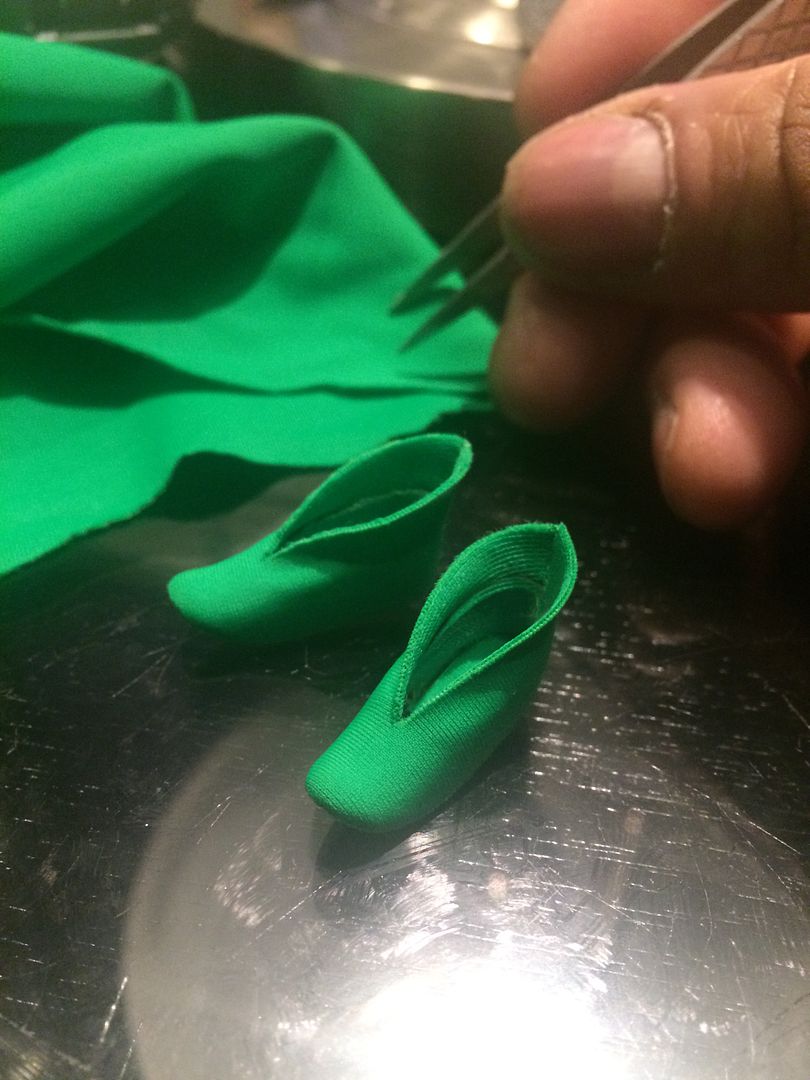
With the Ellen shoes now converted into flat loafers, I next turned my attention to very carefully laminating green fabric to them in order to turn them into Robin the Boy Wonder’s classic kicks! The finished pixie shoes even feature green fabric insoles permanently installed for a completed look.
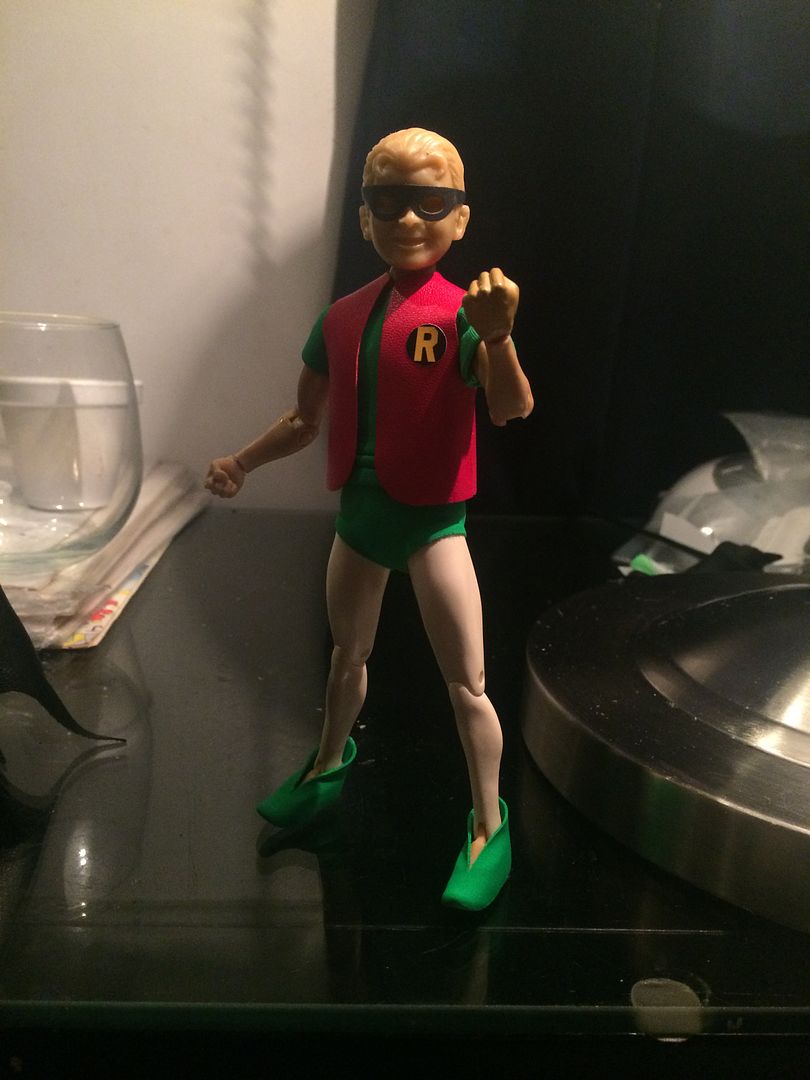
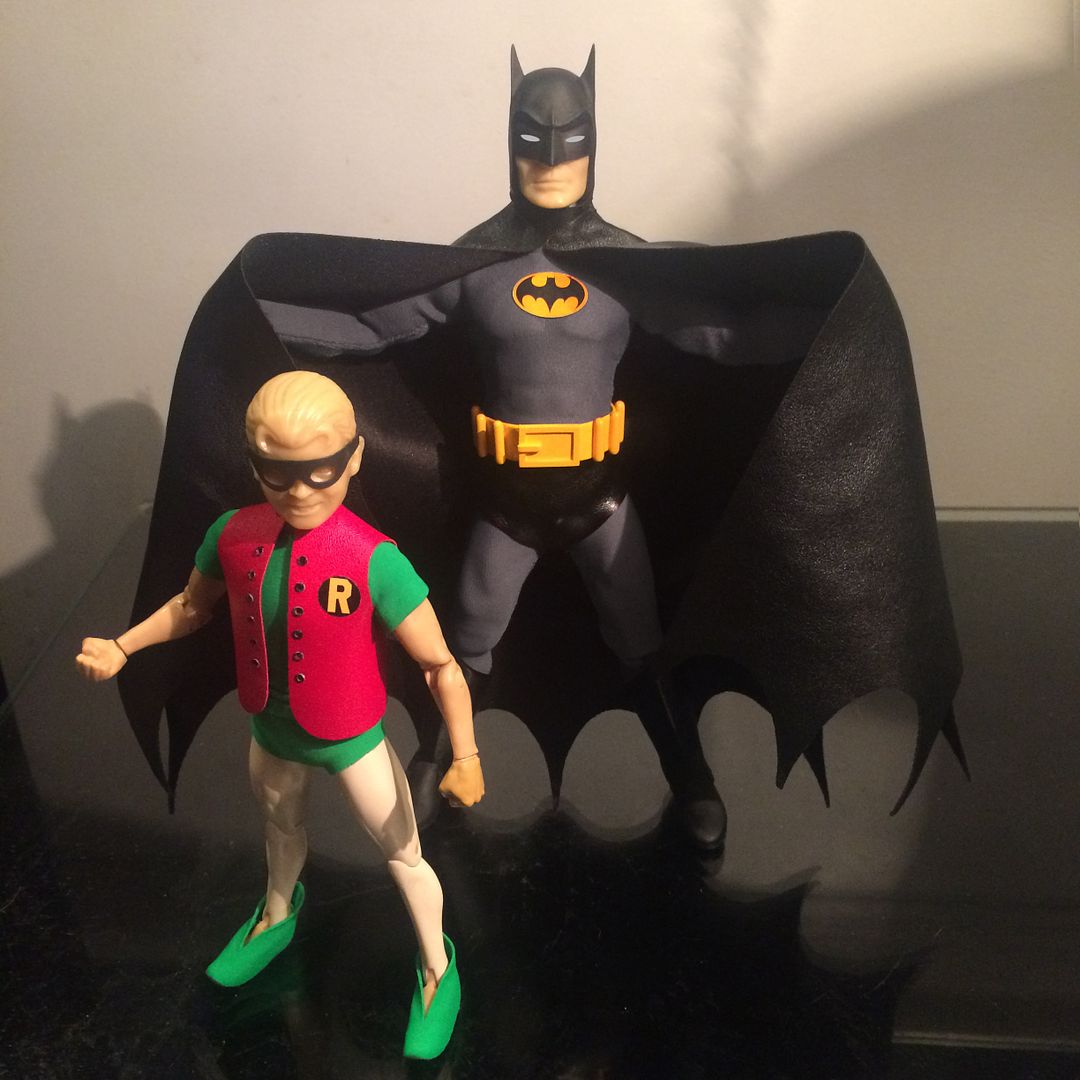
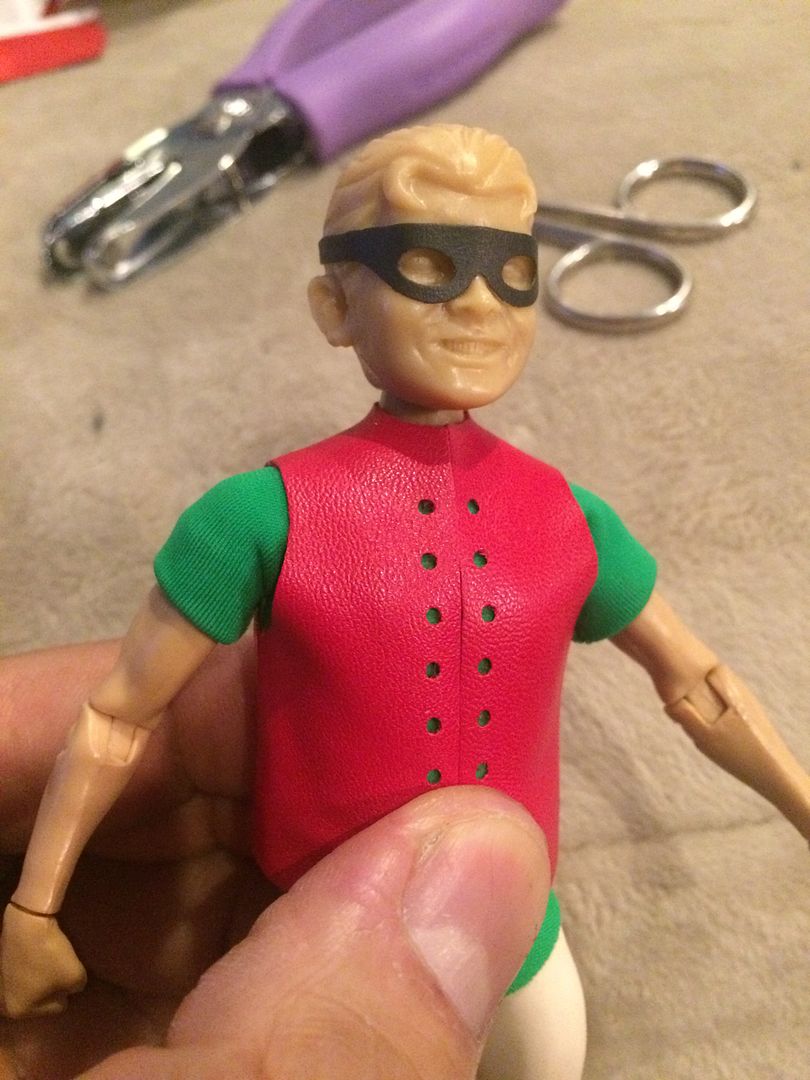
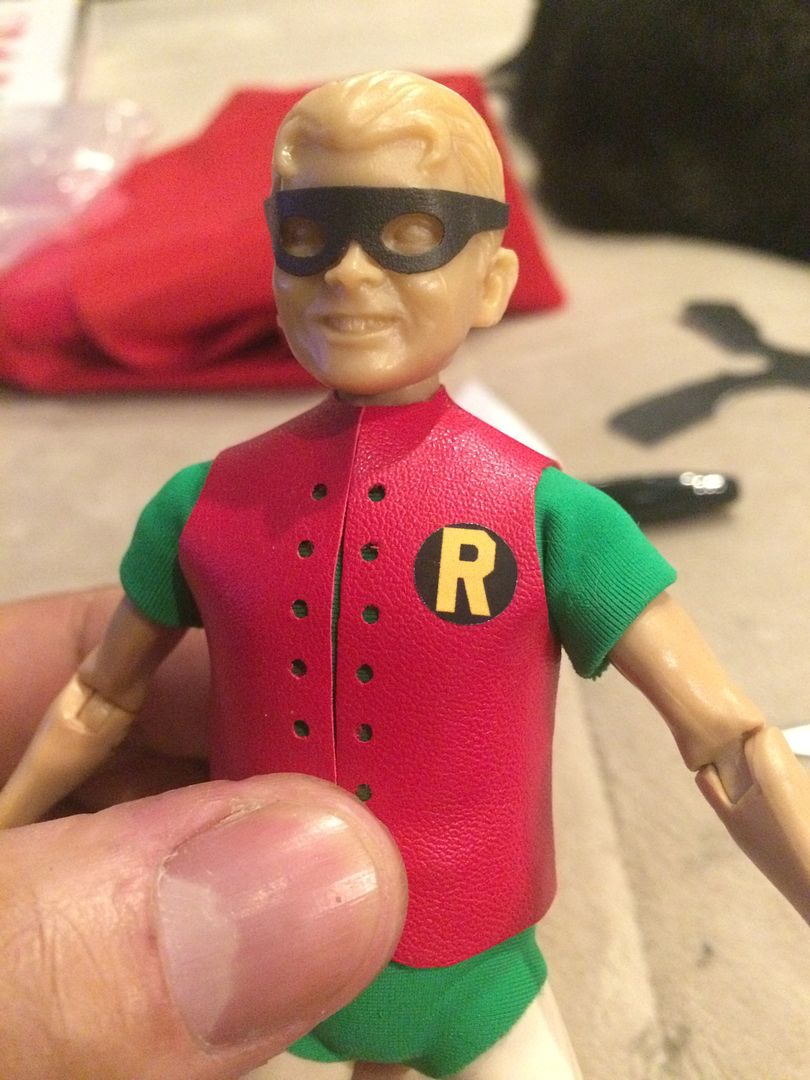
I test fit the brand new custom pixie booties along with the green t-shirt, base trunks, leathery red tunic vest, and face mask all on the figure.
So far so good. The Boy Wonder was pretty pleased with his new garments.
As is plainly evident, lot of work remains to be done to complete this custom figure, but I think it's all going in the proper direction.

FINAL VEST DETAILS
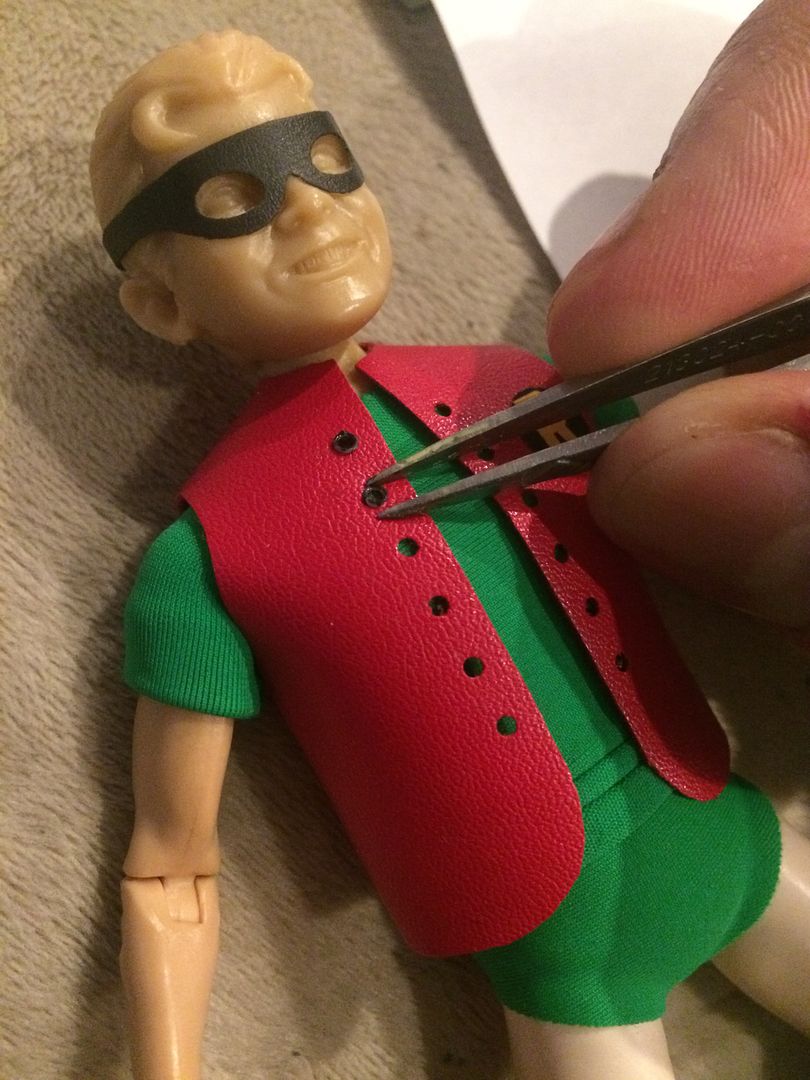
With the basic form of the vest fabricated and fit upon the figure, the next issue I had to contend with was the vest's final fine details: The creation of the lace holes upon the garment and the installation of the miniscule, micro eyelets through which the yellow tunic laces would be threaded.
This detail of the tunic was a real challenge to pull off because all the holes had to be PERFECTLY lined up in relation to each other, and they had to be functional enough to have the vest’s fastening laces fit through them. With even a single hole or eyelet NOT PRECISELY lined up, the vest garment would appear amateurish and cheap.
To ensure the lace holes perfect positioning, I mapped them out at the vest pattern creation stage, and represented them with little white dots.
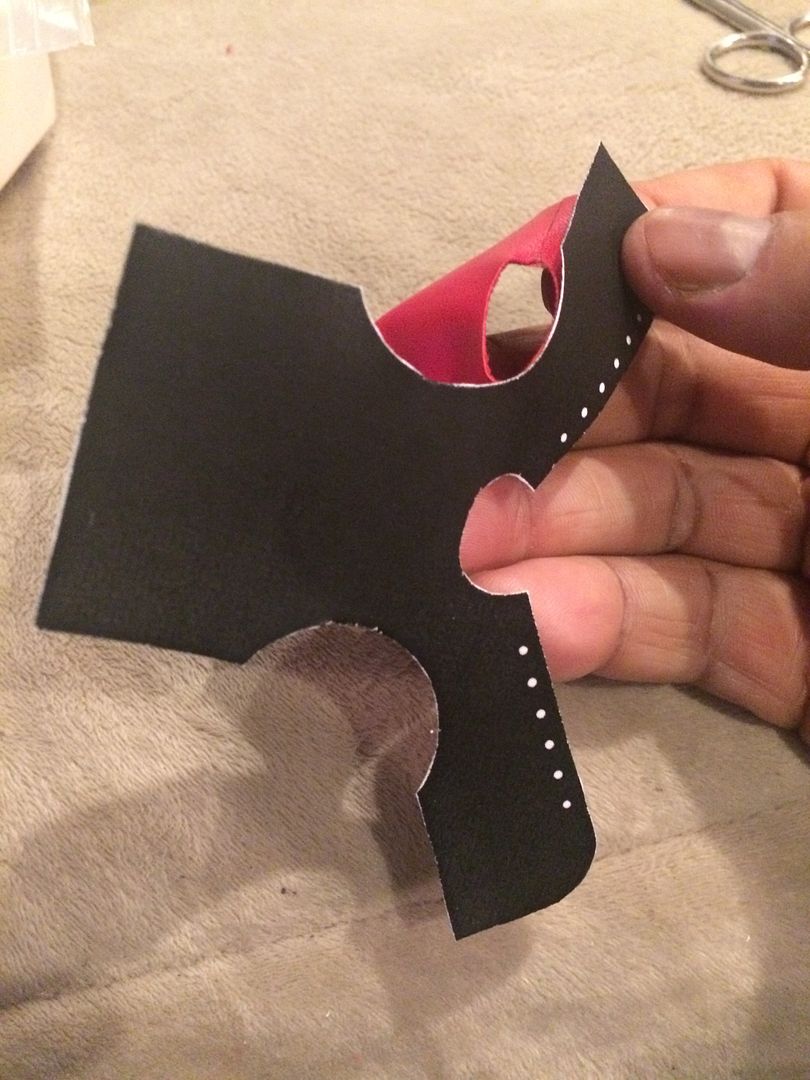
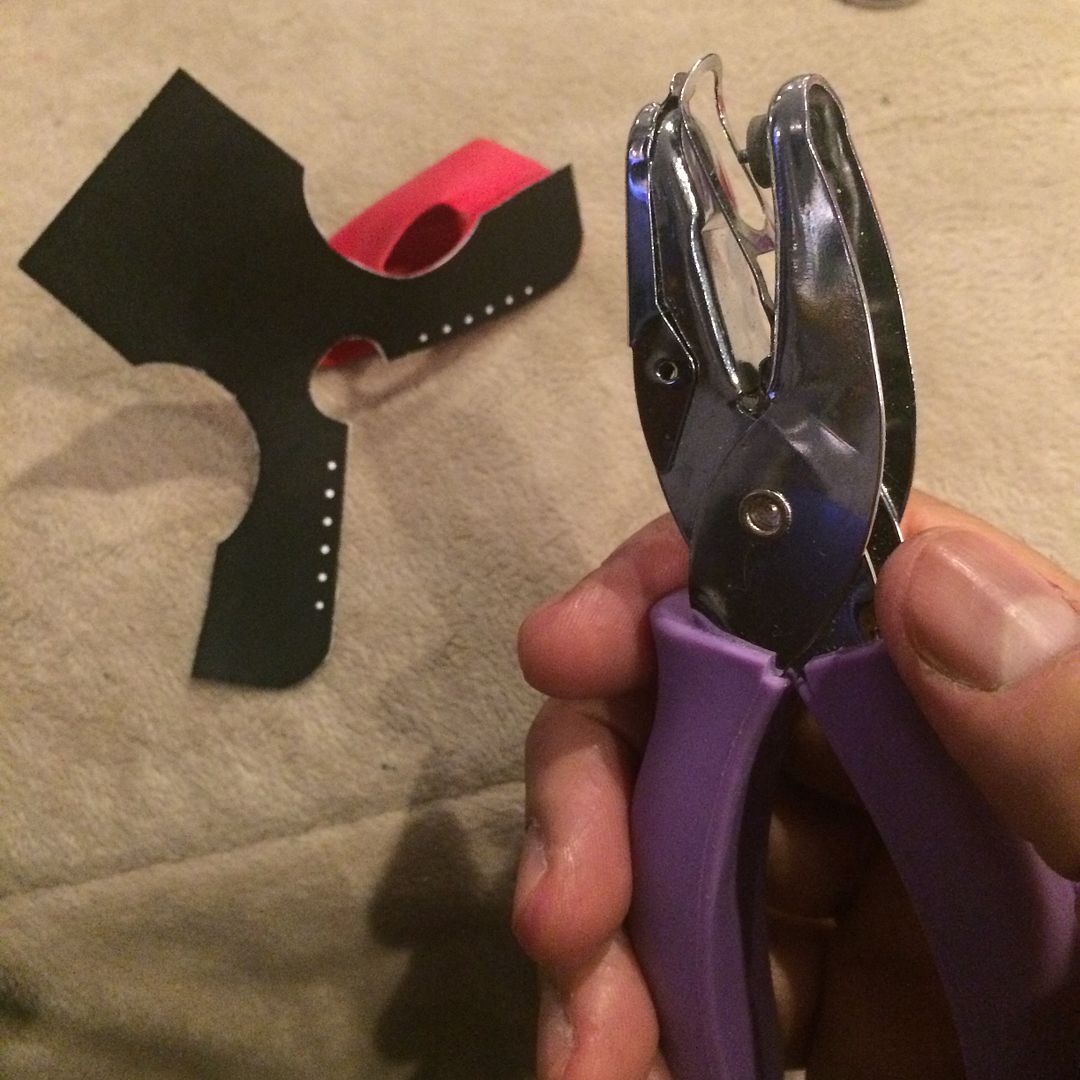
After the vest was cut and stitched, I laid the still tacky paper pattern back onto the vest and used a 1/16” paper hole punch to punch the lace holes into the garment, using the hole positions on the pattern as a guide.
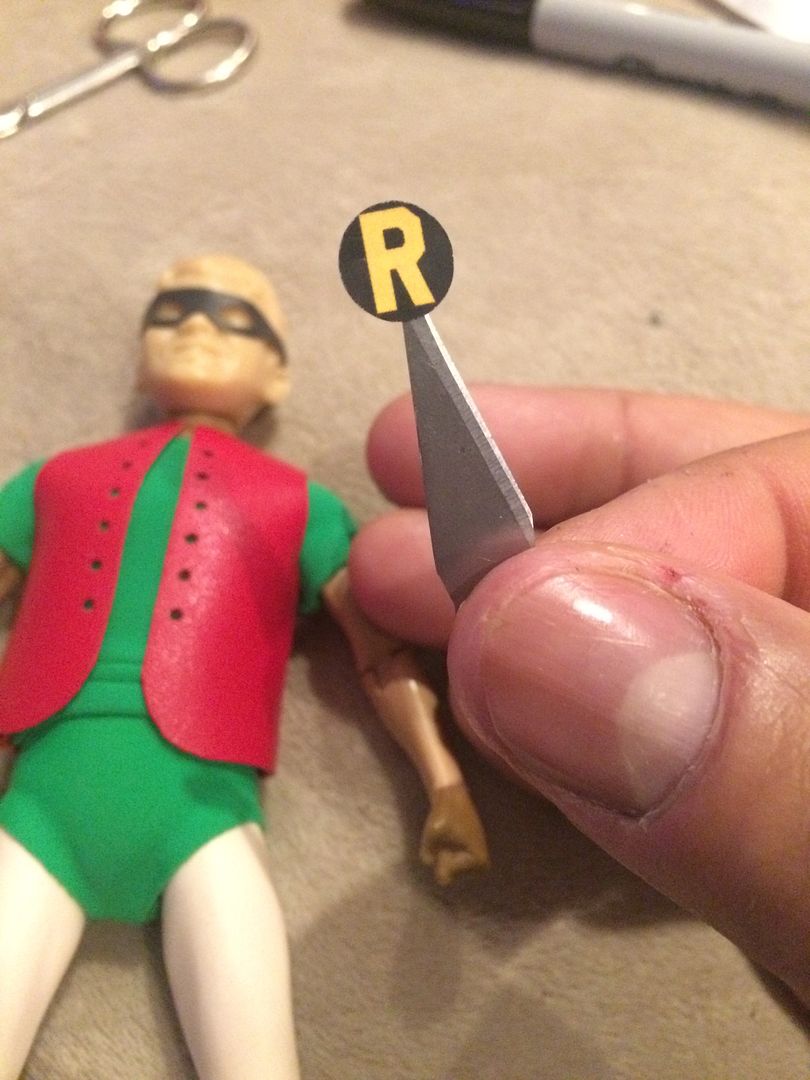
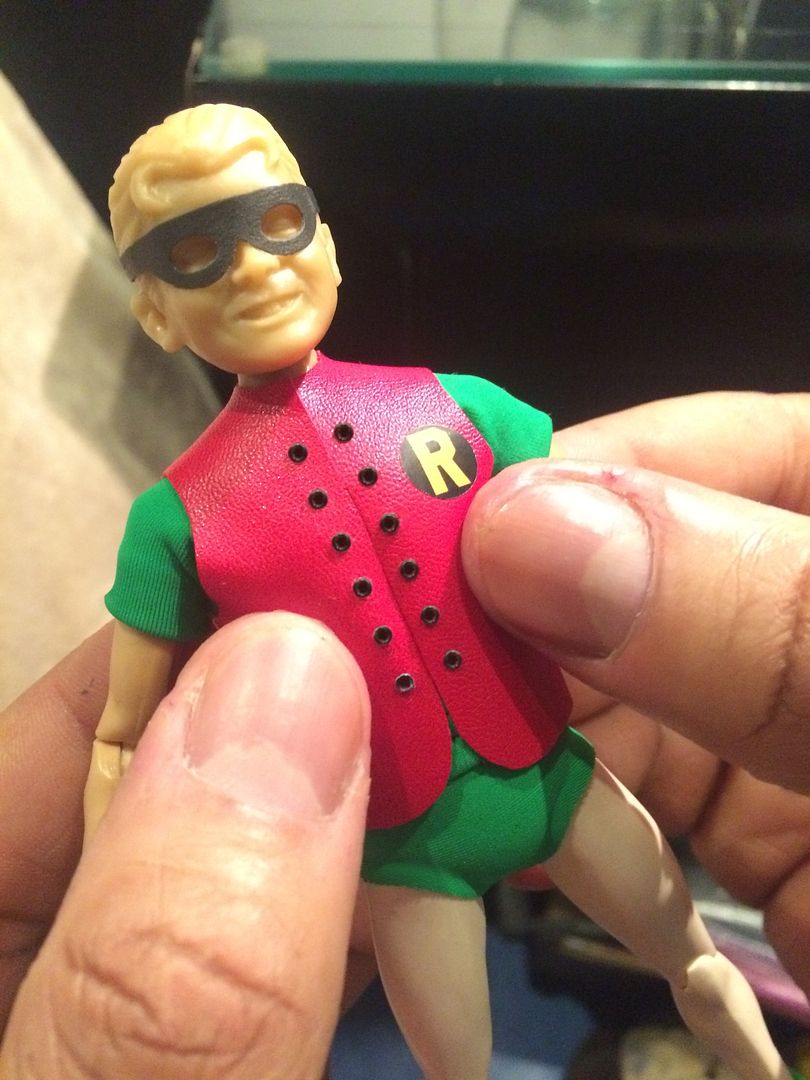
The layout of these lace holes had to be very carefully coordinated with a large holdout space (at the top of the vest) for the large collar of Robin's cape... another hold out space (at the bottom of the vest ) for the prominent positioning of the utility belt buckle, and even a consideration for the monogram "R" insignia on the left lapel (special thanks to Paul "laser-mego" Wasson for printing out these nifty vinyl stickers from the pattern I sent)!
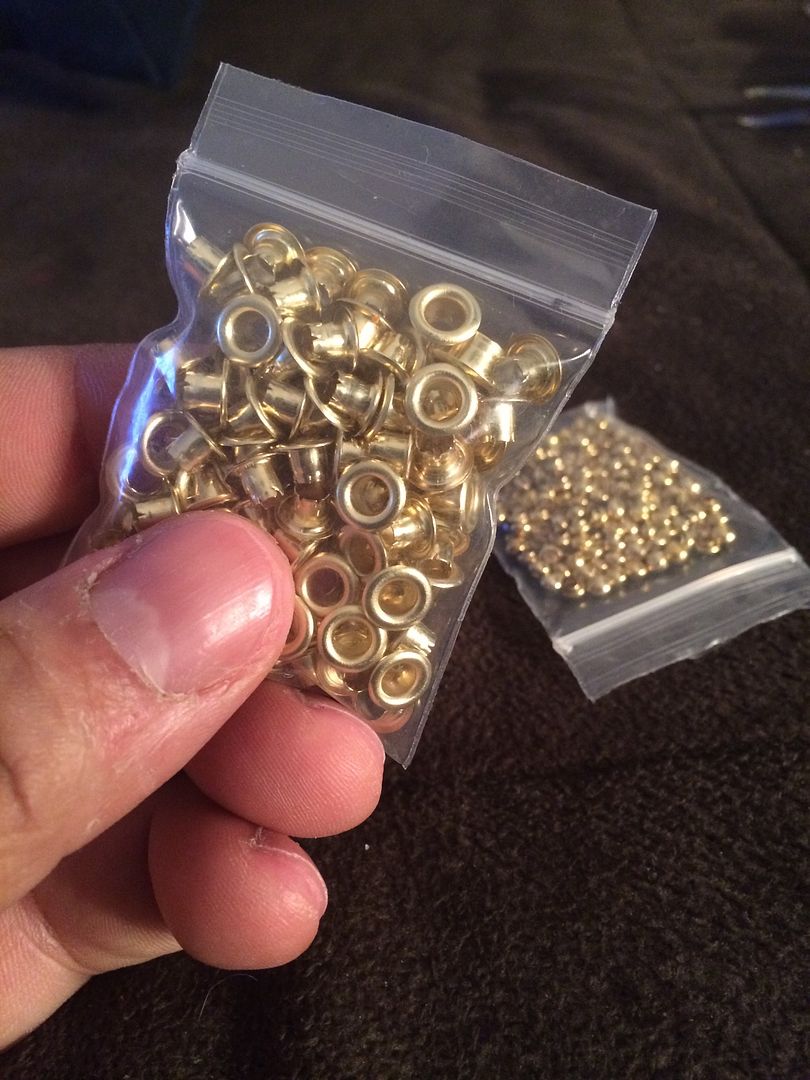
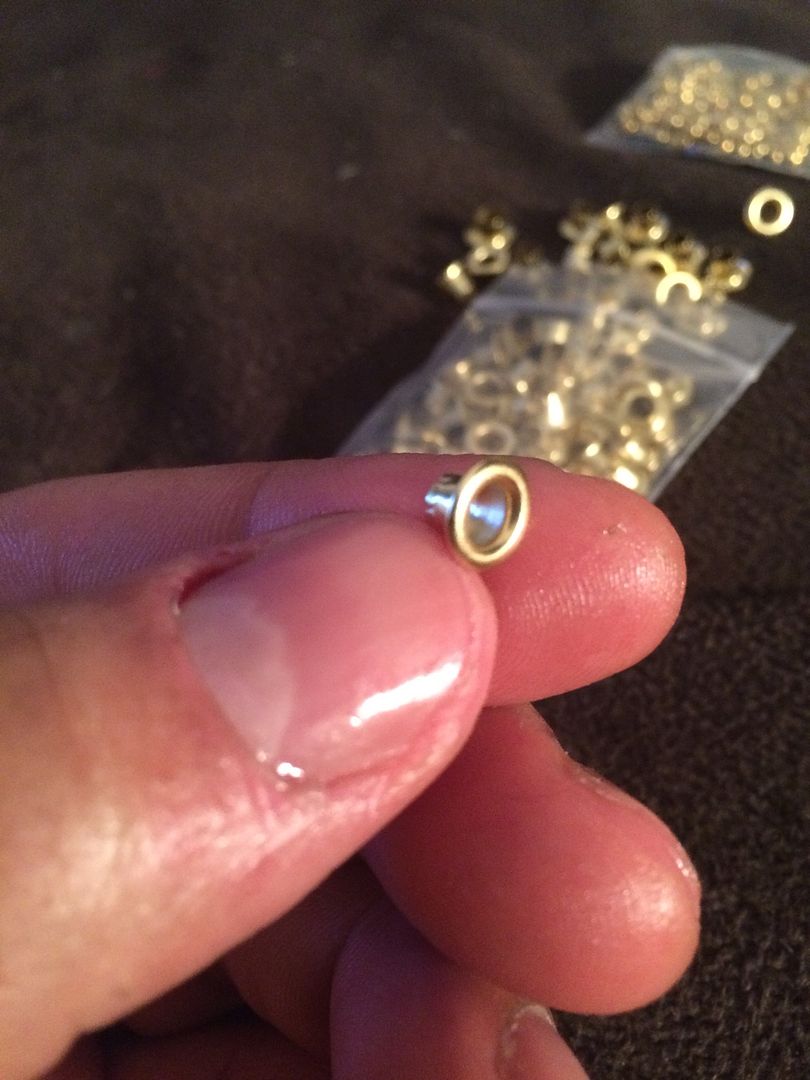
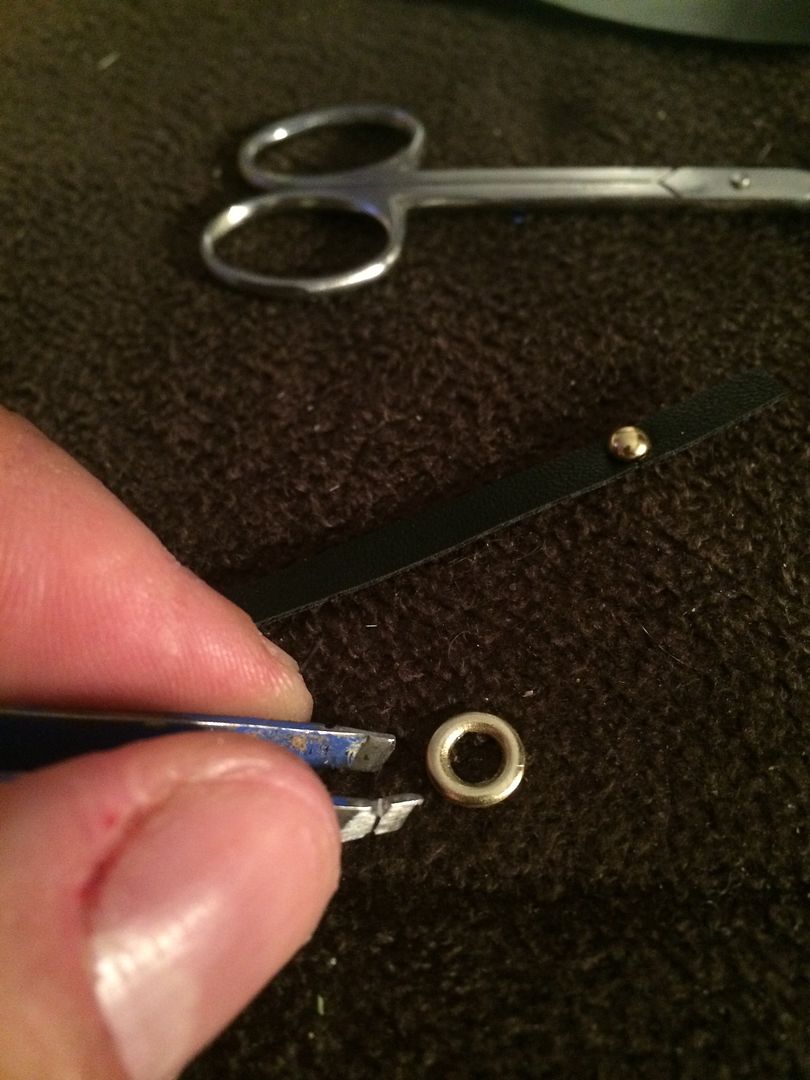
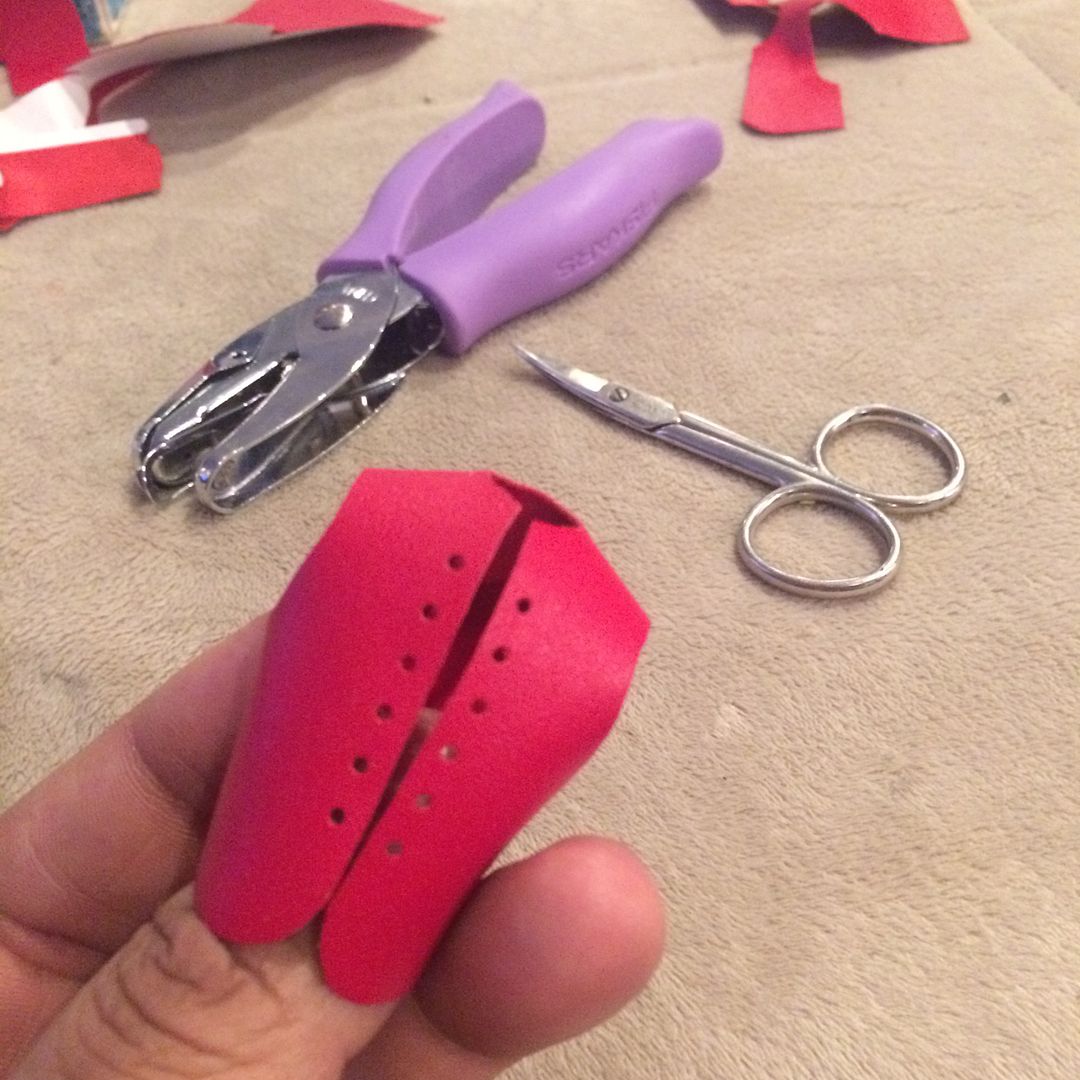
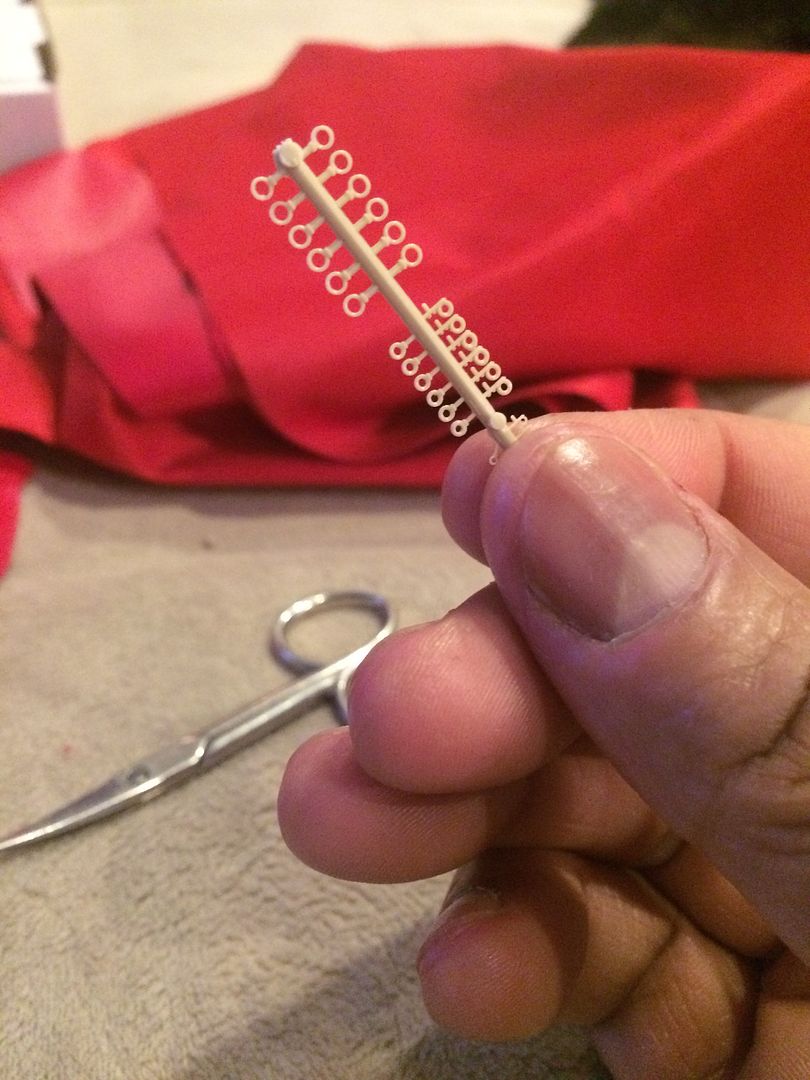
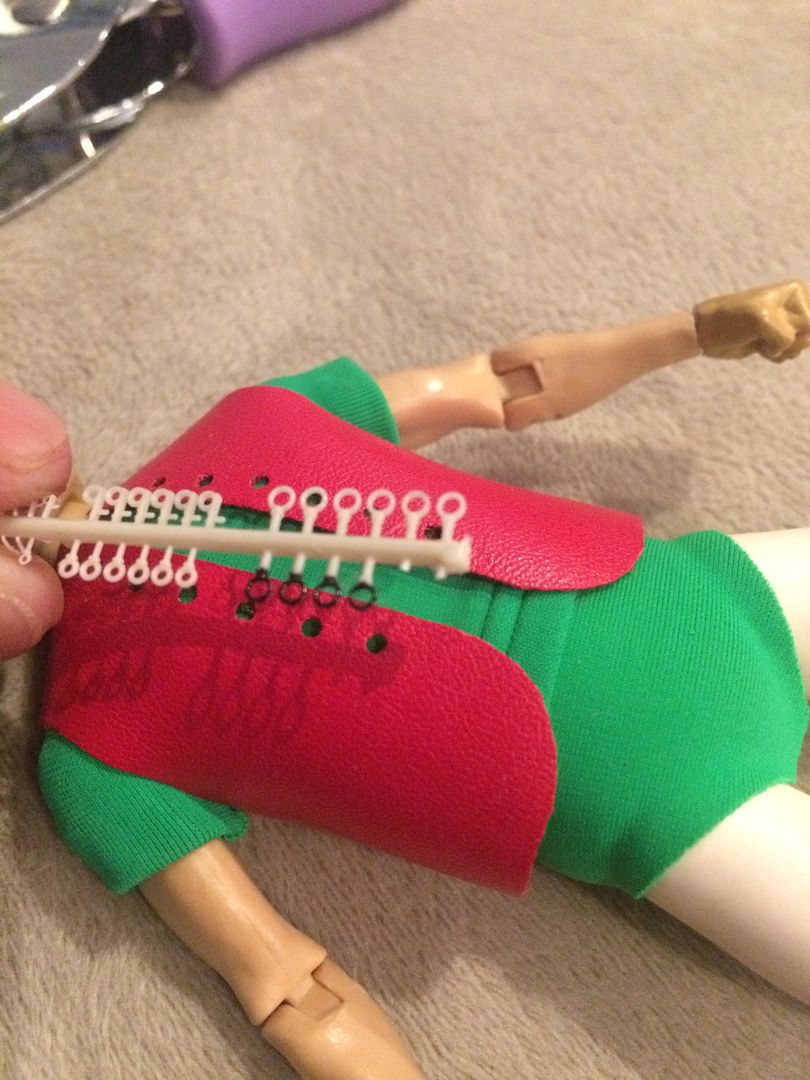
Once the garment was successfully perforated with the 12 holes necessary for 6 laces, I set about creating eyelet coverings for each of the holes. Now this is where maintaining a good stock of model building parts for kit bashing comes in. Among my stash, there was a tree of parts that contained micro circle loops that I determined would be PERFECT to create the eyelets for the vest’s laces. The truly unnerving thing about these “loops” was the fact that there were EXACTLY 12 of them on the parts tree I had… the EXACT number of loops I needed for Robin’s vest… and not a single one more! And since I had no idea what model kit this parts tree came from, I was not able to re-purchase that model kit to obtain more of these loops to have as extras.
This operation was going to have to be done with ZERO margin for error!
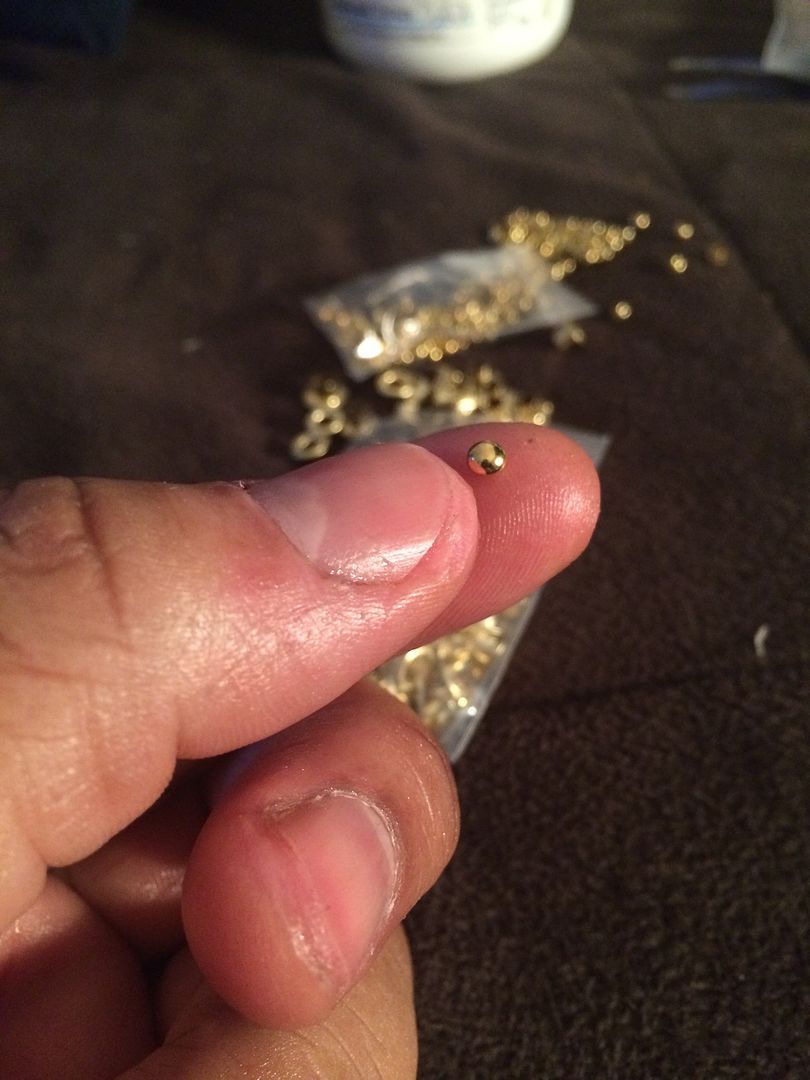
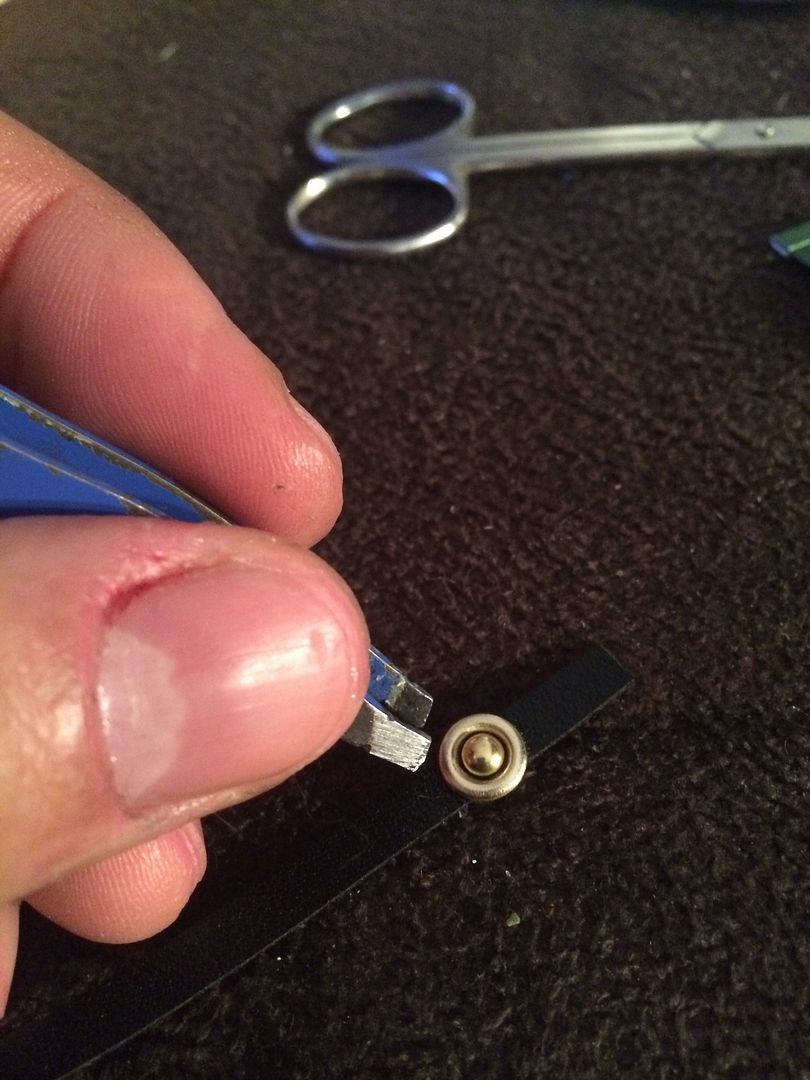
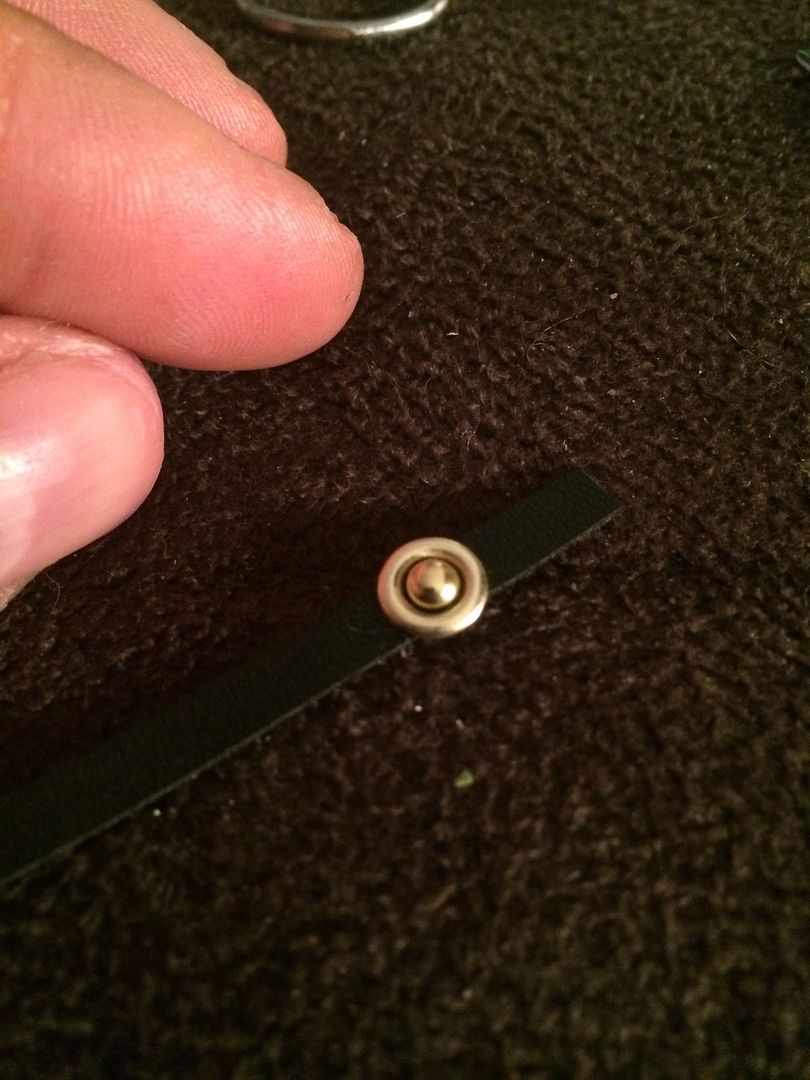
After about six hours of very, slow, steady, and meticulous work, I managed to color all 12 laces in black with a permanent marker...
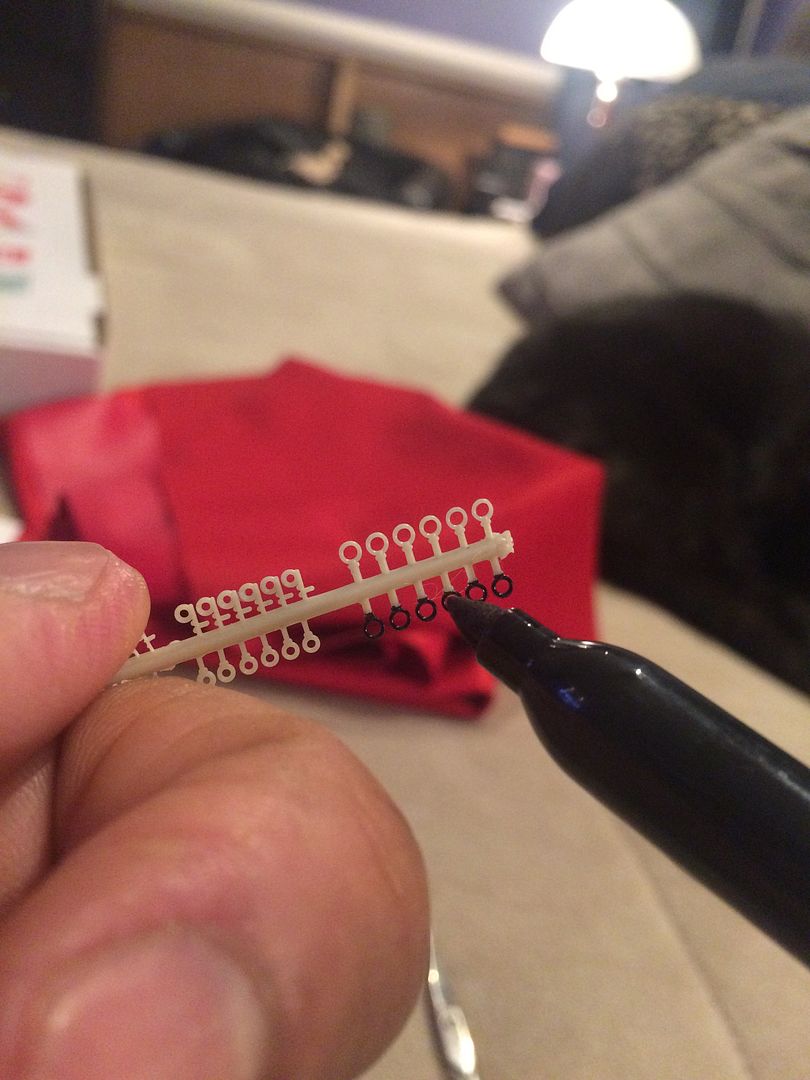
...and then installed them in the PRECICE positions over the holes I had punched on the vest garment. As incredible as it may seem, I did not lose a single eyelet loop… AND I actually managed to attach them with superglue, so they are permanent! Not bad for a bunch of parts that are about the size of a pen point!
 Last edited by darklord1967; Apr 5, '17, 3:39 AM.
Leave a comment:


Leave a comment: