Help support the Mego Museum

Announcement

Collapse
No announcement yet.

Vintage Dime Store style 1960's-1970's Dino like monster toy

Collapse
X
 
  • Time
  • Show
Clear All
new posts
  • mazinz
    Persistent Member
    • Jul 2, 2007
    • 2249

    Vintage Dime Store style 1960's-1970's Dino like monster toy

    I cannot really sculpt well at all. However when I do, my lack of expertise comes through with these "made by a second grader" look of monsters and other odd creatures.
    They have a nice vintage appeal of the many odd plastic/rubber monsters of the 1960's and 70's that may have lacked super detail, but had a neat coolness to them. I try my best to
    emulate that. Back then many companies truly made "monsters" and this sort of art is lost today.

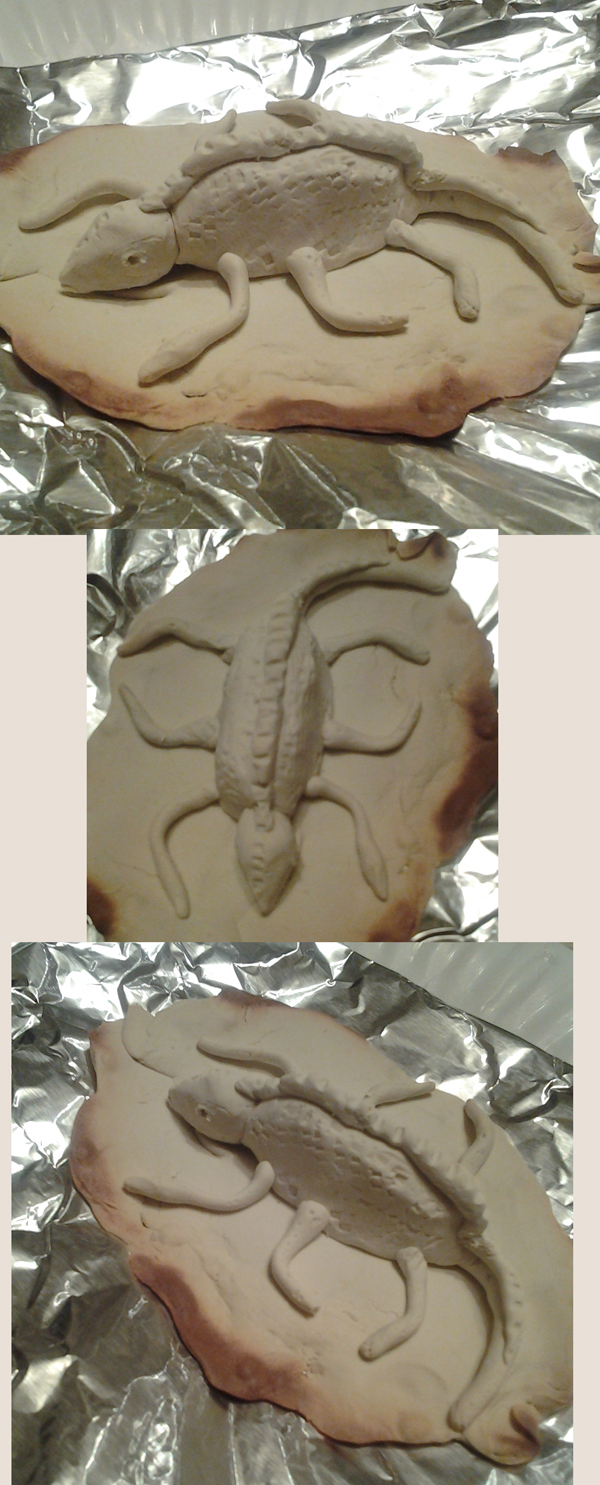
    I can see this guy below being labeled as "scary monster" or "horrible thing" or some other odd name. He is sort of a combo of a dinosaur but with octopus or snake like appendages
    and has that "came from a 25 cent machine" appeal (to be honest I was partially inspired from the creatures in the 1981 film "the Boogens)

    I sort of burned the Sculpty and I made the mold with Alumilite mold putty (which is similar to Zubber) by pushing it over the kind of hardened Sculpty

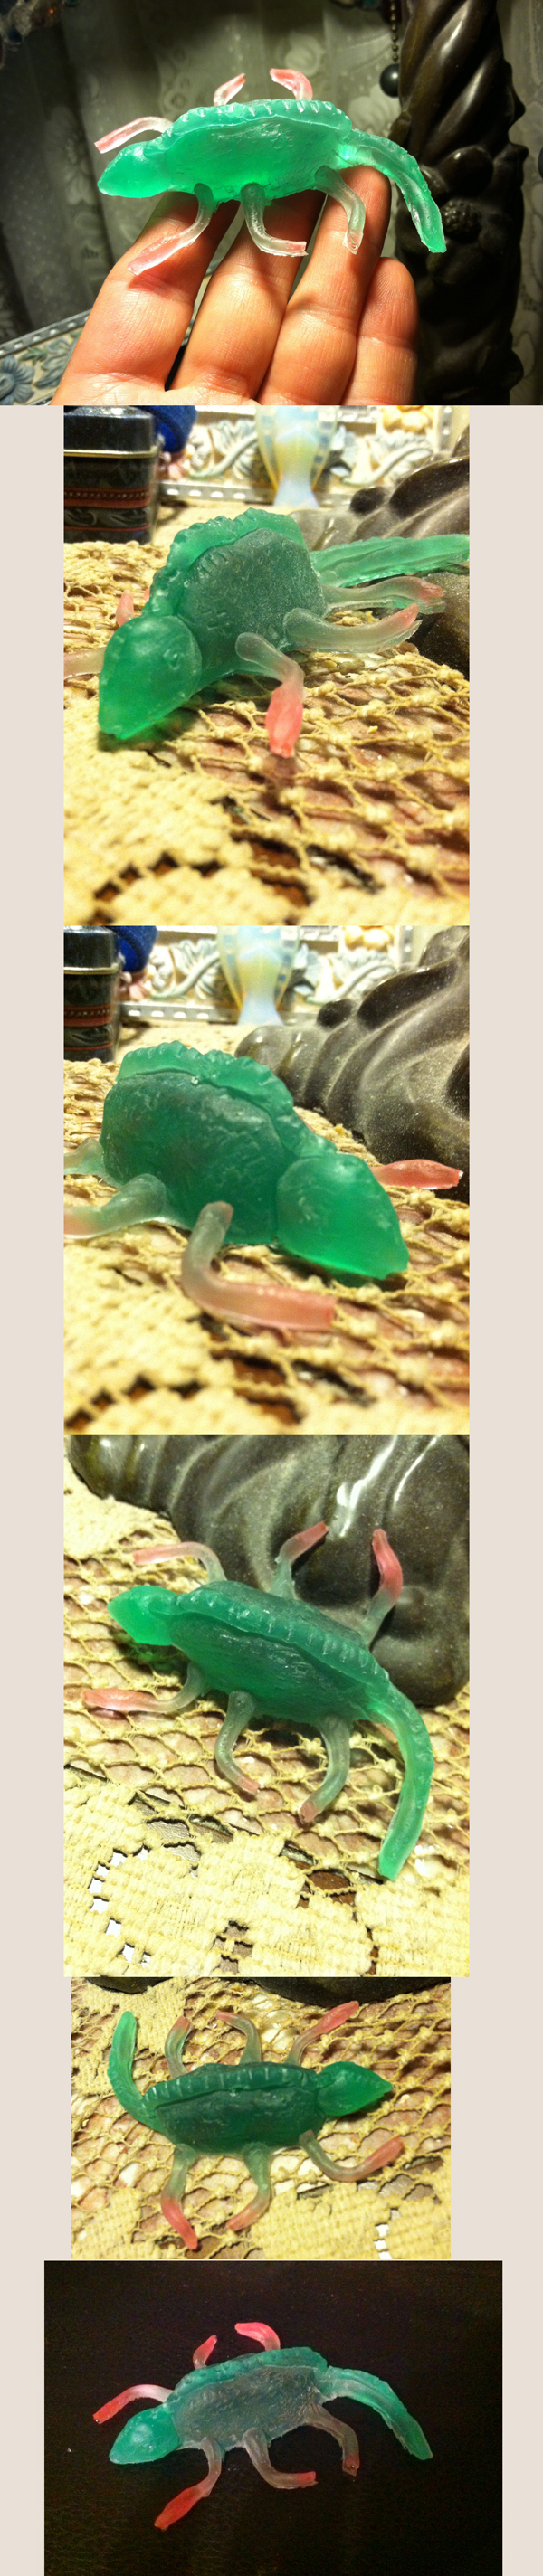
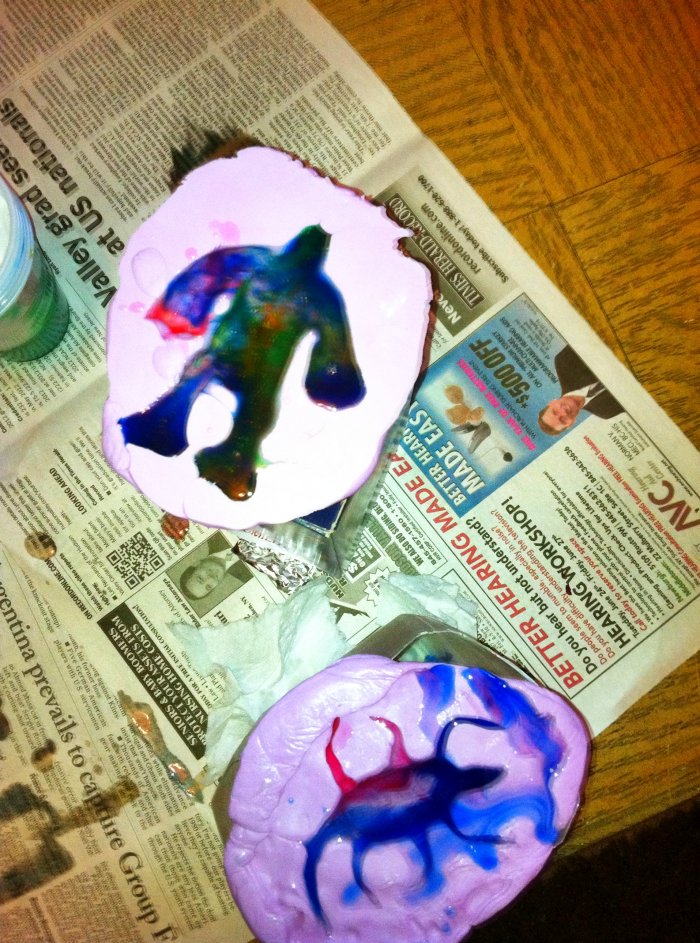
    I then used Easycast resin (the low odor one that wont kill everything in your house) and used a drop or two of green acrylic paint as well as red for the "arms".

    I wanted that kind of clear but blended color scheme (like Creepy Crawlers would have).

    He is still a little bendy due to the paint mixed in but that is fine

    hope you enjoy, or more so hope I kind of hit the mark I was after


    "What motivated him to throw a puppy at the Hells Angels is currently unclear,"

    Starroid Raiders Dagon wrote "No Dime Store Monster left behind"
  • Iron Mego
    Wake Up Heavy
    • Jan 31, 2010
    • 3532

    #2
    That's really cool.
    Wake Up Heavy Podcast

    Find me on Twitter

    Comment

    • monitor_ep
      Talkative Member
      • May 11, 2013
      • 7440

      #3
      Turned out better than I could have cast.

      I just do not have the time to figure out the casting process.
      Visit my wiki site:

      Comic Books in the Media

      To view my custom works of both JLU and Megos go to:

      Monitor_EP Deviantart page

      Action Jackson Road Trip log

      Comment

      • Confessional
        Maker & Whatnot
        • Aug 8, 2012
        • 3411

        #4
        Awesome concept and completely convincing; nice work! If you want that beast to glow more or appear more transparent, you can polish him up too.
        Last edited by Confessional; Jun 26, '14, 3:43 PM. Reason: … terrible sentence structure!

        Comment

        • EMCE Hammer
          Moderation Engineer
          • Aug 14, 2003
          • 25680

          #5
          Nice job, I could never pull that off!

          Comment

          • mazinz
            Persistent Member
            • Jul 2, 2007
            • 2249

            #6
            Thank you all for your nice compliments!!


            Originally posted by monitor_ep
            Turned out better than I could have cast.

            I just do not have the time to figure out the casting process.
            Me neither. Honestly the casting (mold) for this is super easy-- Alumilite is similar to Silly Putty. It comes with two containers of silly putty like material-- Mix equal parts from both containers and knead in your hands until it becomes one unified color-- then literally push this on top of whatever you want to mold. let it sit for about 12-15mins and then carefully "bend" and remove your sculpture from the mold. The mold turns into an almost rubber like material-- that is pretty much all there is to it. I then filled this rubber mold with the resin to make the toy

            Originally posted by Confessional
            Awesome concept and completely convincing; nice work! If you want that beast to glow more or appear more transparent, you can polish him up too.
            Please tell me more about this. How exactly would I go about doing that?
            "What motivated him to throw a puppy at the Hells Angels is currently unclear,"

            Starroid Raiders Dagon wrote "No Dime Store Monster left behind"

            Comment

            • newlyknighted
              Persistent Member
              • Feb 21, 2010
              • 1625

              #7
              Neatokeen
              I post in thy general direction!

              Comment

              • Confessional
                Maker & Whatnot
                • Aug 8, 2012
                • 3411

                #8
                Like anything desirable it requires work and some practice, but this should set you in the right direction.

                0. Unless flawed, all resins can be polished to a smooth, glossy surface if desired. This can also help *clear* the resin, making it more translucent or appear to glow more.

                1. Use a test piece to experiment on as you need to match materials to your resin.

                2. Access your surfaces; do they need sanded (remove flaws, pits (sometimes need filled too), seams, etc.) or just polished (smoothing and gloss)?

                3. If sanding, work your way to a very high grit and if using water, I'd recommend distilled instead of tap. Micro-files are your friend!

                4. When polishing, you can use a high grade auto or plastic polishes/compounds and waxes for urethane resins; polyester resins can be buffed with the types of polish they use on boats. I've heard some people even use liquid soap and toothpaste with good effect.

                5. Dremel tool attachments, buffing wheels and polishing clothes can all be used. Don't over buff by pushing too hard... think about when you go to the dentist; they actually polish your teeth lightly (or should be!).

                6. The process of, and finish work involved in, casting resin can be really significant and laborious. This is why you see lots of castings that are sloppy or have visible flaws. However, you can really transform the appearance by putting in the time. If you're painting resin, there's a lot more room to accept minor flaws as the painting process can smooth out the surfaces.

                One last note about your project; you mentioned your resin was bendy... as a general rule, it's not advised to polish resin that isn't cured entirely or properly.

                Keep makin' the creatures!

                Comment

                • Vinny0026
                  Year Five!!
                  • Jan 26, 2012
                  • 3724

                  #9
                  Now that is cool - well done!
                  "Where Does He Get Those Wonderful Toys?"

                  Comment

                  • Grimjohn
                    Persistent Member
                    • Feb 28, 2011
                    • 2266

                    #10
                    Oh man, reminds me of one of the occupants of the bags of "Creepy Crawlies" I used to buy with a spare dollar as a kid. Sweet!!!
                    My Finished Custom Figures

                    Comment

                    • mazinz
                      Persistent Member
                      • Jul 2, 2007
                      • 2249

                      #11
                      thanks again for the comments

                      Confessional,
                      Thanks for the info with polishing. I like mixing in the paint with the resin rather than painting afterwards because it gives those nice blends of color I like. I am aware of the dyes made specifically for resin use. In an old resin dino I made I did use a drop or two and it gave it a solid color and still cured the way it should have. In the case with my creature above I probably added just a snip too much, but I really like the way he came out-- a little bendy but not sticky and I know that bend is from the paint


                      I made another "creature" last night and right now he is "curing away". My second grade sculpting skills came though again. I also had enough resin to do another one of my dino creature from the first post in the thread (what I like about it this time is the the clear resin mainly stayed in the middle of the body and i can see the bottom of the mold and the color resin just kind of skirted around it)

                      If it does come out the way it looks while curing it will be very nice with the color explosion going on- being a mix of the clear resin, red, yellow, orange, green and blue. I also like the way the colored resin does not fully mix with the others so it does not turn into one unified color in the end. For the most part it seems to stay the original color with a minimal blend even after other colored resin is poured on top

                      sneak peak
                      Last edited by mazinz; Jun 28, '14, 10:27 PM.
                      "What motivated him to throw a puppy at the Hells Angels is currently unclear,"

                      Starroid Raiders Dagon wrote "No Dime Store Monster left behind"

                      Comment

                      Working...
                      😀
                      🥰
                      🤢
                      😎
                      😡
                      👍
                      👎