

-
That really looks terrific, and the level of detail is top-notch - excellent job, sir! -
So amazing! I really enjoy your sharing of how it progresses from day to day.Leave a comment:
-
Day nine: Last night I finished trimming out around the garage door.
[IMG]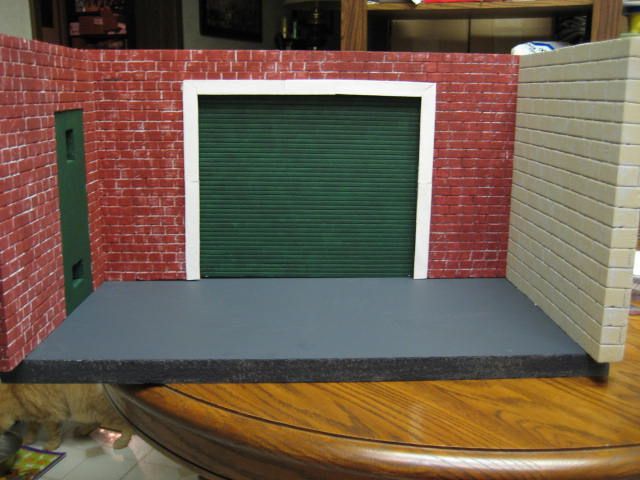 [/IMG]
So, today I am going to tackle trimming out the service/man door...
[IMG]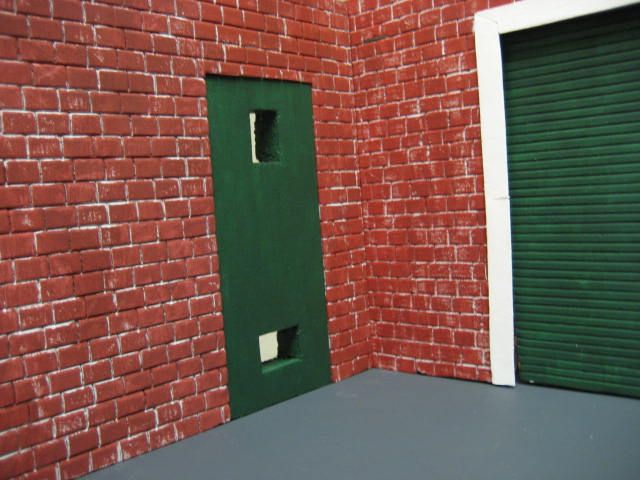 [/IMG]
I had been pondering what I would use to simulate a lever style door handle and then it struck me that plastic fork tines have the general shape, all I would need to do is figure out how to get the bend at the end. I decided to try heat, using a lighter I heated the end of one of the outside tines, too much heat on the first one as it curled right up and it cooled too fast for me to bend it with needle nose pliers. But, the second attempt was right on the money with the heat as I used the needle nose pliers to get the bend I desired.
[IMG]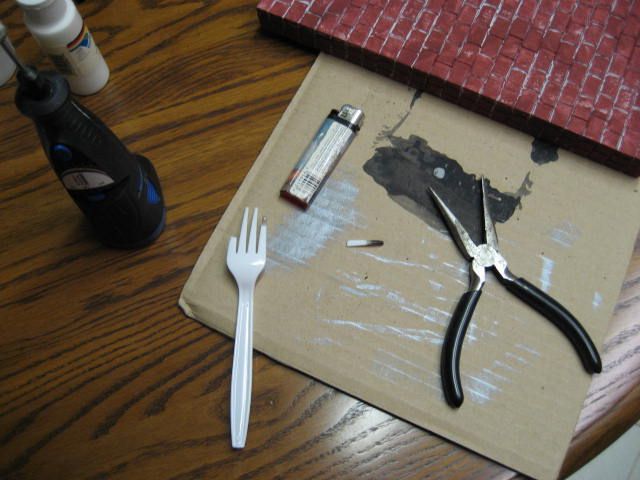 [/IMG]
[IMG]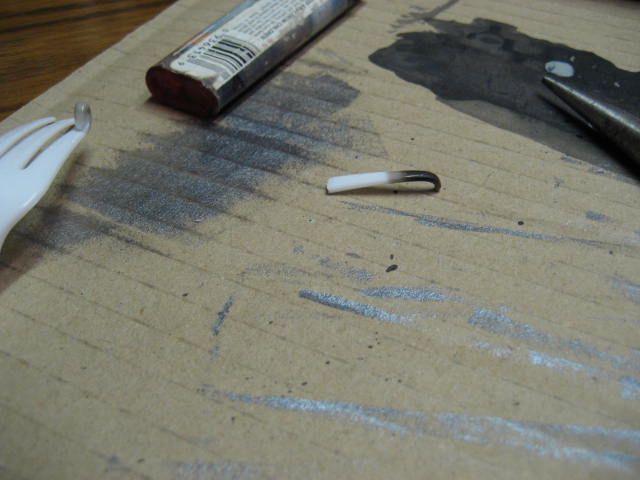 [/IMG]
With that problem solved I set it aside until I got the rest of the trim done. I squared off more of the narrow craft sticks and started placing them loose on the door frame to get an idea of many sticks it would take.
[IMG]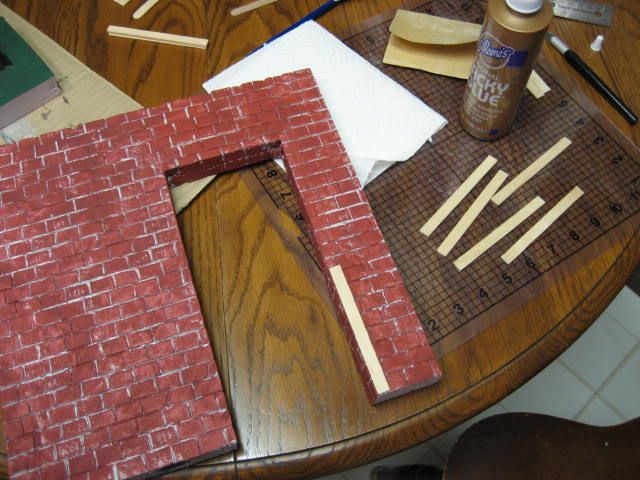 [/IMG]
Six, so far, I mitered the corner pieces and laid them on loose to see where if additional sticks would be needed.
[IMG]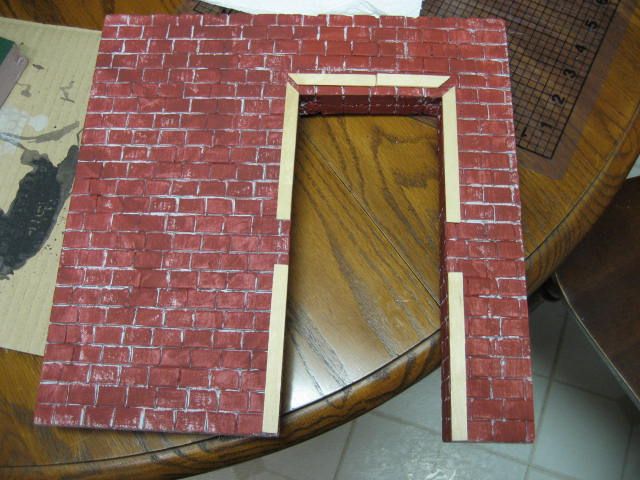 [/IMG]
I still needed half a stick to complete the vertical sides. After taking the measurements and cutting them I glued the frame pieces to the wall.
[IMG]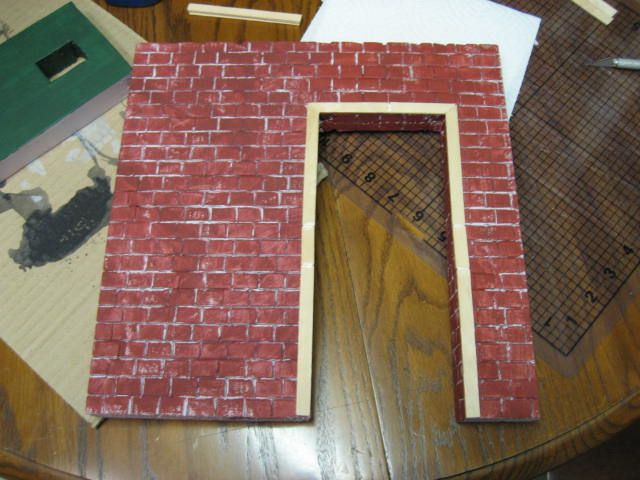 [/IMG]
While the glue dried on the door frame, I pulled out the door and started measuring the openings on the window and vent to build an inner frame. Then, I started cutting craft sticks to size.
[IMG]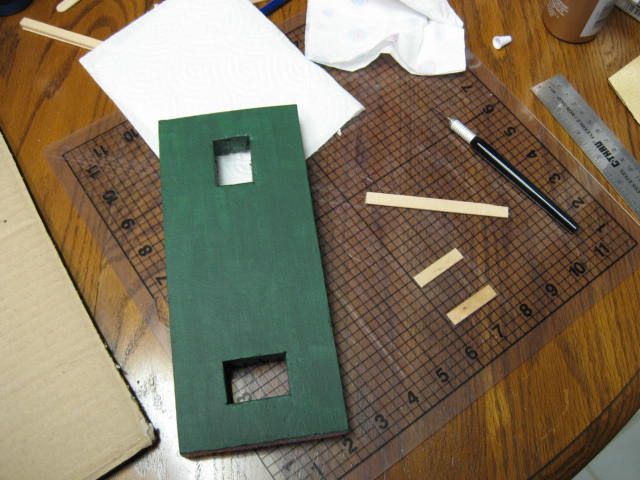 [/IMG]
Inner frame of vent is done, time to work on inner frame of window. I used the same process described above.
[IMG]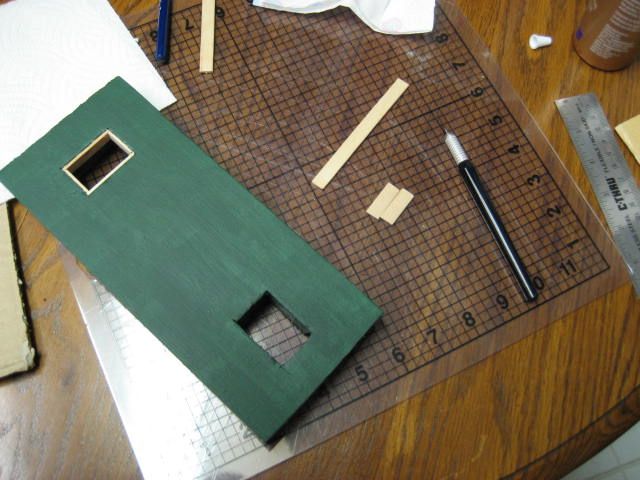 [/IMG]
With the inner frames complete, it was time to measure, cut and miter the frame molding for the window and vent.
[IMG]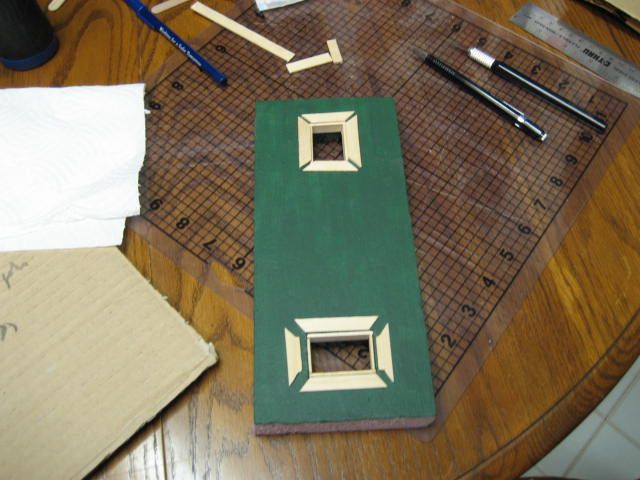 [/IMG]
I then glued the frame molding pieces down around the window and vent.
[IMG]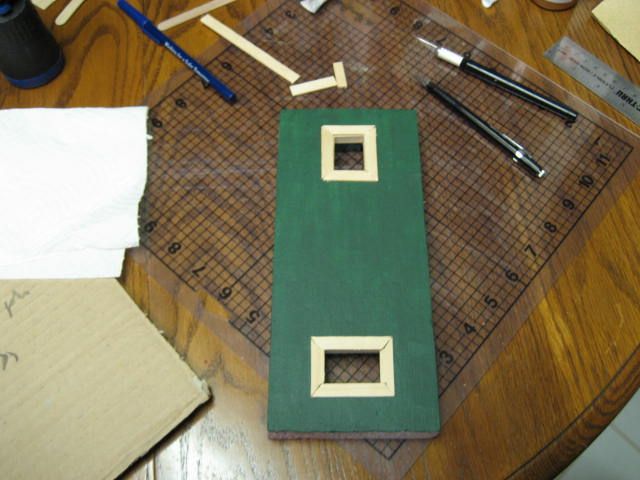 [/IMG]
I flipped door over and laid black plastic canvas over the vent opening, used diagonal cutters to snip along to clip length and width markers, making the vent is ready for painting.
[IMG] [/IMG]
I painted the door frame molding on the wall, the frames and molding of the vent and window on the door and the vent screen.
[IMG]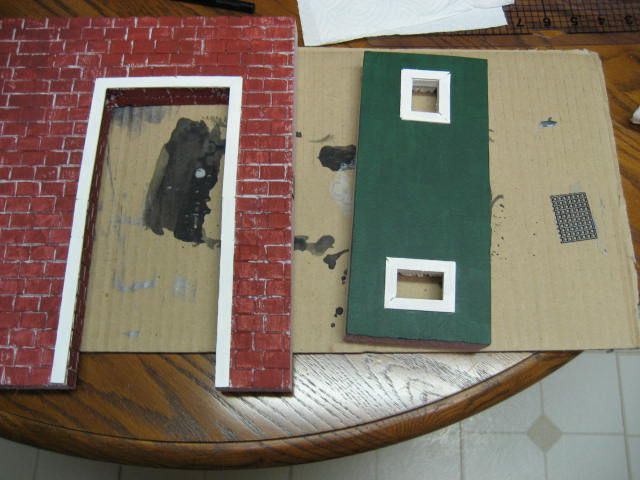 [/IMG]
Taking a 1/2" diameter wood circle, a notched piece of 1/4" dowel rod and my "forged" fork tine door handle it was time to put them all together.
[IMG]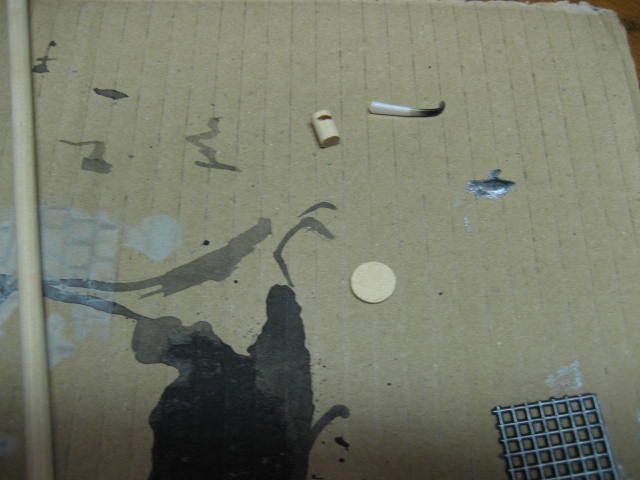 [/IMG]
Voila! One lever style door handle.
[IMG]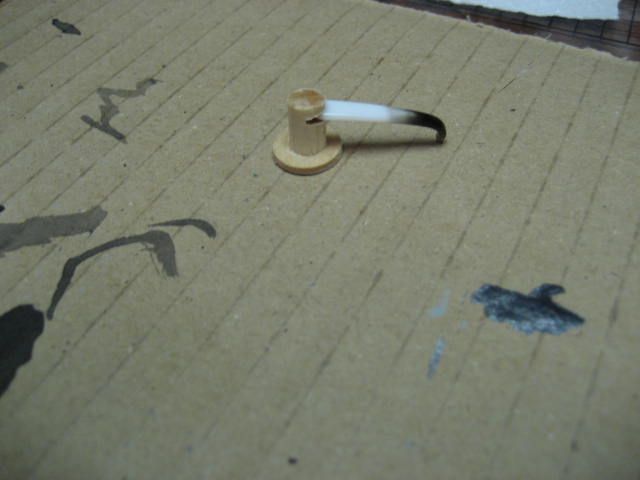 [/IMG]
Taking 1/2" pieces of 1/8" dowel rod, I turned them with light pressure on my Dremel's cut off wheel to give them the appearance of being hinges. I painted them Metallic Gunmetal Grey along with the door handle assembly.
[IMG]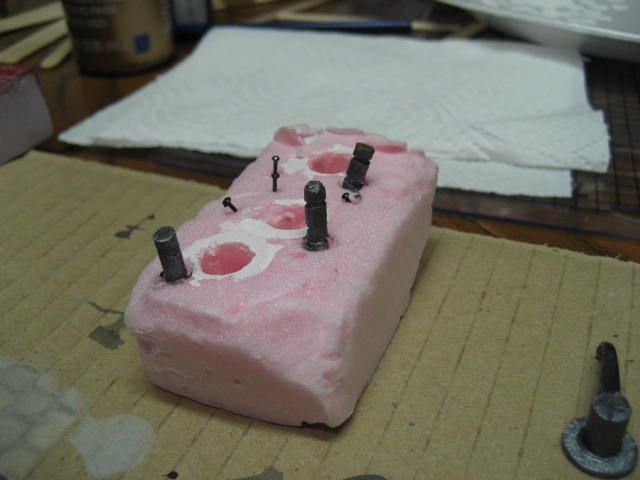 [/IMG]
I installed the vent and the window, which was a scrap piece of acetate I had left over from making boxes, and then attached the door handle to the front of the door.
[IMG]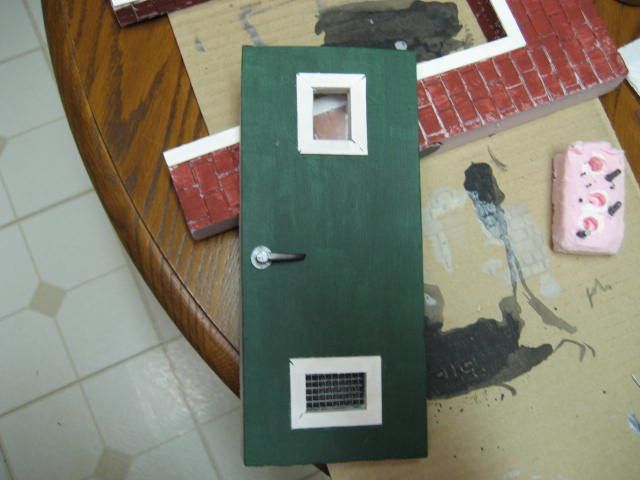 [/IMG]
I then hot glued the door into the frame.
[IMG]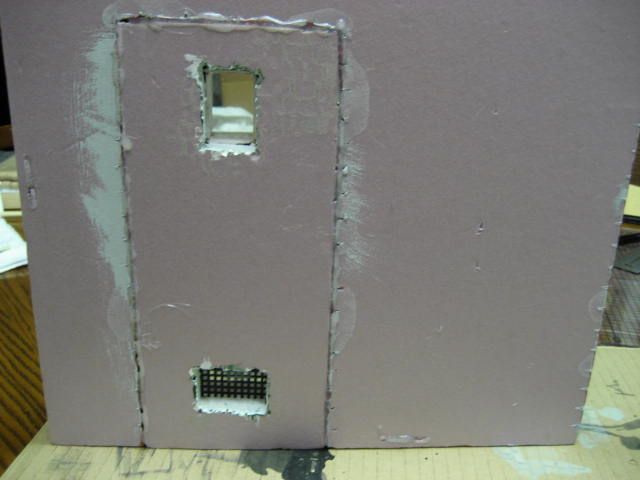 [/IMG]
I then glued the hinges into position.
[IMG]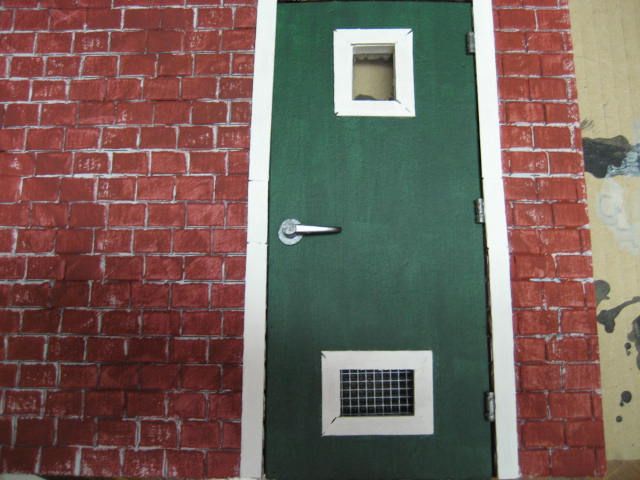 [/IMG]
And, how it looks all together.
[IMG]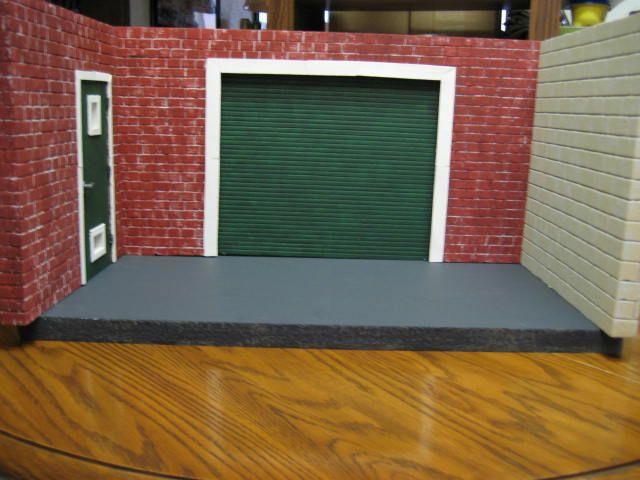 [/IMG]
[IMG]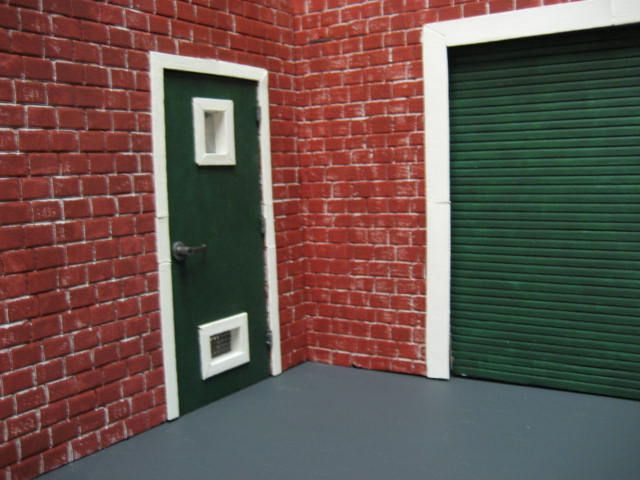 [/IMG]
I am calling it a day as the basic structure is done but, I will be kicking it up a notch and some interesting details to really dress this dio up but, I will start that tomorrow after work. For now, I am going to grill up some ribs, drink a few barley pops and enjoy what is left of my Labor Day. I hope you all have had a safe and enjoyable holiday weekend.
Leave a comment:
-
Before I start today's update on the dio I want to relay some information that I forgot to include:
The dimensions of the masonry bricks are 3/4" long/wide by 1/2" tall.
The dimensions of the service(man) door are 4" wide by 9 1/8" tall.
The dimensions of the garage door are 12" wide by 10" tall.
A big thank you to ZombieJim for bringing that to my attention, it's often late when I write these updates and I get so caught up in describing the process I forget a detail or two.
Day eight, morning: I started with the pieces that were getting straight up painted...the garage door...
[IMG]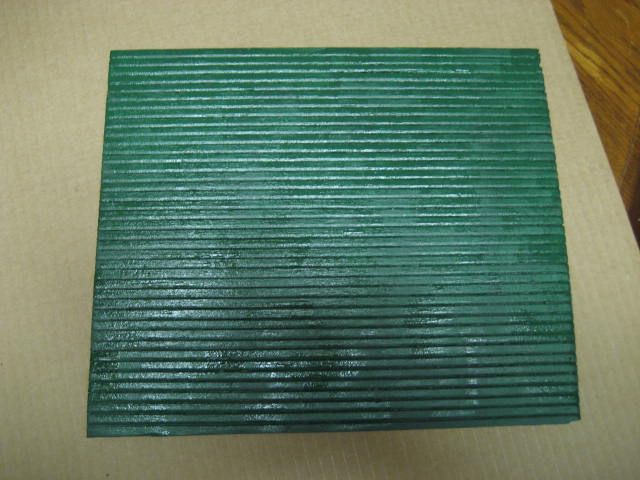 [/IMG]
The service or man door...
[IMG]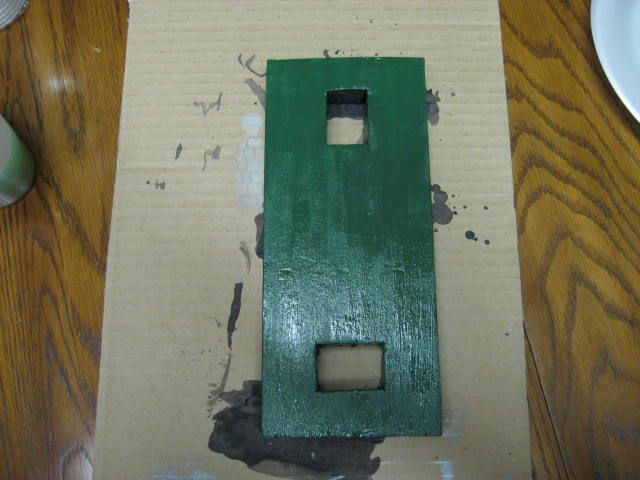 [/IMG]
...and, the asphalt base.
[IMG]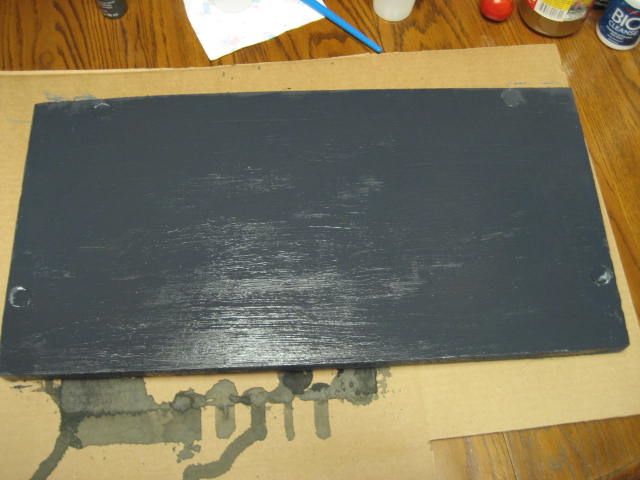 [/IMG]
Then, it was time for the pieces that were getting dry brushed...I have to apologize for the lighting of these next pics, Cindy kicked me out of the kitchen so she could make German pancakes for breakfast
[IMG]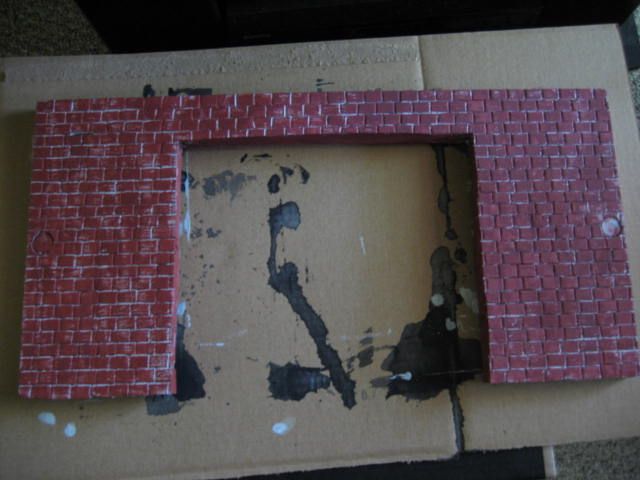 [/IMG]
[IMG]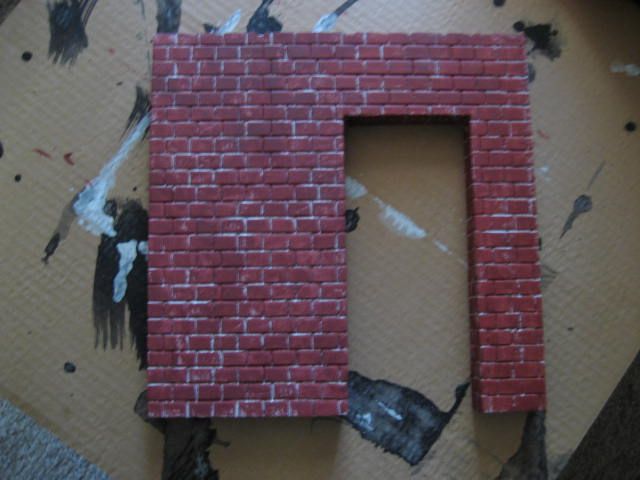 [/IMG]
[IMG]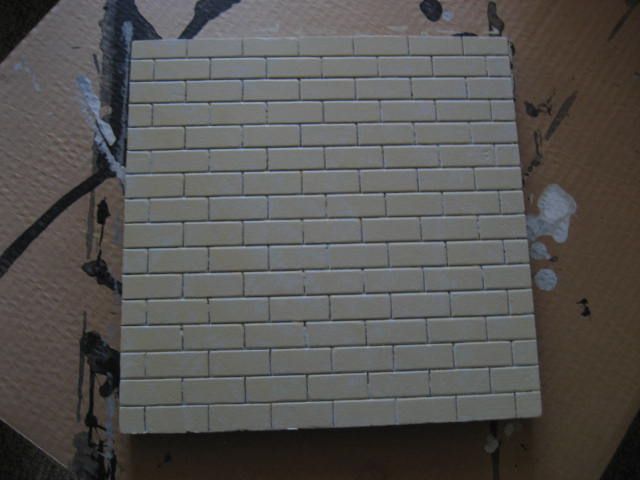 [/IMG]
After I finished the dry brush pieces I set them aside to eat and resume my sewing project but, would continue on the dio in the evening.
Day eight, evening: With the color coats on the pieces, I wanted to assemble the dio and see if there are any areas needing touch ups...
[IMG]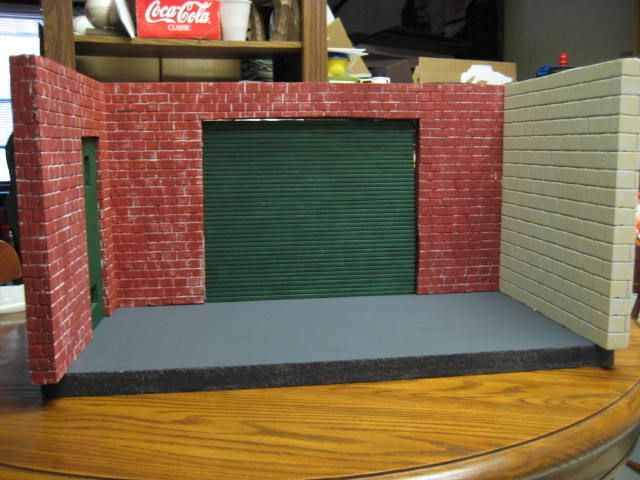 [/IMG]
All looks good...time to address those gaps between the garage door and the wall...first I took some of both sizes of craft sticks and squared them off by cutting off the rounded ends.
[IMG]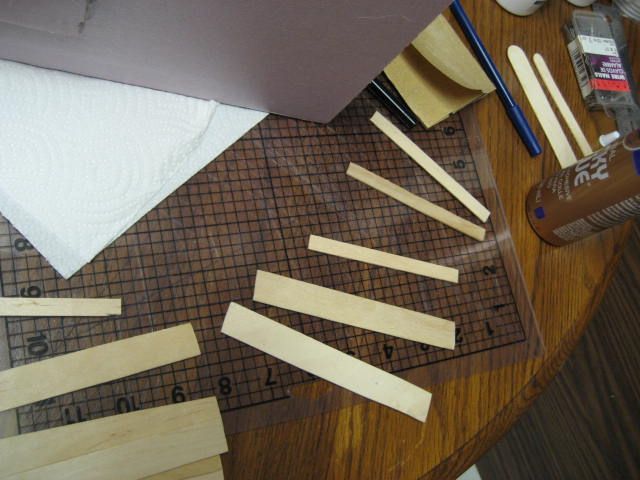 [/IMG]
Using the narrow craft sticks for the door jamb, I glued them along the top and one of the sides of the door jamb, creating a natural stop for the garage door.
[IMG]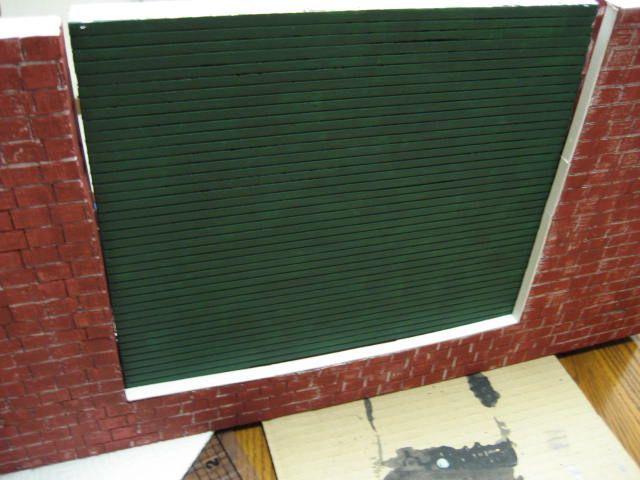 [/IMG]
I completed adding door jamb on the other side, painted all the door jambs, and then flipped it on its top edge so I could hot glue the garage door in place.
[IMG]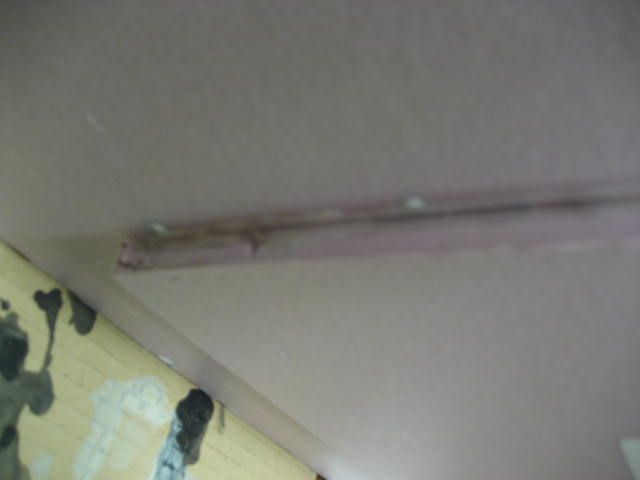 [/IMG]
Using the wide craft sticks I cut and mitered them to form the door frame molding.
[IMG]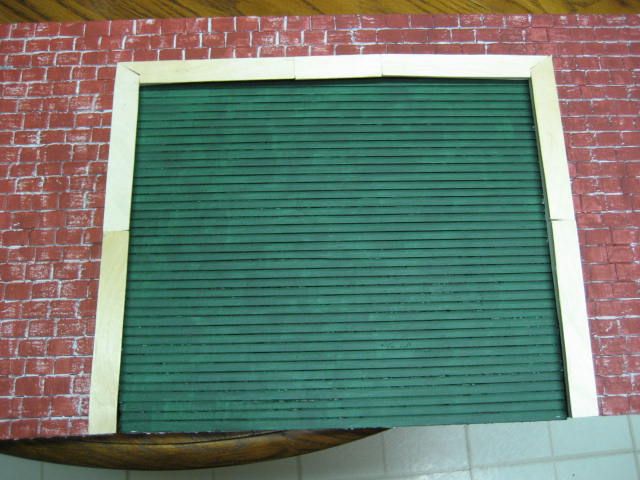 [/IMG]
With no more pesky gaps, I painted the door frame and called it a night.
[IMG]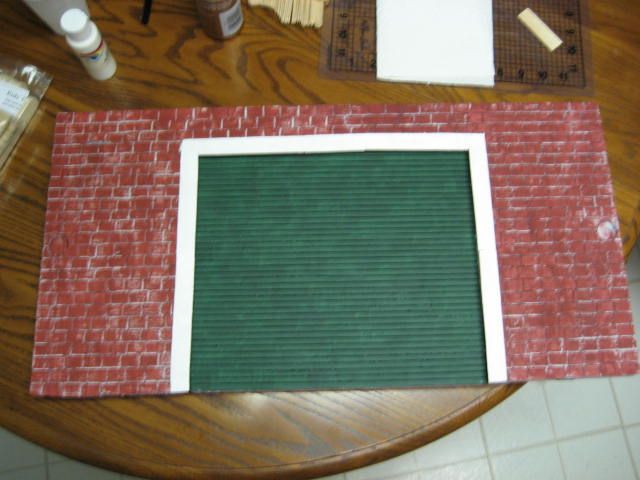 [/IMG]
Tomorrow, I will be making a jamb and frame for the service/man door, fabricating the window (upper), vent (lower) and their frames.Leave a comment:
-
Day seven, morning: With everything cut and patterned it is time to add color, to start a color wash is applied. The wash consists of 1 part paint to 6-8 parts water that is stirred to thoroughly dilute the paint. The wash is what seeps down into the details of the pattern(s) of the piece. For this dio I am using three different colors, for the dungeon dio I used a black wash on all the pieces.
Steel grey for the garage door and service door.
[IMG]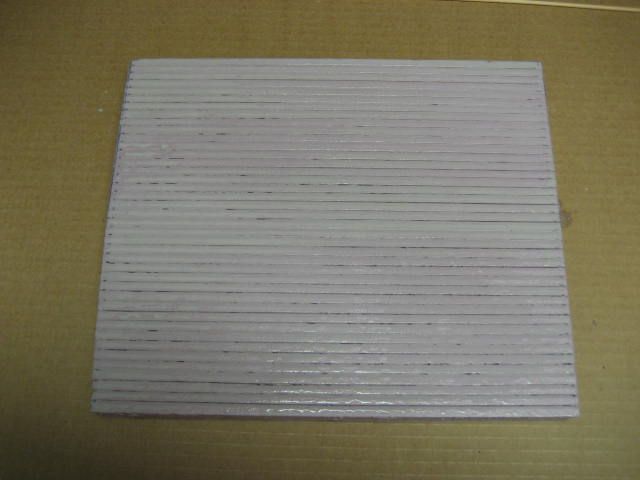 [/IMG]
[IMG]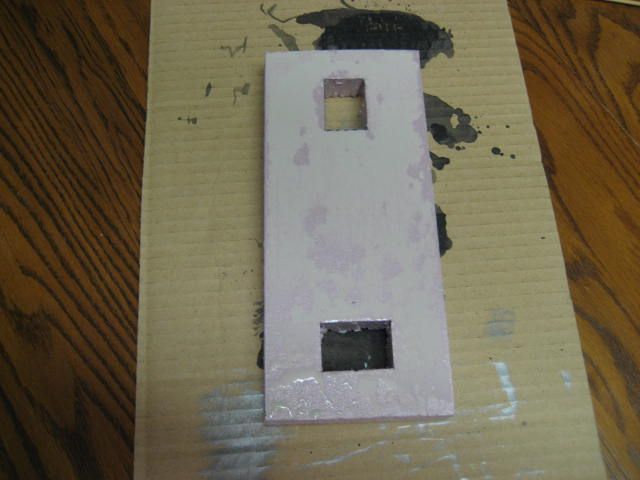 [/IMG]
Ash grey for the base.
[IMG]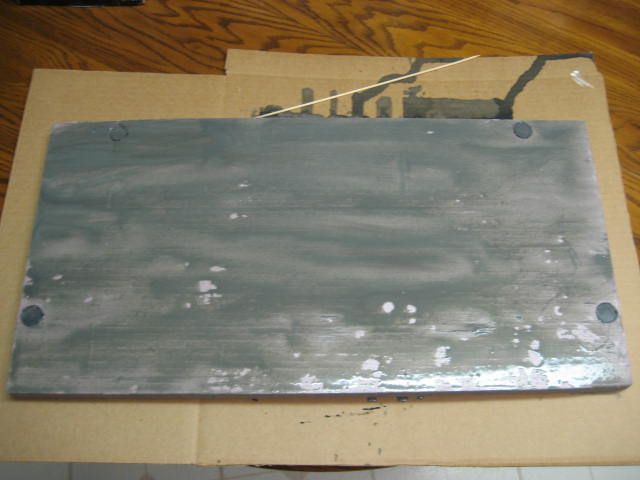 [/IMG]
Granite grey for the three walls.
[IMG]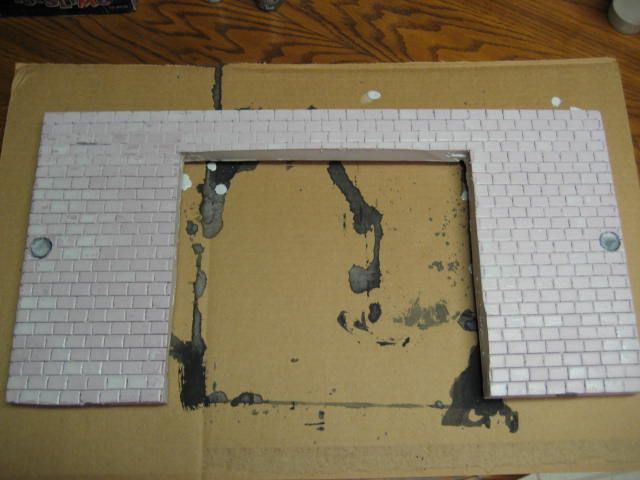 [/IMG]
[IMG]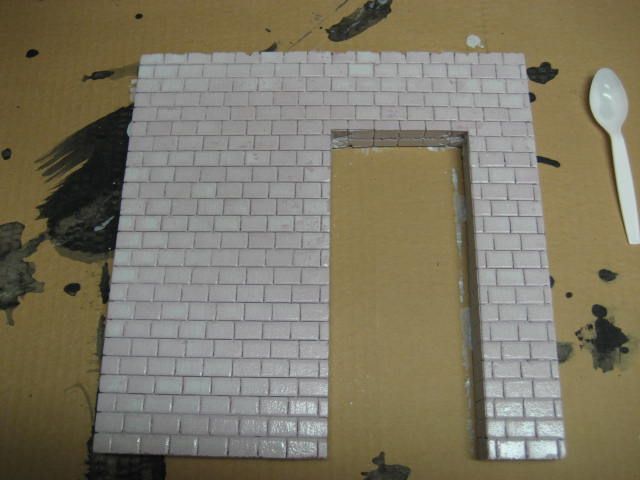 [/IMG]
[IMG]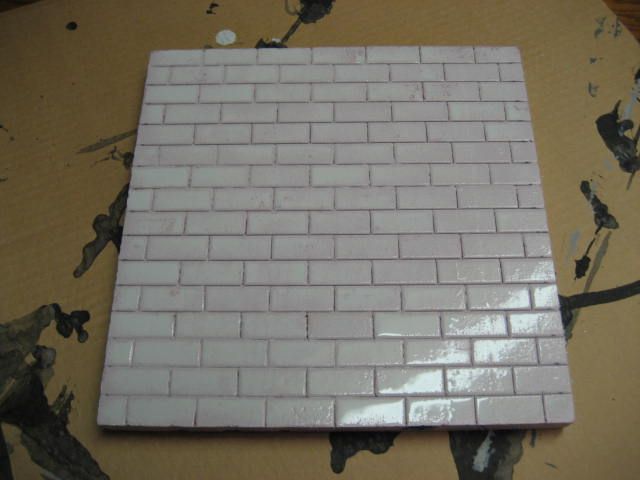 [/IMG]
I let the pieces dry for a few hours I while worked on my sewing project.
Day seven, afternoon: With the color wash dry it was time to lay down the base coat which is just the paint used in the wash, no dilution.
The steel grey on the doors...
[IMG]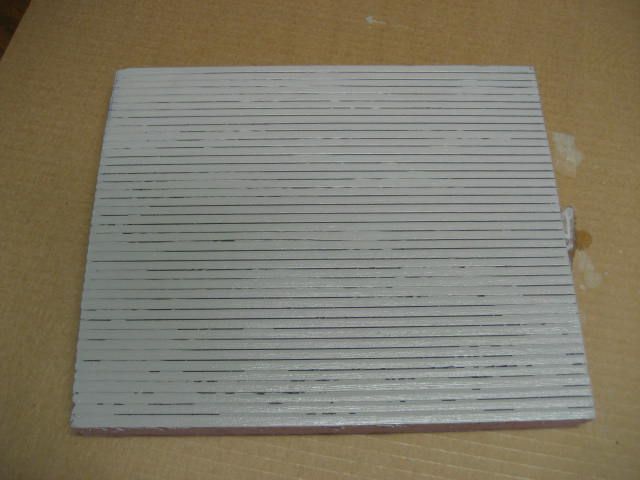 [/IMG]
[IMG]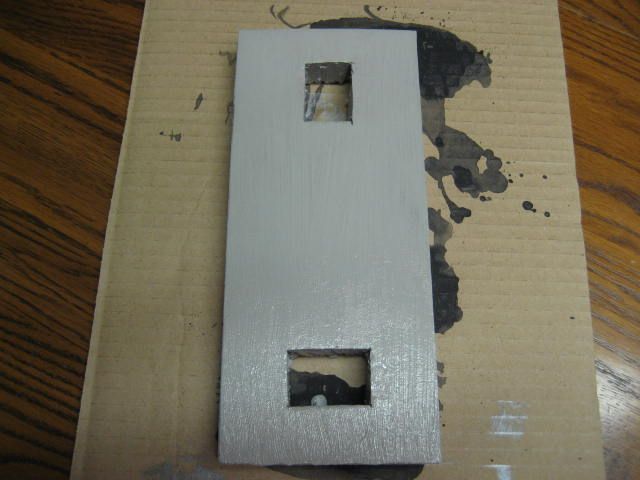 [/IMG]
Ash grey on the base...
[IMG]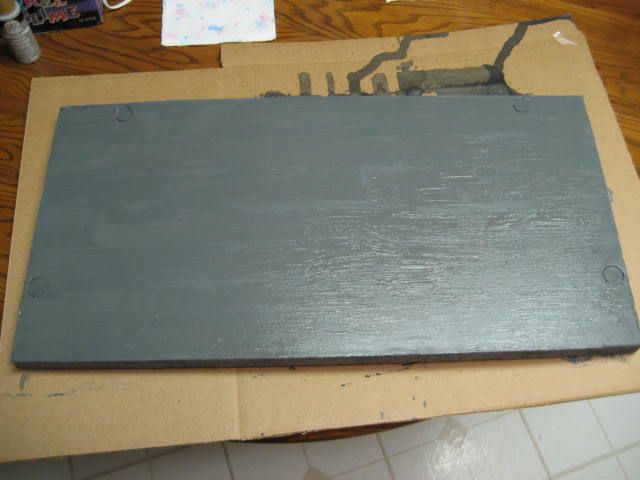 [/IMG]
And, granite grey on the walls...
[IMG]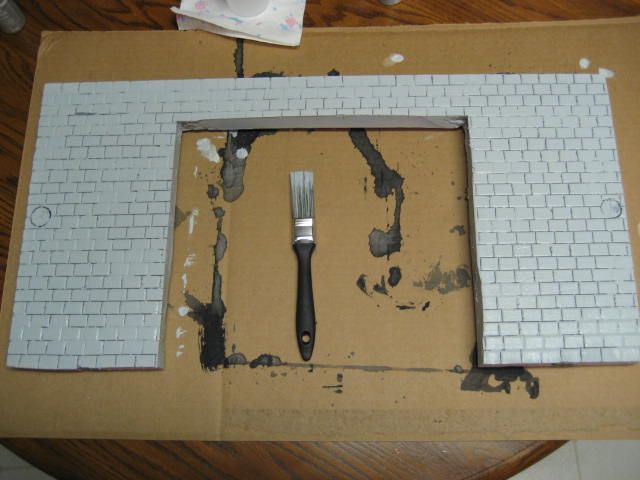 [/IMG]
[IMG]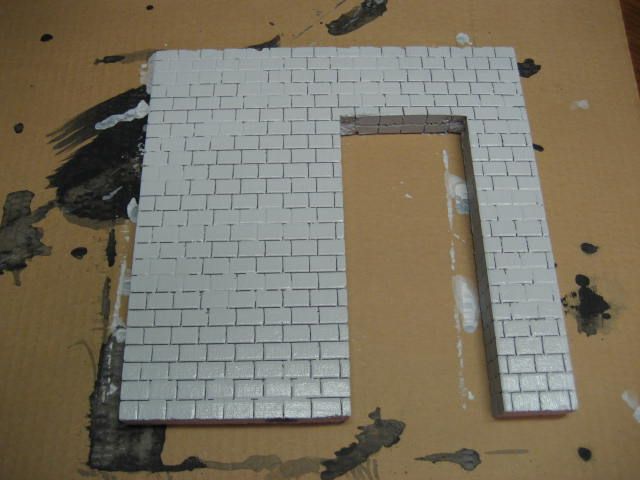 [/IMG]
[IMG]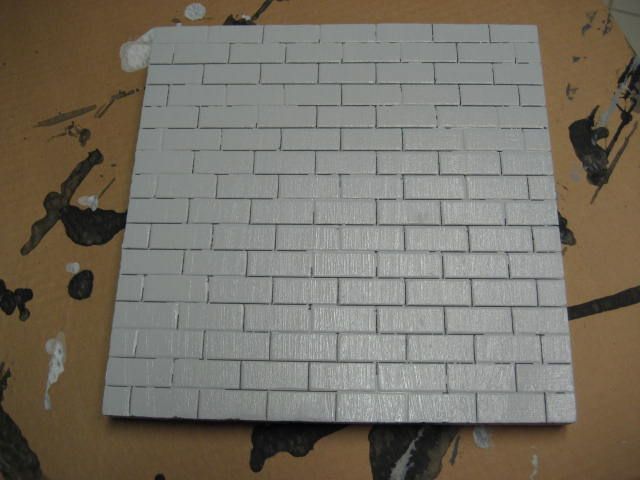 [/IMG]
Tomorrow I will begin dry brushing the upper color tones to the walls and straight up paint the doors.Leave a comment:
-
Wow! Extremely talented! Thanks for sharing! I very much appreciate when a customizer puts together tutorials like this one.Leave a comment:
-
Day four: I didn't have much time as I had to meet up with my co-workers for our fantasy football league draft night but I was able to measure and draw the guidelines for the garage door as well measure and mark for the brick pattern.
[IMG]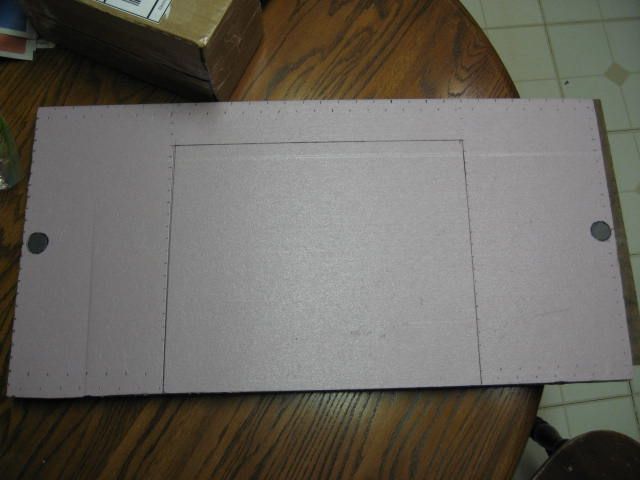 [/IMG]
Day five: Cut out the garage door and drew the brick pattern using a steel ruler and my Exacto.
[IMG]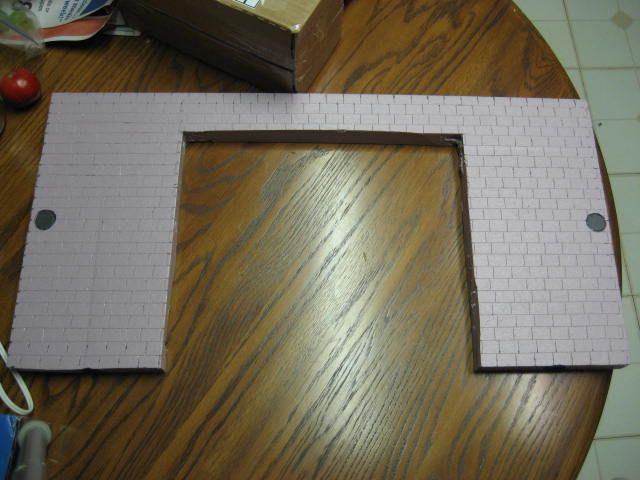 [/IMG]
On the garage door I measured and using the steel ruler and Exacto I drew the in the lines to mimic the pattern of industrial styled roll up doors.
[IMG]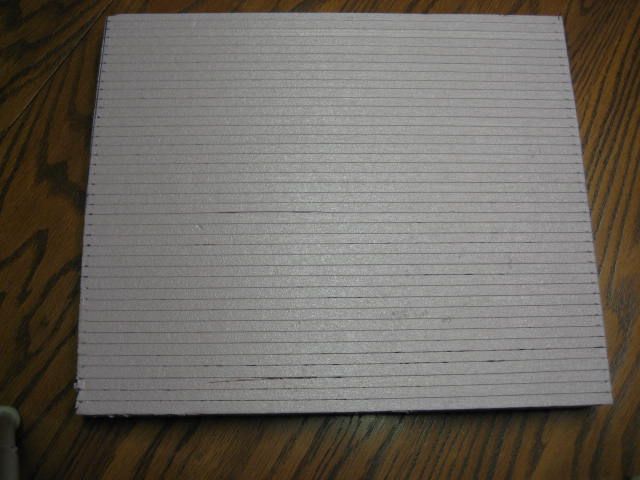 [/IMG]
Then it was time to trace the brick pattern of the wall with the dead ball point pen.
[IMG]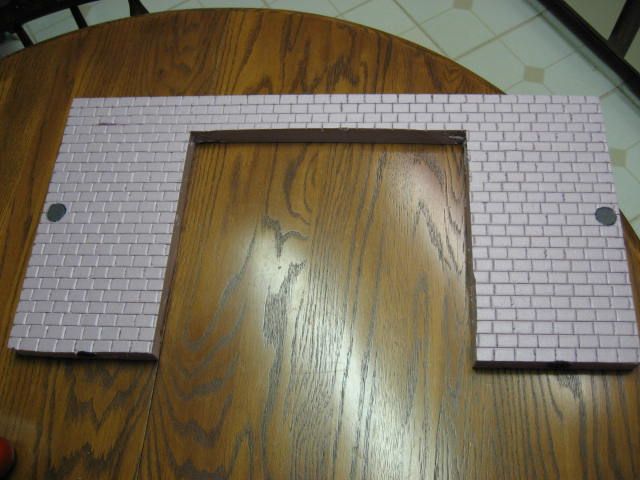 [/IMG]
And, give the same pattern trace treatment to the garage door.
[IMG]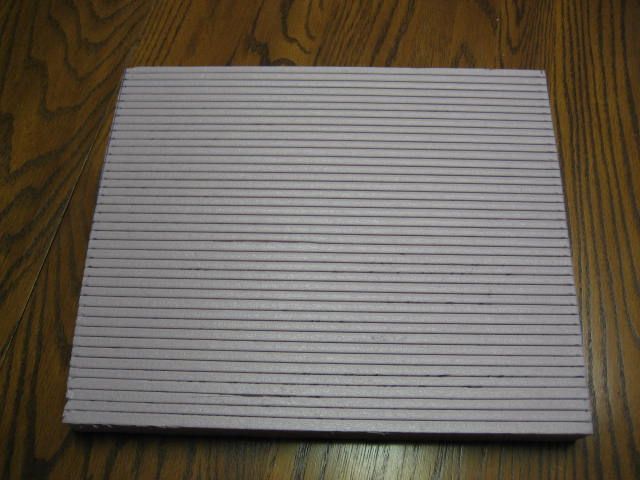 [/IMG]
All three walls are now patterned and ready for the paint wash and base coat.
[IMG]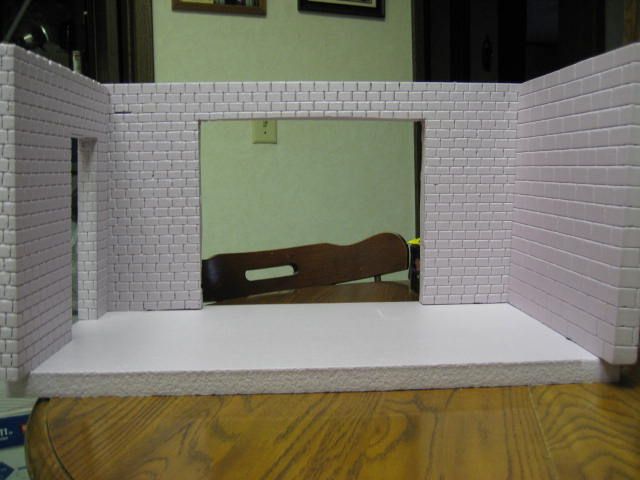 [/IMG]
I inserted the garage door for a test fit and see there is a bit of a gap in the one corner, my original plan was to frame the door opening with craft sticks and will adjust their positioning to hide the gap. The garage door is ready for its paint wash and base coat.
[IMG]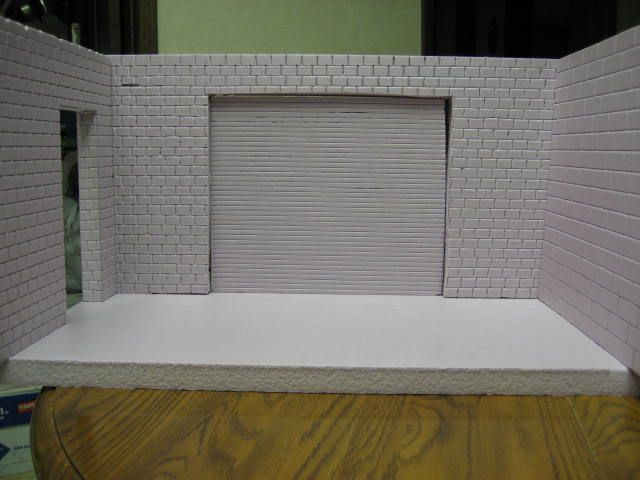 [/IMG]
Day six: I measured and cut out a window (upper) and a vent (lower) in the service door.
[IMG]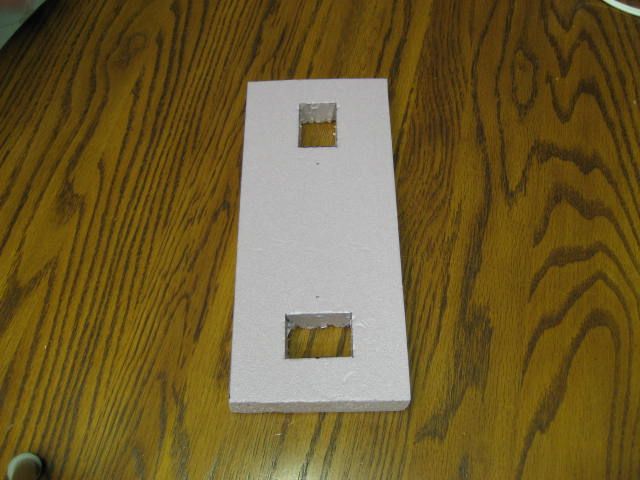 [/IMG]
And, a test fit of the service door in its wall.
[IMG]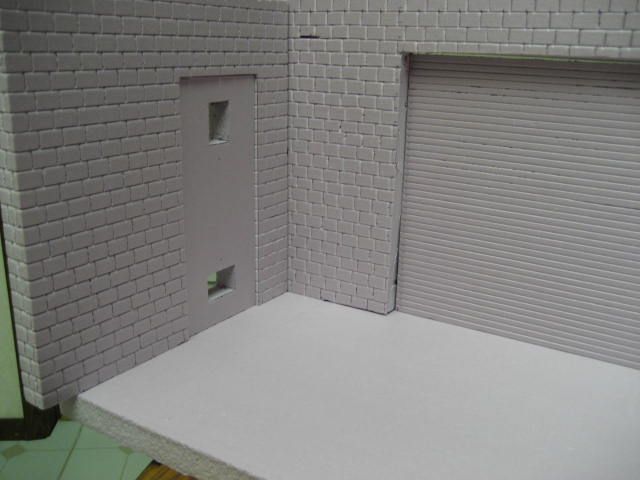 [/IMG]
Thanks to the holiday weekend I will be juggling my progress on this dio with a sewing project that I need to complete for a custom figure but I will photo and post my progress on the dio each evening.Leave a comment:
-
Day three: Measured and drew the outline for the door. Then I marked the sides for the horizontal lines and then marked for the top two courses to establish the vertical line pattern.
[IMG]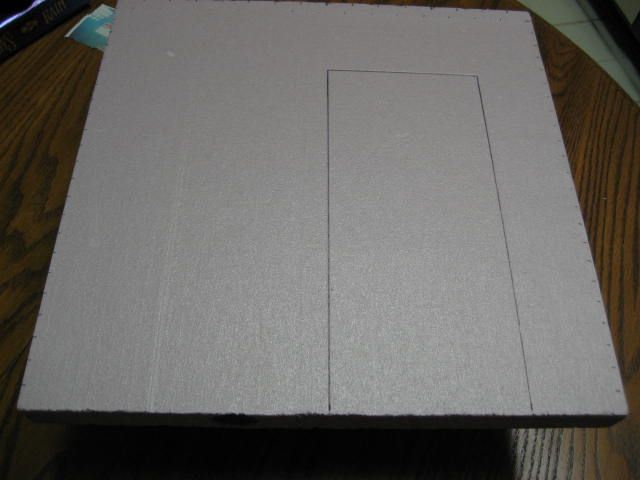 [/IMG]
After that I cut and extracted the door using an extendable box cutter. I then went to work "drawing" the horizontal and vertical lines of the brick pattern.
[IMG]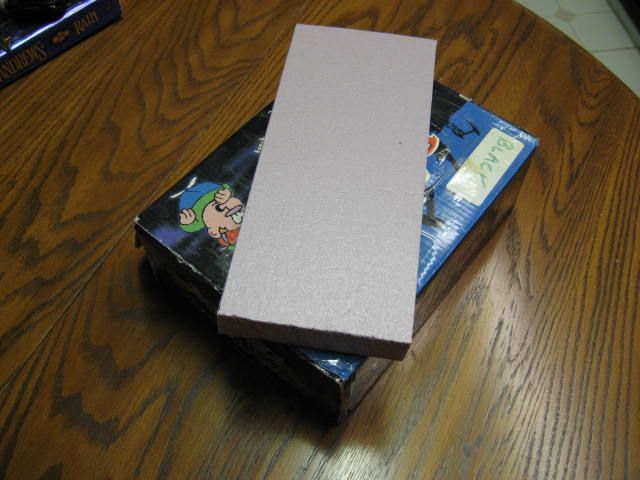 [/IMG]
[IMG]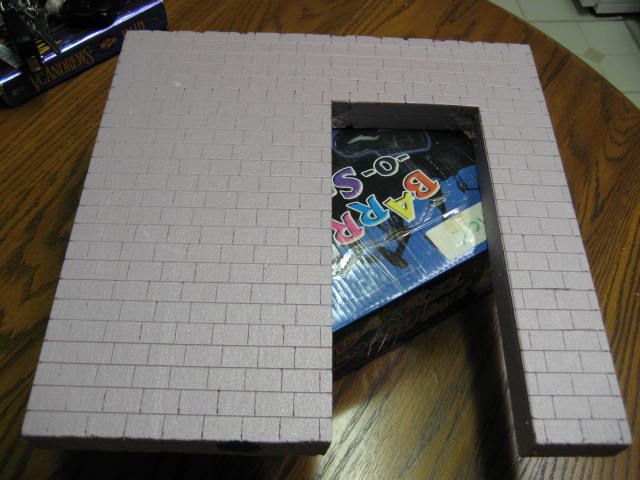 [/IMG]
Setting the door aside to work on another night I took my dead ball point pen and traced over the brick pattern with a little amount of pressure to give more definition to the brick pattern.
[IMG]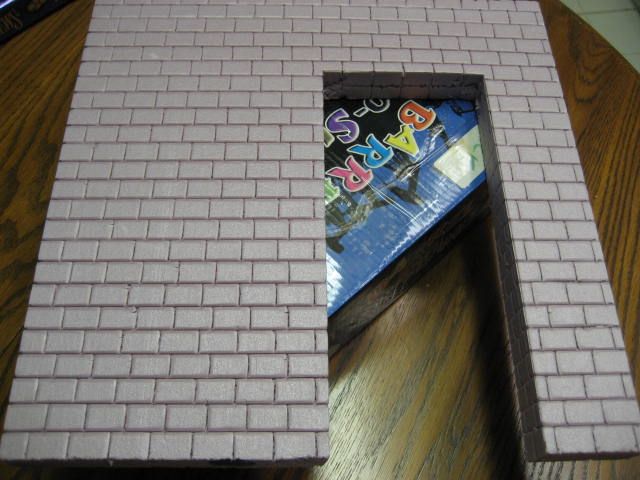 [/IMG]
Then I attached it to the rest of the dio for comparison.
[IMG] [/IMG]
The back wall will have the same masonry brick pattern as the side wall I patterned tonight. This wall will also feature a garage door. It will probably take me a few nights to complete that but I will take pics along the way and post them when the patterning is complete.
[IMG] [/IMG]
Last edited by Grimjohn; Sep 1, '15, 8:18 PM.
[/IMG]
Last edited by Grimjohn; Sep 1, '15, 8:18 PM.Leave a comment:
-
Dead end alley diorama
I have started making a new diorama and wanted to share pics of my progress on it.
So, after my first diorama I had one 24x12x12 piece of foam project board left so, I only needed to pick up a second 24x24 foam project board which I cut into two 24x12x12 pieces and then cut one of those into two 12x12 pieces. Then I traced and cut out the pockets for the magnets that I hot glued into place. The magnets provide excellent stability when assembling the walls.
[IMG]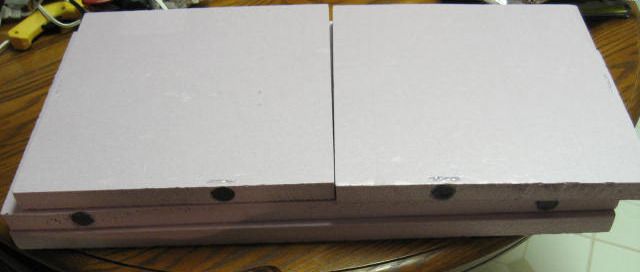 [/IMG]
[IMG]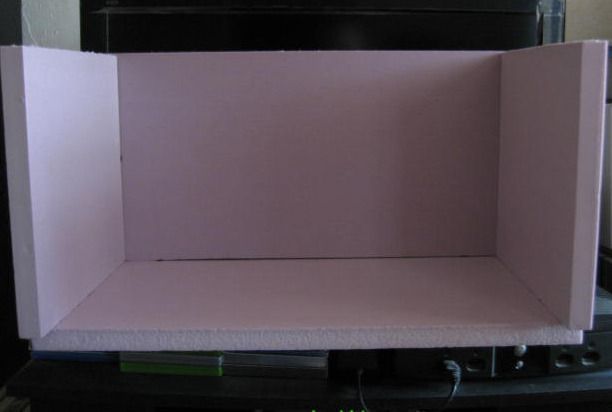 [/IMG]
[IMG] [/IMG]
Day two: After I got home from work I decided to layout the cinder block pattern on the side wall. Taking the real dimensions of a cinder block, 16"L x 8"H x 8"D, and converting them to Mego dimensions, 1 3/4"L x 3/4"H x 3/4"D, I measured and marked the perimeter of the wall then I drew the lines with my Exacto blade, using a metal straight edge as a guide.
[IMG]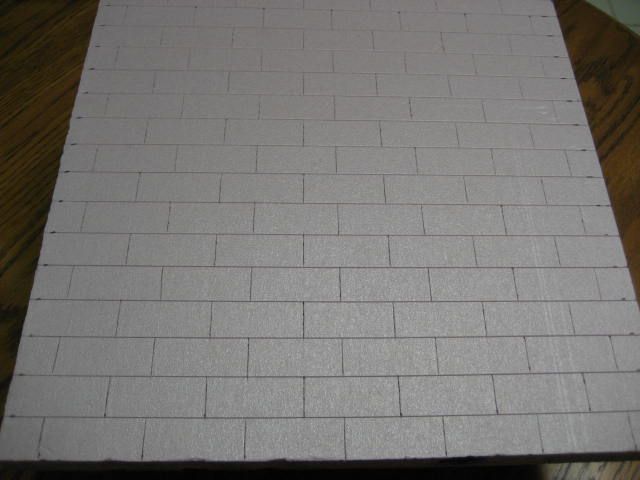 [/IMG]
After the initial line work was done I took a dead ball point pen and with a little applied pressure I traced the lines, adding definition to the blocks.
[IMG]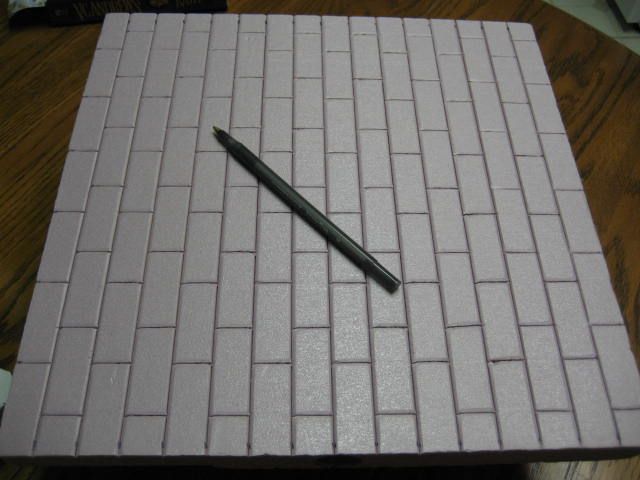 [/IMG]
Attaching it to the rest shows how this diorama is beginning to take shape.
[IMG]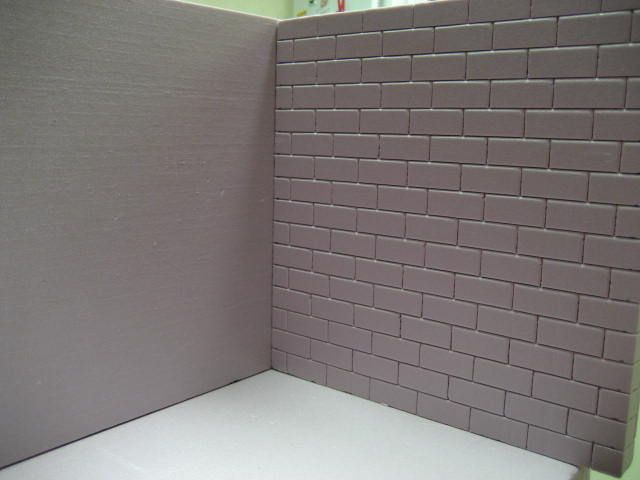 [/IMG]
Tomorrow, I plan to start the opposite wall, it will be a mason brick wall which will feature a tighter brick pattern. Also, I plan on featuring a door on that wall.


Leave a comment: