

 Tweet
Tweet
Hello sorry for the delay got ran behind with grand kids and pipe busted in my shop. But All is back in order now.
Here are some tips you might need to build your bounty hunter.
The order in building the kit .
Step one:
Prep your mego type one body
You can use a modified mego body with type one torso.
You can use cast away toys arms with type one torso
or regular type one arms. There are a combination of
things you can do,these are the ones that work best for this figure build.
Exacto knife,round cord,flatt elastic,plyers,drill bit set,plastic rod or wood dow,glue,sand paper,paint,brushes and time.
Mutant Mego Info:
You can modify a regular mego type 2 mego body with Type one torso.
Get a regular type 2 torso and cut the ball of of it.
Use THE HALF BALL for the type one torso to rotate on,On the pelvis.
Hope that makes sence.
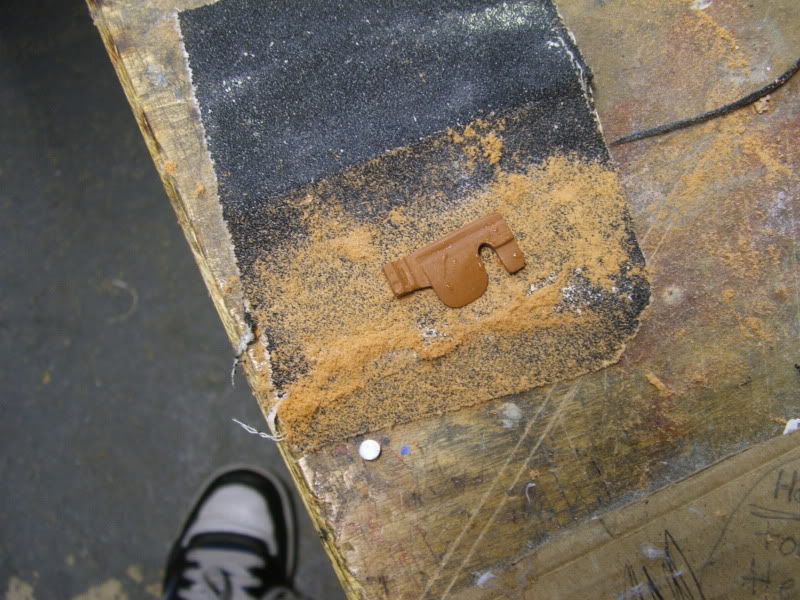
Step two: sand ,prep and clean parts for assembly.
Sand the armor and colar from back side this is important.
Use 220 to 320 sand paper.
Sand the plating thinner than they are till they fit.
Always keeping in mind he has many layers and we want a slim look.
Note: do not over sand parts. Check and fit,check and fit no hurries.
This will ensure a better fit and better figure in the long run.
Now you need a suit,Contact (( Jessica )) She has them.
They are completely machine sewn. I seen the one with
the details and they are amazing. The level of detail and
quality are fantastic.
If you plan on making a suit ,you need to use thinner fabric.
Reason for this is the bounty hunter has many layers of flack vest,armor and suit. You are looking for a thin stream lined look.
Now your body is built,you have a suit and the parts are sanded and ready.
Put your suit on him. And check the fit on your armor and such. You may need to do a final fitting.
You should be most of the way there now .
Now that you have the parts final fitting done.
You can now prep for paint.Lightly wet sand them so paint will stick.
Clean them off good once you have this done and paint them up.
Once thats done your ready for the final install.
ps. you will need some flatt elastic for knee pads. You must sand them thin then place them in hot water like the arms till they are plyable and then bend them around the knee for fit once suit is on figure.
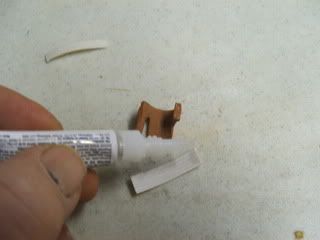
The elastic can be glued to cod piece to hold it on. as well like a harness.
here are some pics of tips you need to know to build the hunter.
Tools and stuff you need to get started. Sorry I suck at typing and it's hard to explain in message, but I'm going to try.

Now you will need to sand and paint it once finished.
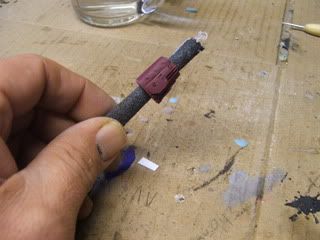
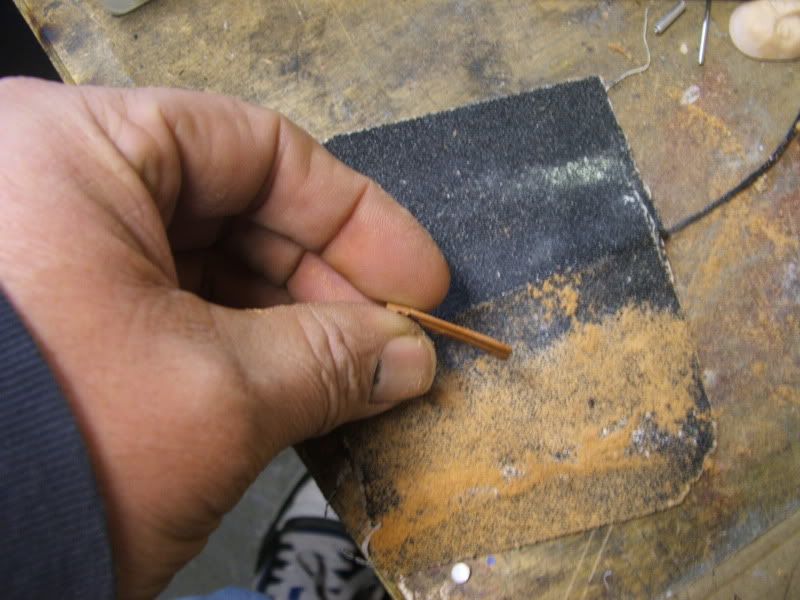
First roll a peice of 320 sand paper up into a tube for tube sanding the arm bands till they fit spot on. Take your time don't over sand sand a little then check.
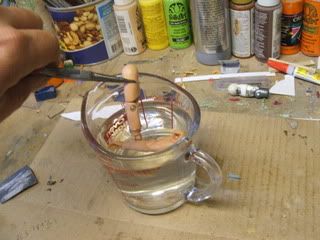
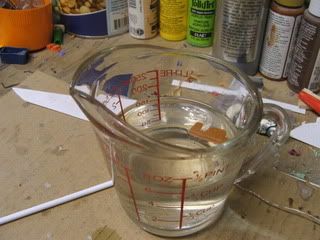
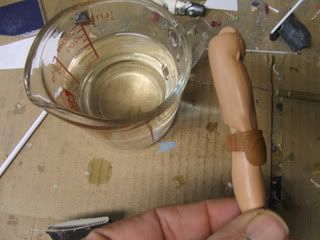
Tip : You can boil water to make hands come off easy.
You can also tie in cast away toy arms to type one torso.
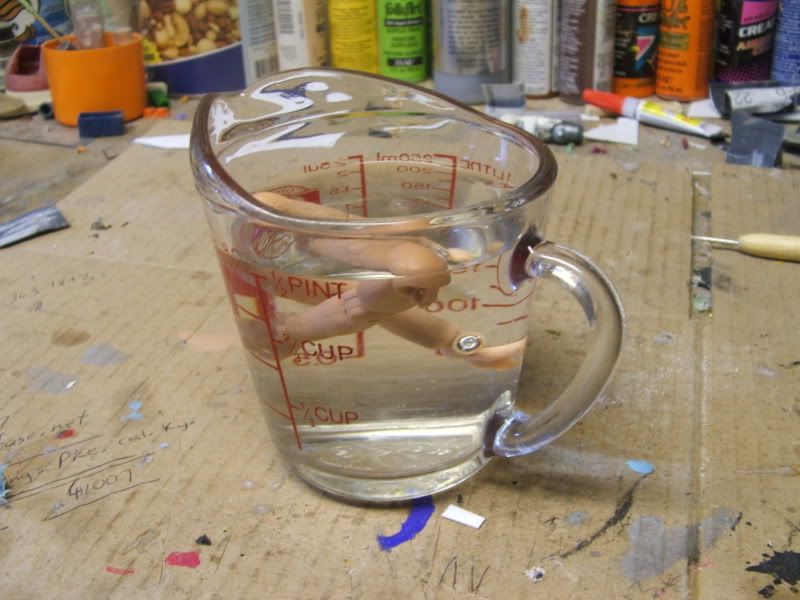
Use needle nose or something liek to remove arms form hot water.
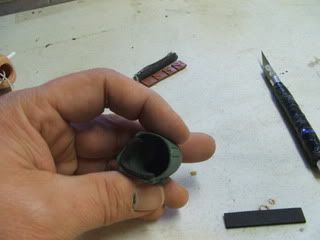
Tip for rotating head. Take a exacto knife and be carefull. Angle it and cut the neck hole silghtly all the way around beveling the edge. Do a little at a time till you get the propper fit. Now keep in nind buy the time you have clothes and helmet on and neck plate. you want a slightly longer neck so his head deasnt look squatted.
again take you time no rush for a good working fit.

Get styreen rod from a hobbie store or model shop. You can also use a dow rod of oak. Any lowes has them but something strong enough for the tension of the cord.
Drill hole threw chest with smaller drill bit for a pilot hole. Then a bigger one to match your rod. Make sure you rod matches the bit.


Now tie a knot on cord to size for a snug tension on the head, Pull excess cord dow and run rod threw cord and release. You should have a tight fit. Now I tie a lose knot till I ahve correct tension then I tighten knot for permanent knot. Hope this makes sence.


The distance between the knot should be a half inch or so if you drill hole in the middle of chest. Remember the cord streches so account for this.
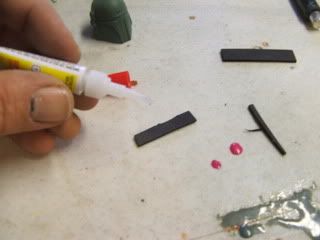
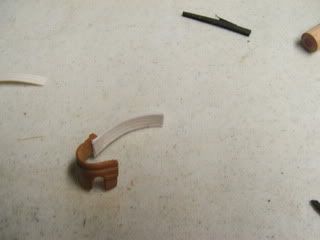
Foam fit for helmet :Everyone receved a strip of foam in their kit.
Cut it into a strip about a half inch long but a quarter inch.
Glue strip in lower jaw line in front of helmet.
It its not perfect thats ok you can trim the edge and no one can see it
is just for fit.
It is to snug up helmet and keep it form rubbing paint on head.

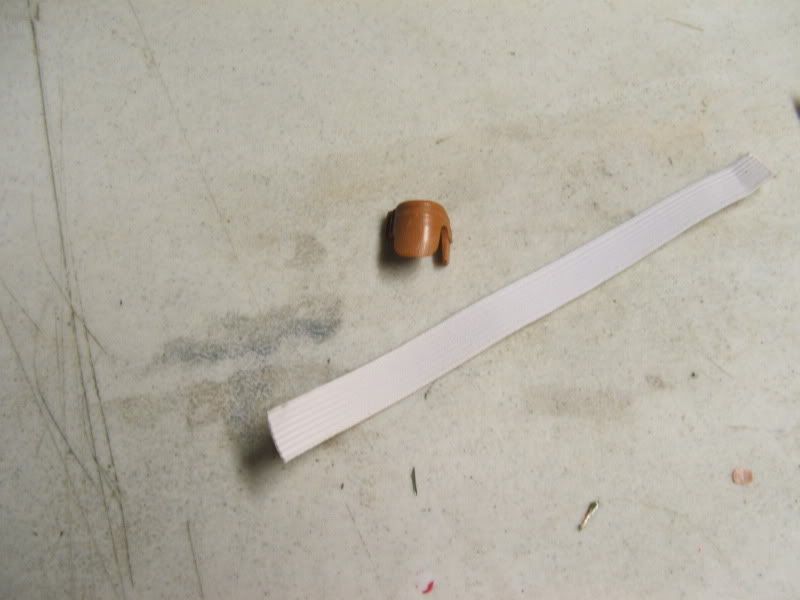
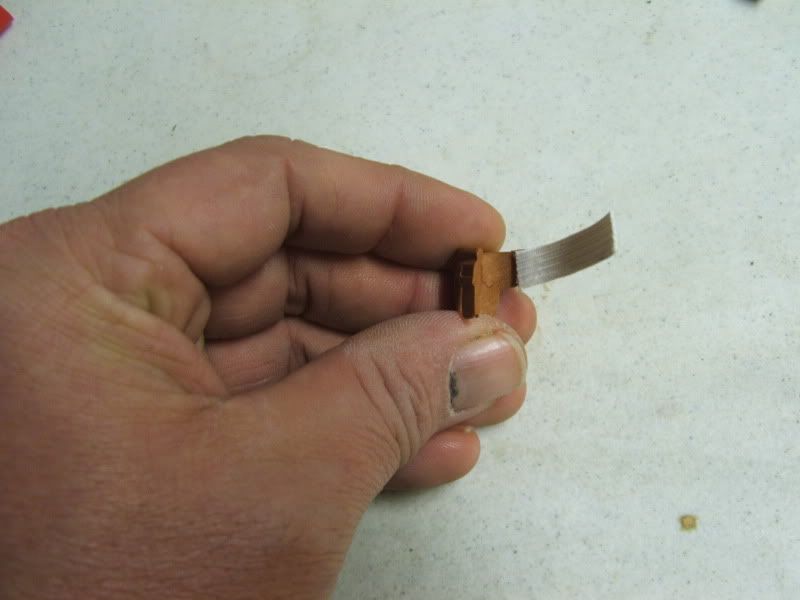
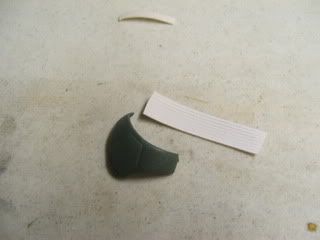
Belts and straps...you receved some strapping with kit, reason for this si to make belts.
Cut trim and sand you pounches,once done make sure you rought up the backs as well so glue will stick.

The neck colar I cut it in 2 halfs and then mounter it around neck after the suit was on. Cut it from side to side under not the top. I can show pics if needed ocne you get that far. Also the chest plates can be monted to a peice of fabric to hold them together then mount to suit.
This is a custom kit and you will need to sand plates from back side.
Thin them out as well as the neck colar and any other part for proper fit.
I will be happy to ansewer any questions.
PS. Jessica is making suit for them,Here is a prototype pic.
She will post finished pic once done. I seen the one with pockets and the details it's awsome. The quality and level of detail is fantastic,all machine sewn at a very reasonable rate. Pm her for details. thanks

Here is a reference pic of finished figure for you.
Here are some tips you might need to build your bounty hunter.
The order in building the kit .
Step one:
Prep your mego type one body
You can use a modified mego body with type one torso.
You can use cast away toys arms with type one torso
or regular type one arms. There are a combination of
things you can do,these are the ones that work best for this figure build.
Exacto knife,round cord,flatt elastic,plyers,drill bit set,plastic rod or wood dow,glue,sand paper,paint,brushes and time.
Mutant Mego Info:
You can modify a regular mego type 2 mego body with Type one torso.
Get a regular type 2 torso and cut the ball of of it.
Use THE HALF BALL for the type one torso to rotate on,On the pelvis.
Hope that makes sence.
Step two: sand ,prep and clean parts for assembly.
Sand the armor and colar from back side this is important.
Use 220 to 320 sand paper.
Sand the plating thinner than they are till they fit.
Always keeping in mind he has many layers and we want a slim look.
Note: do not over sand parts. Check and fit,check and fit no hurries.
This will ensure a better fit and better figure in the long run.
Now you need a suit,Contact (( Jessica )) She has them.
They are completely machine sewn. I seen the one with
the details and they are amazing. The level of detail and
quality are fantastic.
If you plan on making a suit ,you need to use thinner fabric.
Reason for this is the bounty hunter has many layers of flack vest,armor and suit. You are looking for a thin stream lined look.
Now your body is built,you have a suit and the parts are sanded and ready.
Put your suit on him. And check the fit on your armor and such. You may need to do a final fitting.
You should be most of the way there now .
Now that you have the parts final fitting done.
You can now prep for paint.Lightly wet sand them so paint will stick.
Clean them off good once you have this done and paint them up.
Once thats done your ready for the final install.
ps. you will need some flatt elastic for knee pads. You must sand them thin then place them in hot water like the arms till they are plyable and then bend them around the knee for fit once suit is on figure.
The elastic can be glued to cod piece to hold it on. as well like a harness.
here are some pics of tips you need to know to build the hunter.
Tools and stuff you need to get started. Sorry I suck at typing and it's hard to explain in message, but I'm going to try.
Now you will need to sand and paint it once finished.
First roll a peice of 320 sand paper up into a tube for tube sanding the arm bands till they fit spot on. Take your time don't over sand sand a little then check.
Tip : You can boil water to make hands come off easy.
You can also tie in cast away toy arms to type one torso.
Use needle nose or something liek to remove arms form hot water.
Tip for rotating head. Take a exacto knife and be carefull. Angle it and cut the neck hole silghtly all the way around beveling the edge. Do a little at a time till you get the propper fit. Now keep in nind buy the time you have clothes and helmet on and neck plate. you want a slightly longer neck so his head deasnt look squatted.
again take you time no rush for a good working fit.
Get styreen rod from a hobbie store or model shop. You can also use a dow rod of oak. Any lowes has them but something strong enough for the tension of the cord.
Drill hole threw chest with smaller drill bit for a pilot hole. Then a bigger one to match your rod. Make sure you rod matches the bit.
Now tie a knot on cord to size for a snug tension on the head, Pull excess cord dow and run rod threw cord and release. You should have a tight fit. Now I tie a lose knot till I ahve correct tension then I tighten knot for permanent knot. Hope this makes sence.
The distance between the knot should be a half inch or so if you drill hole in the middle of chest. Remember the cord streches so account for this.
Foam fit for helmet :Everyone receved a strip of foam in their kit.
Cut it into a strip about a half inch long but a quarter inch.
Glue strip in lower jaw line in front of helmet.
It its not perfect thats ok you can trim the edge and no one can see it
is just for fit.
It is to snug up helmet and keep it form rubbing paint on head.
Belts and straps...you receved some strapping with kit, reason for this si to make belts.
Cut trim and sand you pounches,once done make sure you rought up the backs as well so glue will stick.
The neck colar I cut it in 2 halfs and then mounter it around neck after the suit was on. Cut it from side to side under not the top. I can show pics if needed ocne you get that far. Also the chest plates can be monted to a peice of fabric to hold them together then mount to suit.
This is a custom kit and you will need to sand plates from back side.
Thin them out as well as the neck colar and any other part for proper fit.
I will be happy to ansewer any questions.
PS. Jessica is making suit for them,Here is a prototype pic.
She will post finished pic once done. I seen the one with pockets and the details it's awsome. The quality and level of detail is fantastic,all machine sewn at a very reasonable rate. Pm her for details. thanks
Here is a reference pic of finished figure for you.

 I see we use the same paints...Folk art acrylic all the way!!!

Comment