Help support the Mego Museum

Announcement

Collapse
No announcement yet.

How I tried to color match Type S hand to Type 1 body

Collapse
X
 
  • Time
  • Show
Clear All
new posts
  • Ewmoya
    New Member
    • Aug 30, 2020
    • 3

    How I tried to color match Type S hand to Type 1 body

    Hi all, first time posting but appreciate all the tips and tricks I’ve read here while I repaired a couple Megos. I recently bought a Type 1 body with a broken hand. Ultimately I ended up buying a Type 1 arm and just replaced the whole thing, but I wanted to see if I could affix a replacement hand to the old Type 1 arm. I bought a Type S hand and the color didn’t match. I ended up sanding the hand with 800 grit just to rough it up a bit, then dipped it into red acrylic paint. I let it sit overnight, washed/brushed off the paint (it doesn’t adhere all that well so it’s easy to remove) and here are the results. Hope this helps someone! Also would be curious what tips you might have for staining/dyeing plastic Mego parts.

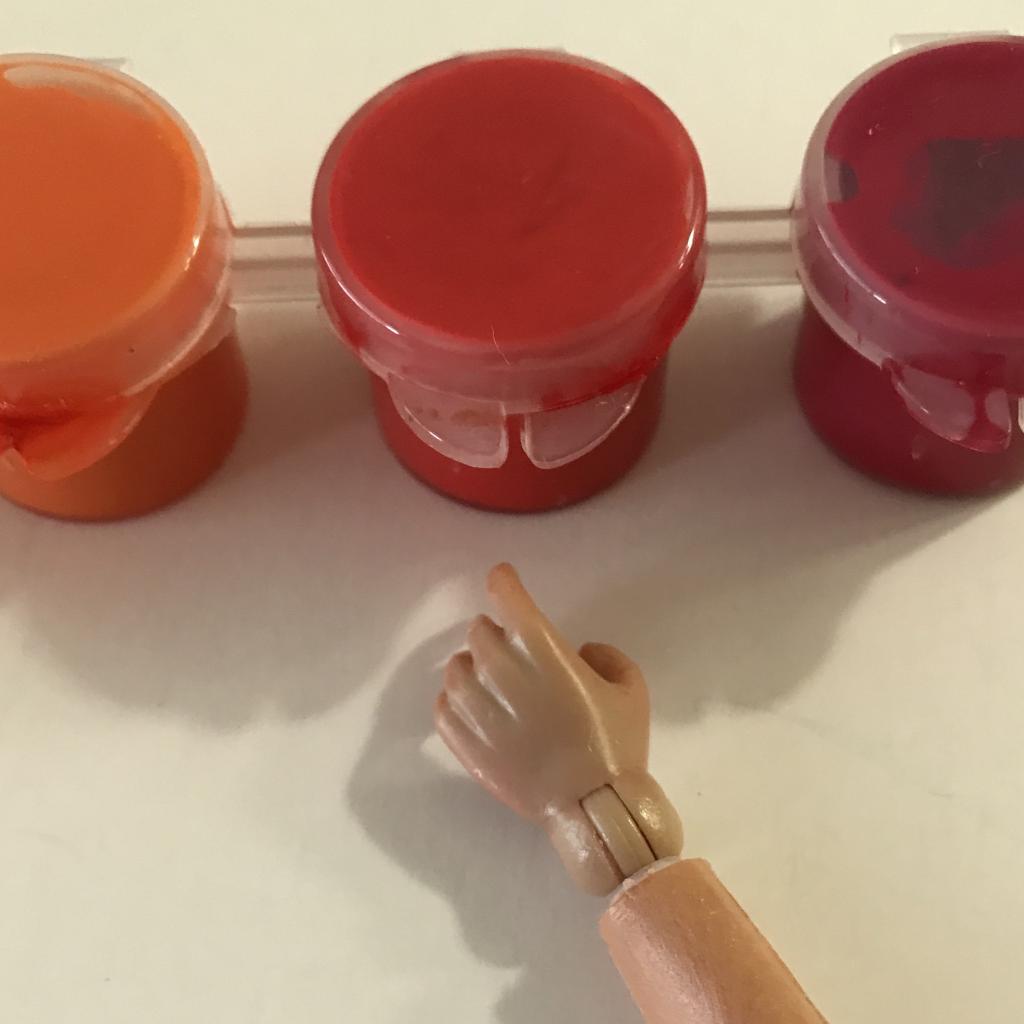
    I just used cheap hobby-store paint:


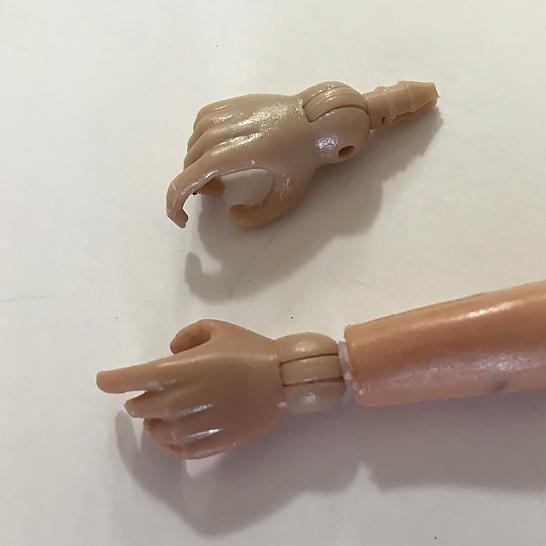
    Before and after (I just wrapped some tape around the hand’s post and shoved it in the arm hole, it works OK):


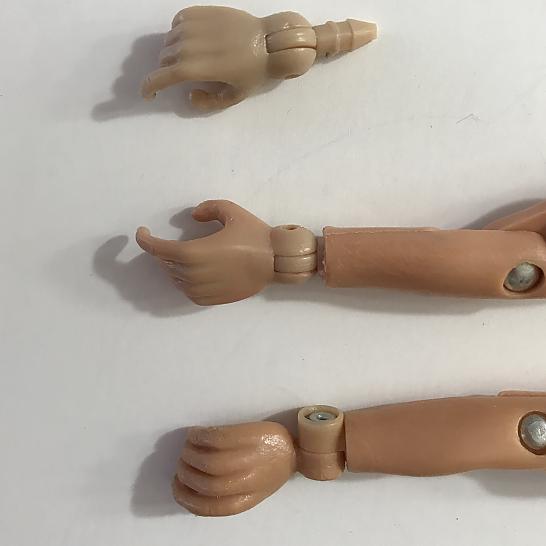
    Unstained, stained, Type 1:
  • Confessional
    Maker & Whatnot
    • Aug 8, 2012
    • 3411

    #2
    Yup, good experiment! You'll find that red pigments in many paints, inks, and markers will dye plastics as well as other permeable materials.

    You also don't have to layer paint on parts, rather you can use it to make your own dye solution and just shake and soak the parts until the desires tone is achieved.

    Comment

    • Ewmoya
      New Member
      • Aug 30, 2020
      • 3

      #3
      Originally posted by Confessional
      Yup, good experiment! You'll find that red pigments in many paints, inks, and markers will dye plastics as well as other permeable materials.

      You also don't have to layer paint on parts, rather you can use it to make your own dye solution and just shake and soak the parts until the desires tone is achieved.
      Ahhh makes sense. Yeah, I imagine the result would be more uniform that way too. This came out OK as an experiment. I’d originally planned to just paint the hand — I’d mixed up a nice match — but the acrylic wouldn’t stick. This was a Plan B ha ha.

      Comment

      • hedrap
        Permanent Member
        • Feb 10, 2009
        • 4825

        #4
        Very Nice!

        Comment

        • darkbros
          Persistent Member
          • Jul 3, 2012
          • 1359

          #5
          Great find! thanks for sharing!
          Customizing 1:9: My Videoblog journey of Customizing!
          https://www.facebook.com/customizingonenine
          ---------------------------------------------------------------------
          "I don't do it for the haters, I do it for the players." --snoop dogg

          Comment

          • Ewmoya
            New Member
            • Aug 30, 2020
            • 3

            #6
            Originally posted by hedrap
            Very Nice!
            Originally posted by darkbros
            Great find! thanks for sharing!
            Thanks folks! It’s been fun restoring my figures: buying replacement parts/clothing, touching up paint, cleaning etc. This forum has been invaluable, and there’s so much cool custom work here.

            Comment

            Working...
            😀
            🥰
            🤢
            😎
            😡
            👍
            👎