
 Tweet
Tweet
Nice. I'll be looking forward to seeing the results.
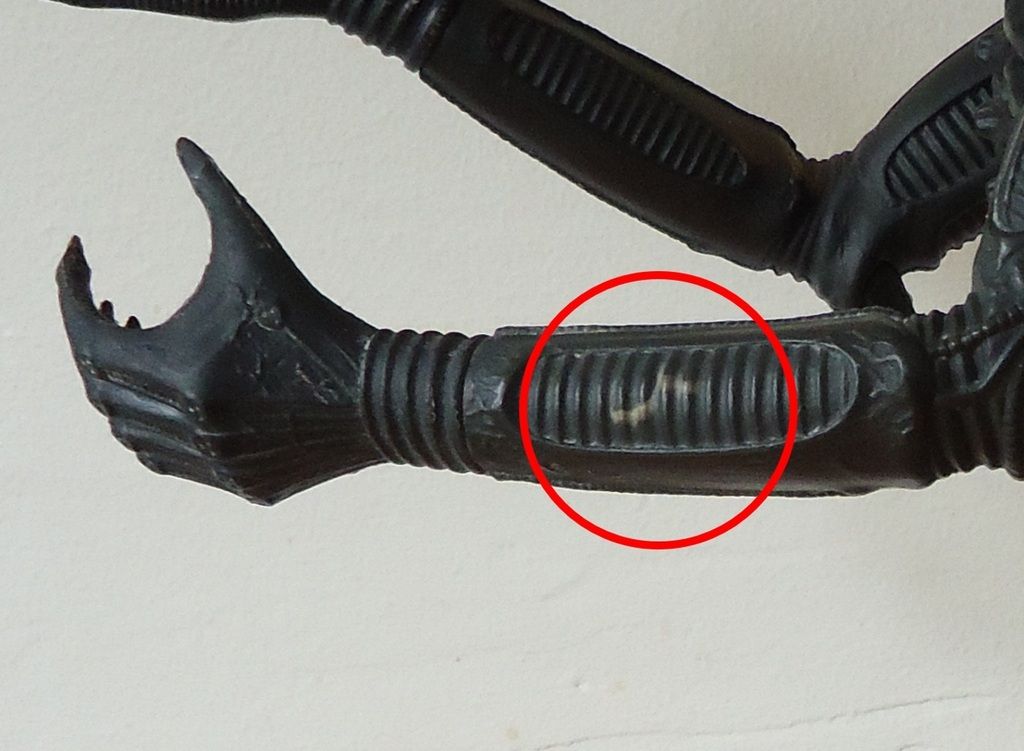
I forgot to mention about using sand paper and how much pressure you should apply to it to get the best results without unwanted scratching becoming apparent. True. It's a fine line between reducing the smoothness of the ball joint and scratching it, leaving unsightly marks at the joint. As this is a skill that may need to be practiced first, you may want to take advantage of the fact that the figure is dismantled and in pieces. This is a great opportunity to find out if your sand papering skills are up to the task.
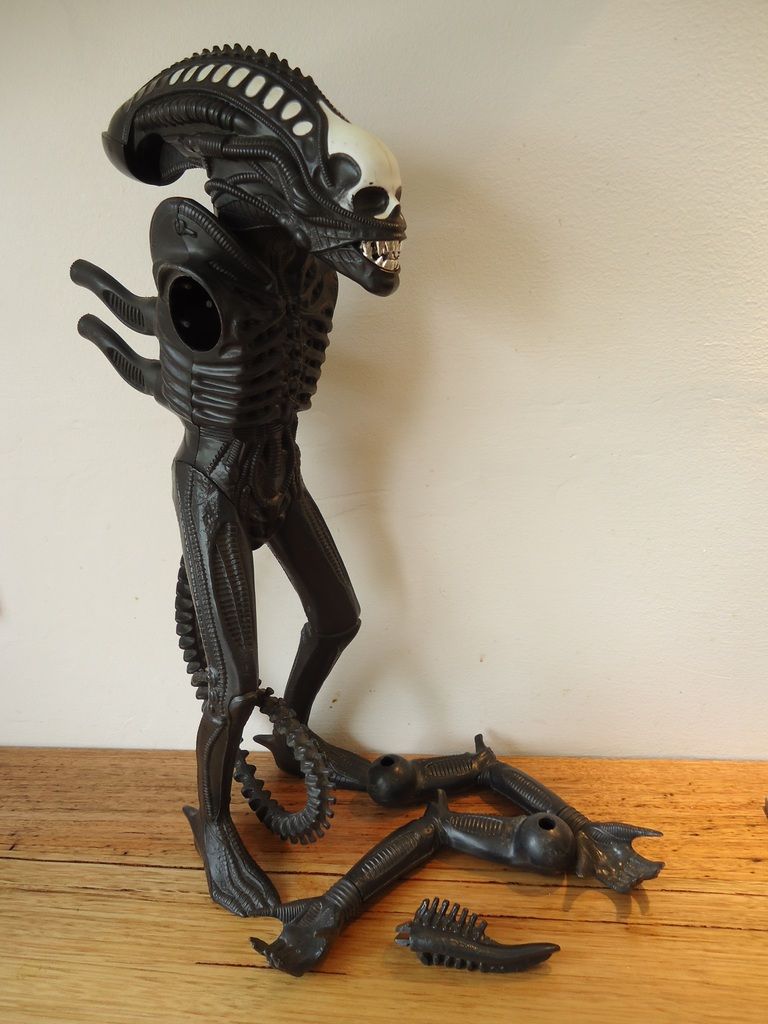
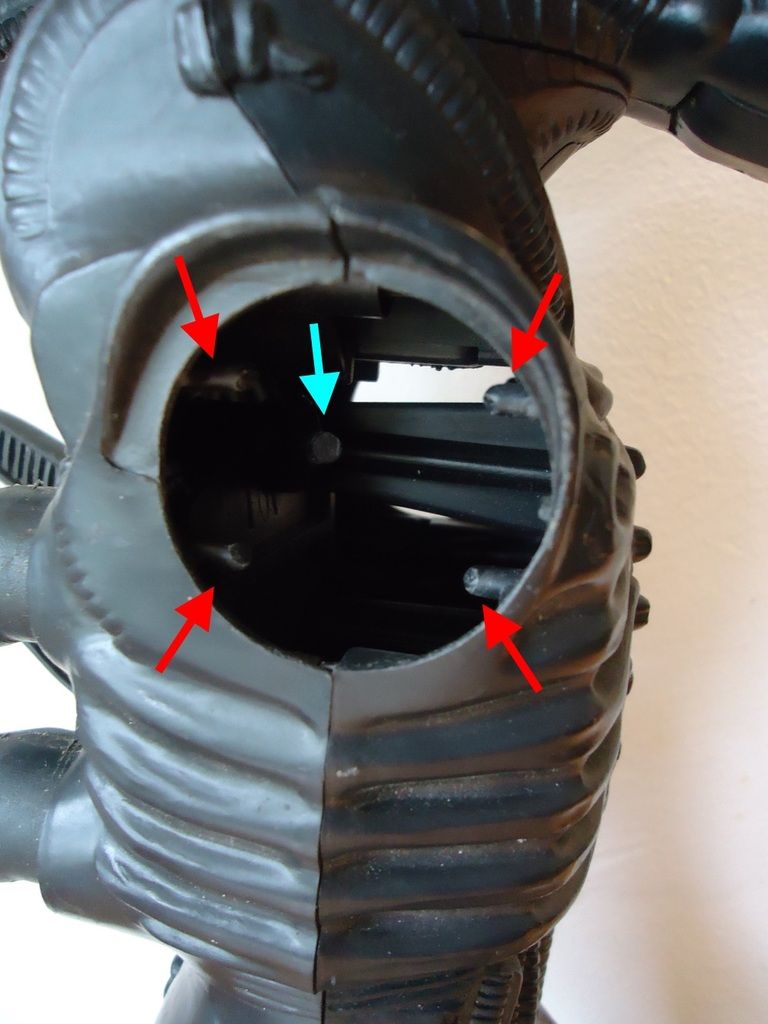
The dismantled figure provides you with ample opportunities inside the torso halves to test, practice and hone your skills. The abundance of posts and internal surfaces that are now exposed are ideal for this purpose. You can try out different sandpaper types and apply pressure to all of these surfaces in way that will not affect the figure's appearance as all of these internal surfaces will be concealed when the figure is re-assembled.
This is also a good way to experiment with other methods you may consider dubious that may potentially damage the figure irreparably. Say, for example, someone has applied paint to the figure and you want to remove it but don't want to risk damaging or melting or burning the plastic. Once again, use the interior surfaces of the front and back torso halves to experiment with such potentially aggressive chemicals before you attempt to use them to remove unwanted paint.
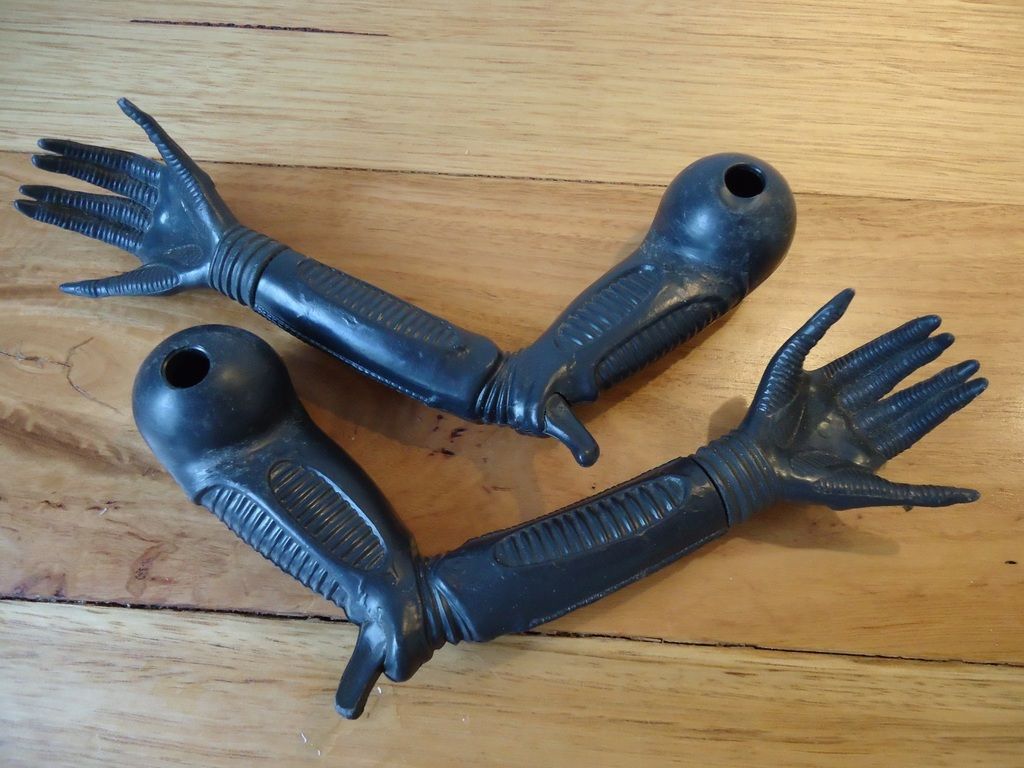
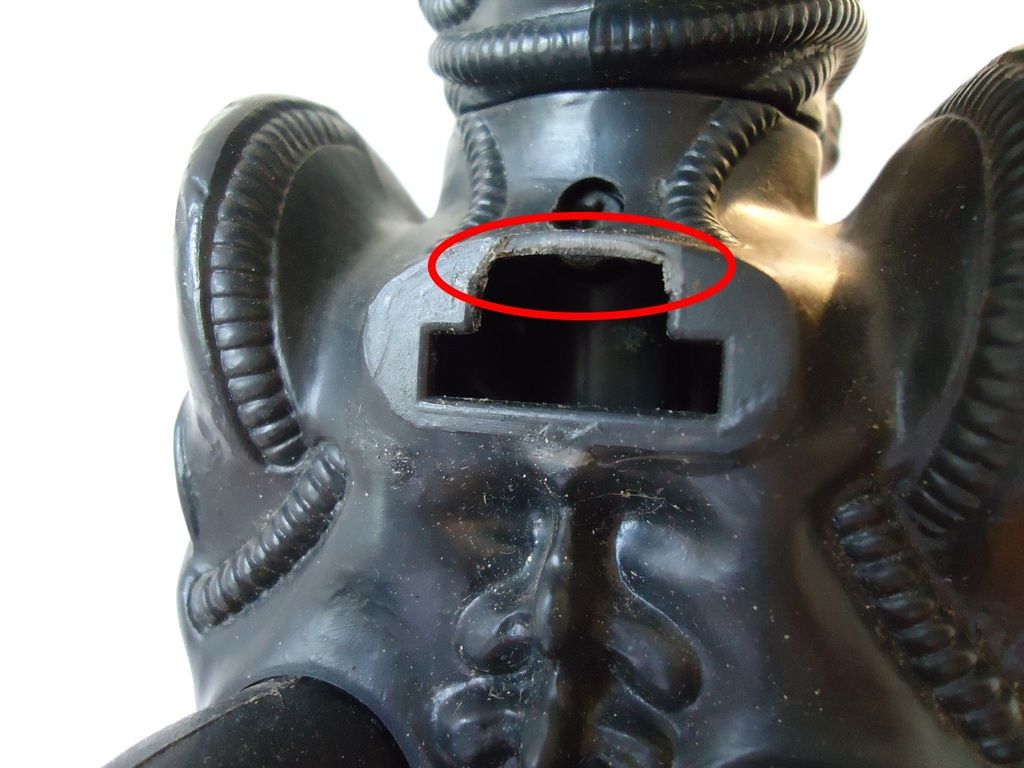
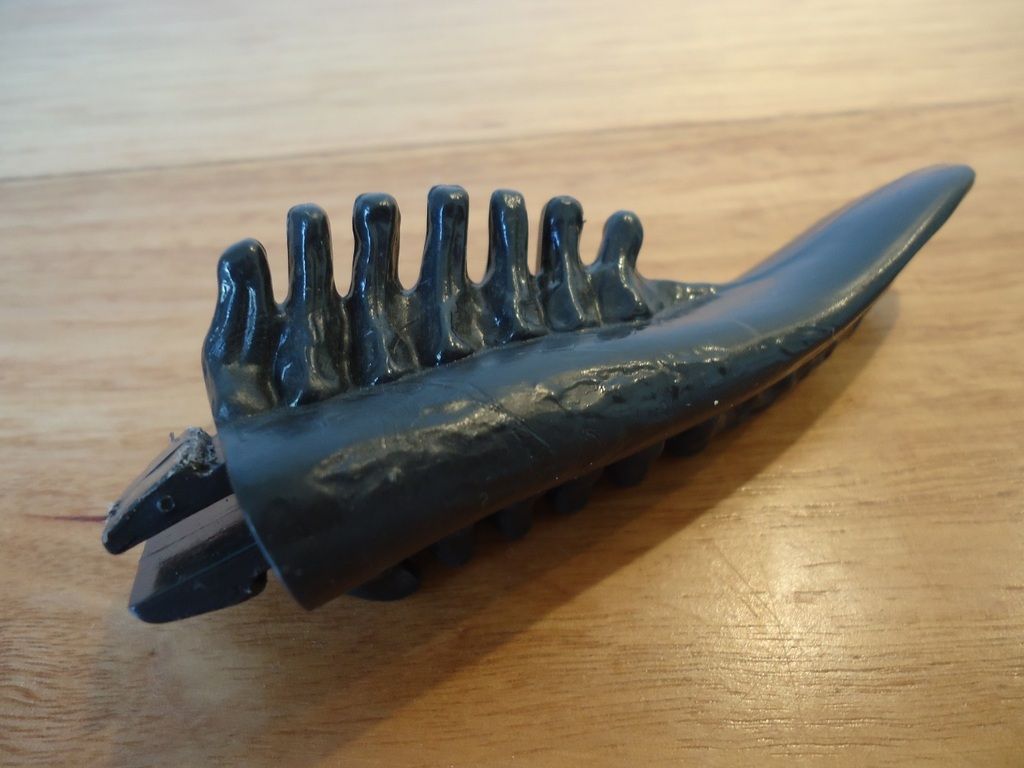
Remember that the head, torso, arms and legs are all made of the same plastic so the interior of the torso is a good testing platform. For treating paint that's been applied to the remaining parts (hands, all 5 dorsal appendages and the tail) which are all made of a different plastic entirely, the internal surfaces of the quad appendage mounting plate is an ideal place to test chemicals and paint solvents.
Avoid industrial strength paint strippers. You may end up in tears. Nail polish remover can have varying results depending on the brand. Brake fluid is useful for removing some paints. Lighter fluid has been known to work as well. Results will vary and also be dependent on the nature of the paint, whether it's an acrylic or enamel or some other weird choice. There's a ton of factors to take into consideration with resolving unwanted paint on these old figures. Sometimes, it just can't be removed as is the case with figures that have had custom paint work applied to them and been painted from head to toe.
Once again, patience is key here and research is rewarding. You'll have to make your own judgment calls but at least you can test inside the figure and evaluate the results before you progress any further.
-Windebieste.
I forgot to mention about using sand paper and how much pressure you should apply to it to get the best results without unwanted scratching becoming apparent. True. It's a fine line between reducing the smoothness of the ball joint and scratching it, leaving unsightly marks at the joint. As this is a skill that may need to be practiced first, you may want to take advantage of the fact that the figure is dismantled and in pieces. This is a great opportunity to find out if your sand papering skills are up to the task.
The dismantled figure provides you with ample opportunities inside the torso halves to test, practice and hone your skills. The abundance of posts and internal surfaces that are now exposed are ideal for this purpose. You can try out different sandpaper types and apply pressure to all of these surfaces in way that will not affect the figure's appearance as all of these internal surfaces will be concealed when the figure is re-assembled.
This is also a good way to experiment with other methods you may consider dubious that may potentially damage the figure irreparably. Say, for example, someone has applied paint to the figure and you want to remove it but don't want to risk damaging or melting or burning the plastic. Once again, use the interior surfaces of the front and back torso halves to experiment with such potentially aggressive chemicals before you attempt to use them to remove unwanted paint.
Remember that the head, torso, arms and legs are all made of the same plastic so the interior of the torso is a good testing platform. For treating paint that's been applied to the remaining parts (hands, all 5 dorsal appendages and the tail) which are all made of a different plastic entirely, the internal surfaces of the quad appendage mounting plate is an ideal place to test chemicals and paint solvents.
Avoid industrial strength paint strippers. You may end up in tears. Nail polish remover can have varying results depending on the brand. Brake fluid is useful for removing some paints. Lighter fluid has been known to work as well. Results will vary and also be dependent on the nature of the paint, whether it's an acrylic or enamel or some other weird choice. There's a ton of factors to take into consideration with resolving unwanted paint on these old figures. Sometimes, it just can't be removed as is the case with figures that have had custom paint work applied to them and been painted from head to toe.
Once again, patience is key here and research is rewarding. You'll have to make your own judgment calls but at least you can test inside the figure and evaluate the results before you progress any further.
-Windebieste.

 ). Kenner MASSIVELY under-estimated their popularity, had to use an Early Bird Kit as a stop gap to manage Christmas orders - a strategy that worked and customers received their figures in Feb/March of 1978. During the 8 remaining months of the year, Kenner sold 40 million of them.


Comment