

-
Day ten: Now that the basics of this alley diorama are done, I can spread my creative wings a little and try adding some details to make this dio a little more realistic. Using a DIY Straw kit I picked up off Amazon, I will attempt to simulate lengths of conduit running between different points on the walls.
[IMG]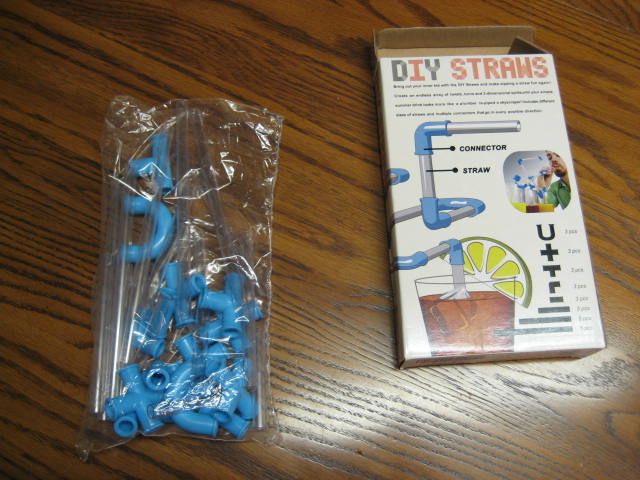 [/IMG]
I will start with the cinder block wall, my goal with the conduit on this wall is to hide the seam where this wall connects to the back wall and give the illusion it is a separate building.
[IMG]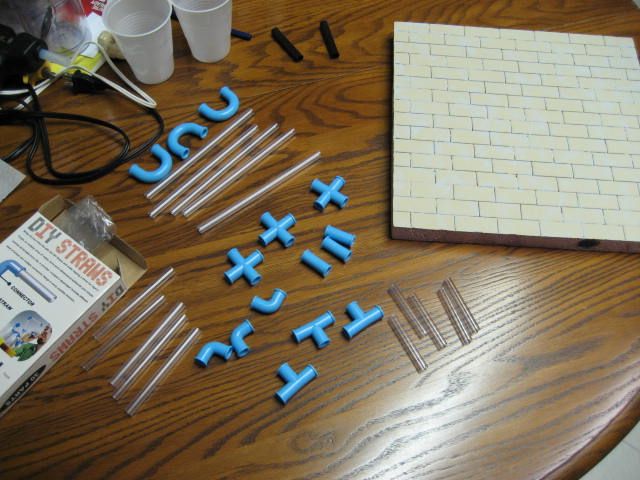 [/IMG]
Using the foam blocks I extracted from the window and vent holes on the door, I cut them in half and will use them as termination points for this run of conduit.
[IMG] [/IMG]
After applying a coat of ash grey paint and gluing a 1/4" dowel pin that I cut in half to it I glued it into position on the wall.
[IMG]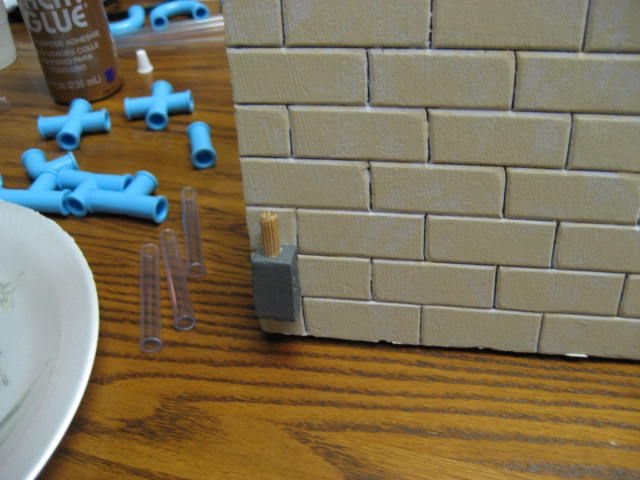 [/IMG]
The upper termination box and the conduit got a coat of ash grey as well. The other half of the dowel pin has been glued into position.
[IMG]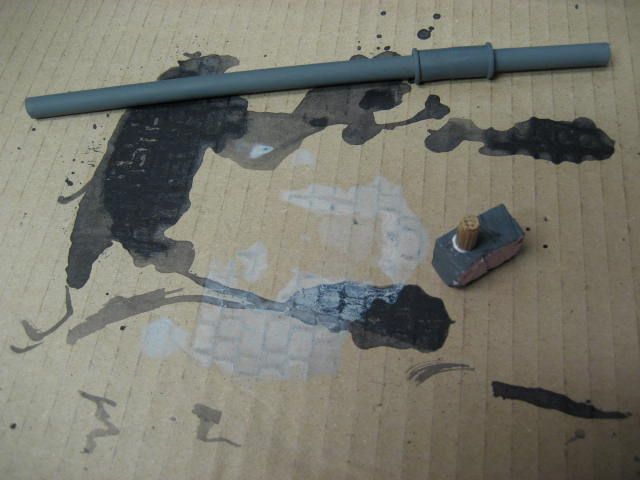 [/IMG]
I applied a little glue to the lower termination box pin and using it as a guide I position the conduit down on top of it. Then, I applied glue to the guide pin of the upper termination box, inserted it into the top of the conduit and glued the top termination box into position.
[IMG]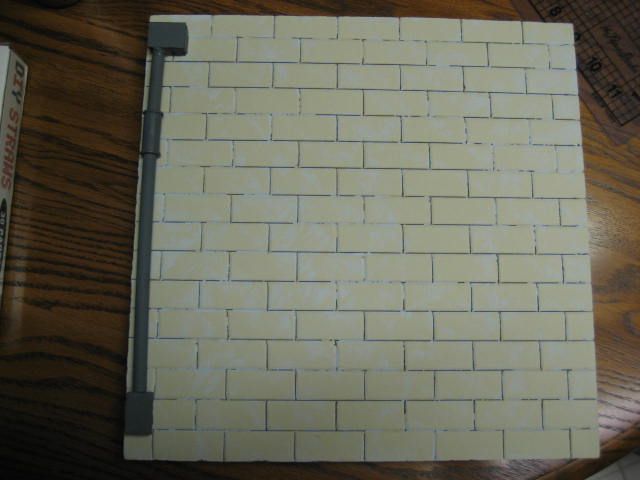 [/IMG]
And, attaching it to the rest of the dio I can see that it hides the seam quite nicely.
[IMG] [/IMG]
And, a tighter shot of the corner.
[IMG]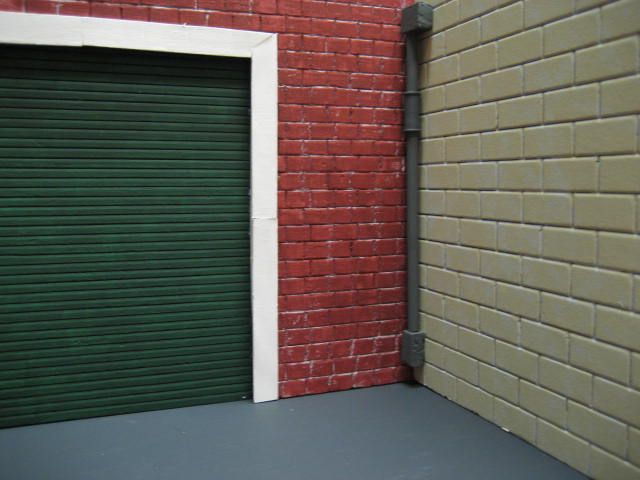 [/IMG]
I have a large prop that will be placed up against this wall so, I will not be adding anything more to the cinder block wall. However, I will be experimenting with the straw kit some more on the other two walls.
Tomorrow, I will detail the service door wall.Comment
-
Man, that crazy straw pipe is inspired! The kids even have one of those floating around somewhere, and I never would have thought to do that...Comment
-
Disclaimer: I have to apologize for the lighting of the first few pics, Cindy had the kitchen table tied up so, I had to work on the first few steps in the living room where the lighting isn't that great.
Day eleven: I cut several 1/2"x1/2" squares out of a foam plate and then cut 1/4"x1/4" squares out of the center of two of them turning them into frames.
[IMG]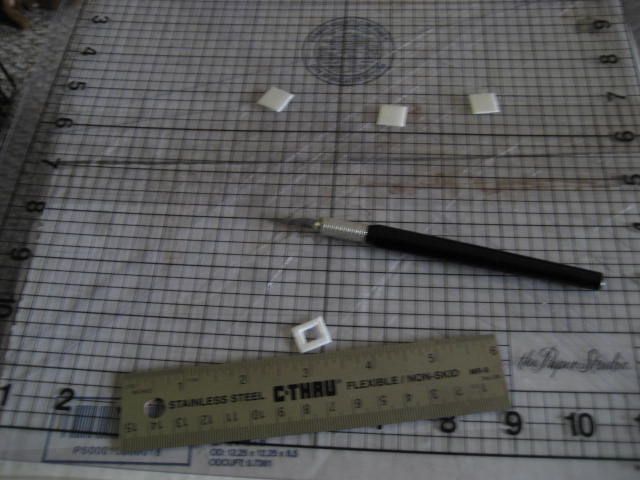 [/IMG]
I then painted the two of them black.
[IMG]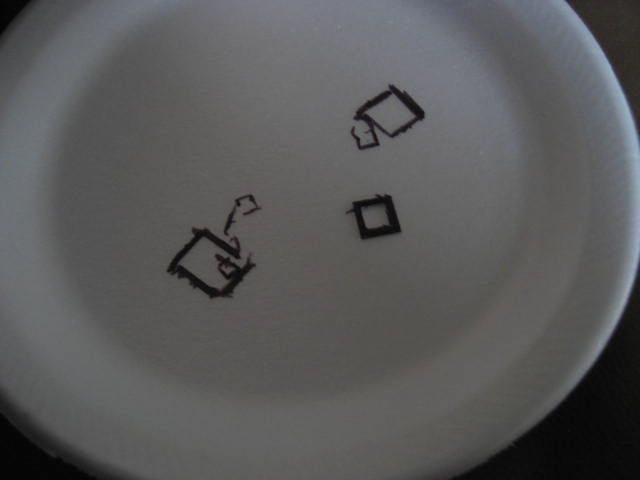 [/IMG]
A 1/4"x1/4" hole was cut into the wall and one of the frames was glued to the wall surrounding the hole.
[IMG]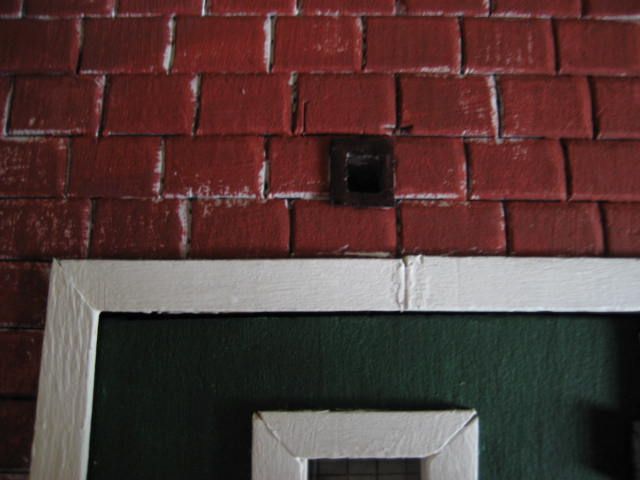 [/IMG]
I then cut two small termination blocks from the pieces I had left over from last night. Then they each got a coat of ash grey paint.
[IMG]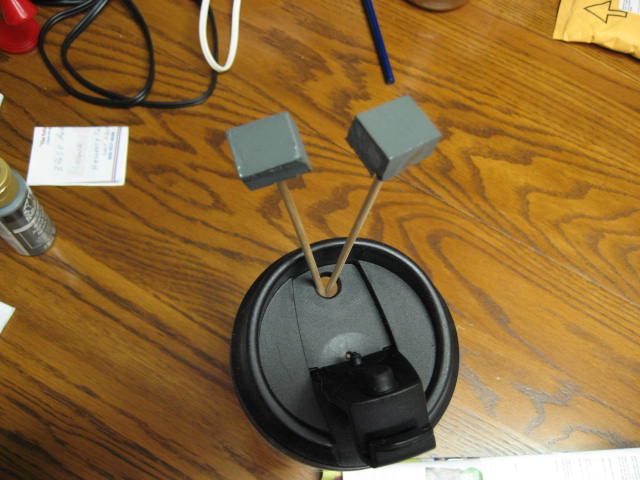 [/IMG]
Using the block of foam that at one time filled the window of dungeon diorama I etched a door panel into its face and painted it ash grey.
[IMG] [/IMG]
After gluing 1/4" dowel pins that I cut in half into position on the junction box and two termination boxes, I then started gluing the boxes into position and connecting the run of conduit.
[IMG]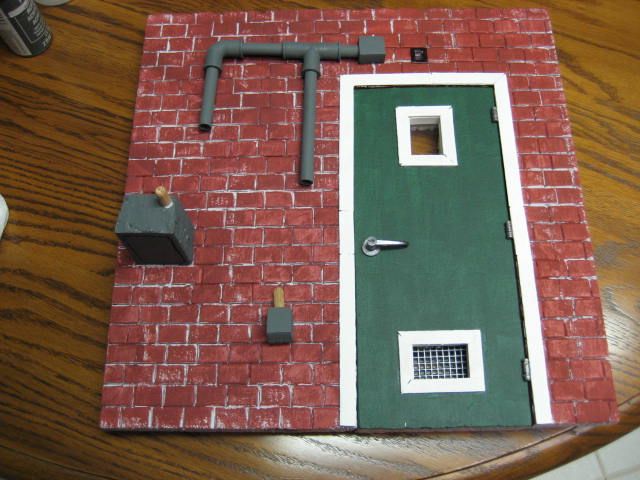 [/IMG]
I then glued a 1/4" slice of dowel rod onto a 1/2" wood disc and glued them to the face of the box to simulate a door buzzer button. I took two short lengths of model railroad electrical wire, ran them through the hole in the wall and then plugged them into the box above the door.
[IMG]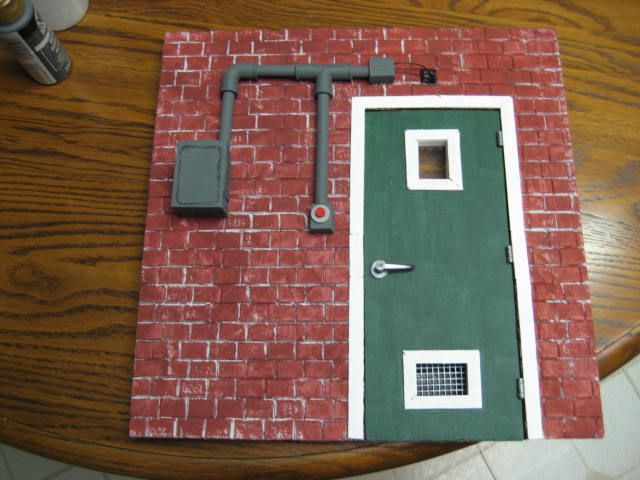 [/IMG]
Dollar Tree has these nifty little clip lights that look like they will make perfect lamps to position above the doors of this dio.
[IMG]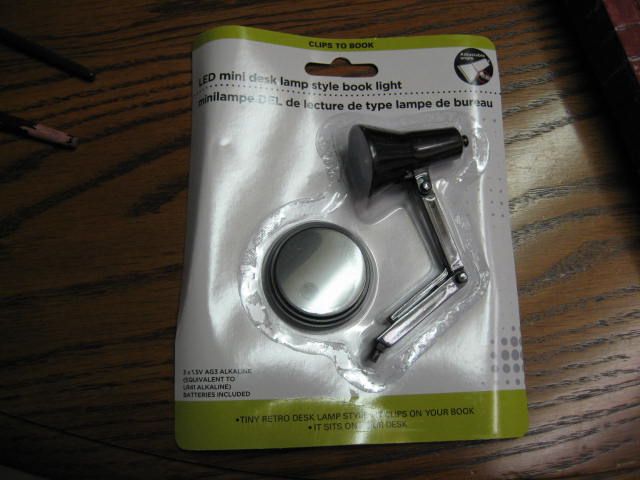 [/IMG]
After popping the pin to remove the section of arm with the clip, I slipped the lamp into the hole and then replaced the arm/pin on the back of the dio.
[IMG]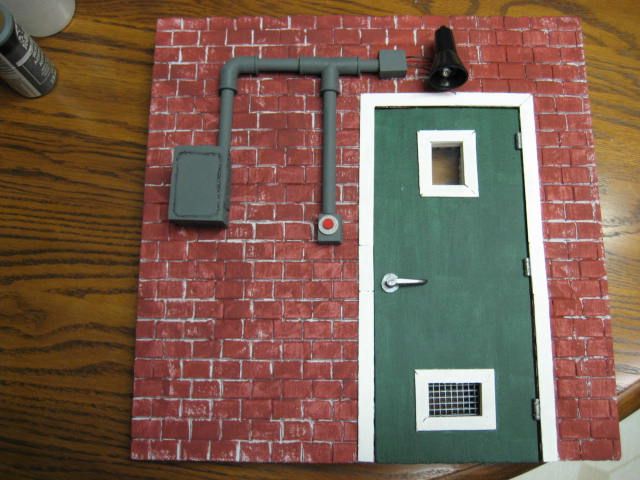 [/IMG]
And, how it now looks attached to the rest of the dio.
[IMG]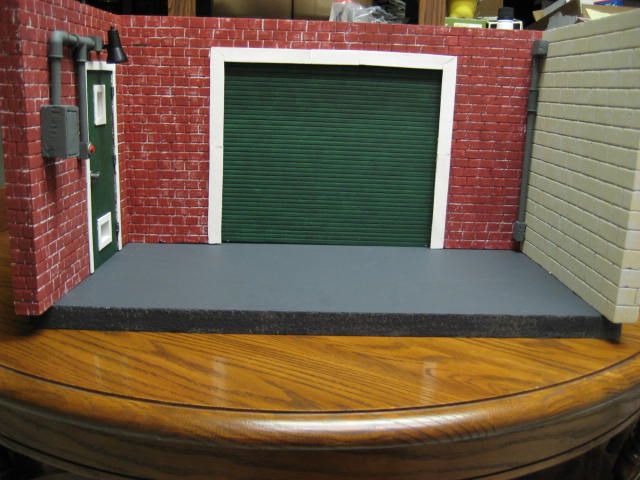 [/IMG]
A tighter shot of that corner.
[IMG]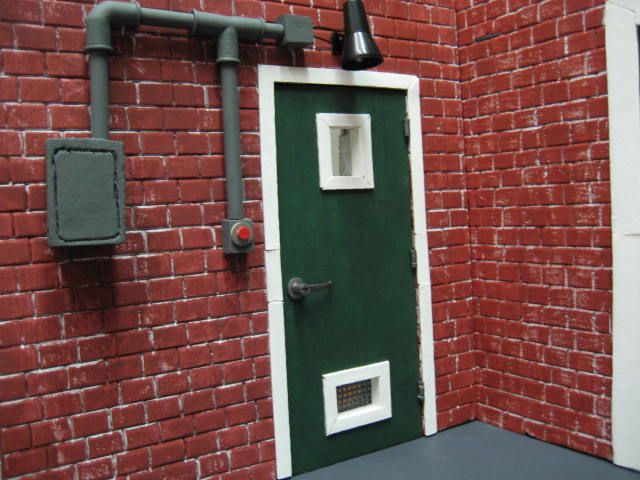 [/IMG]
And, a shot with just the lamp lighting up that corner of the dio.
[IMG]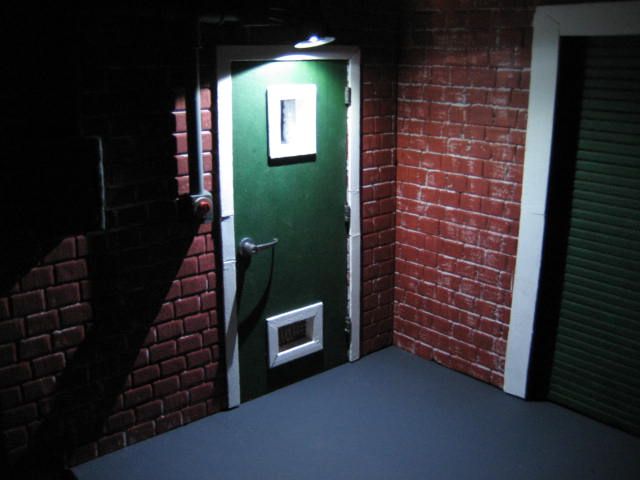 [/IMG]
Tomorrow I will dress up the back wall with another light and some more piping.Comment
-
A shot of a bad guy in the light and Batman over in the dark would be cool right about now.
CCC.Comment
-
It's starting to remind me of Type3Toys back alley, it's coming along great.Comment
-
wow!! great job"Time to nut up or shut up" -Tallahassee
http://ultimatewarriorcollection.webs.com/
 My stuff on facebook Incompatible Browser | Facebook
Comment
-
Day twelve: Tonight I started with the left over light frame from last night.
[IMG]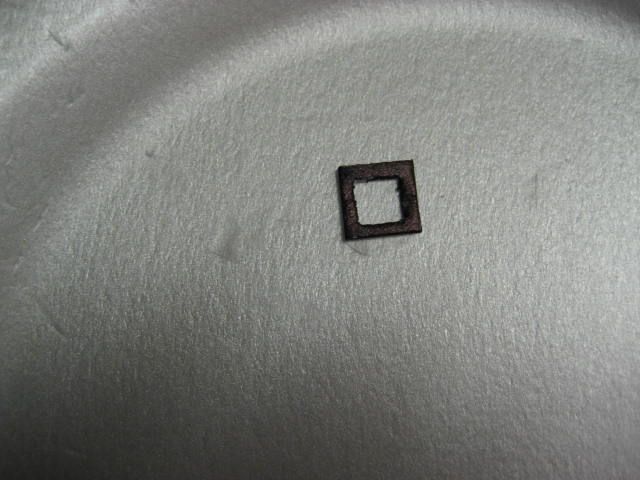 [/IMG]
Then after I marked the desired position of where the light would be mounted, I cut a 1/4" by 1/4" piece out of the back wall.
[IMG]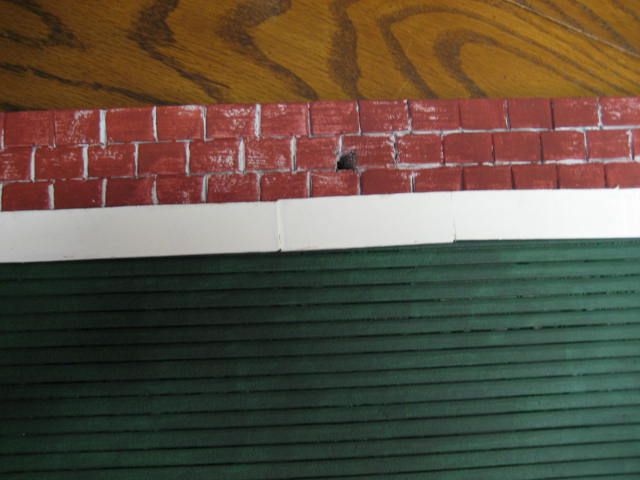 [/IMG]
Then I glued 2 halves of a 1/4" dowel pin to the two termination boxes that I painted ash grey.
[IMG]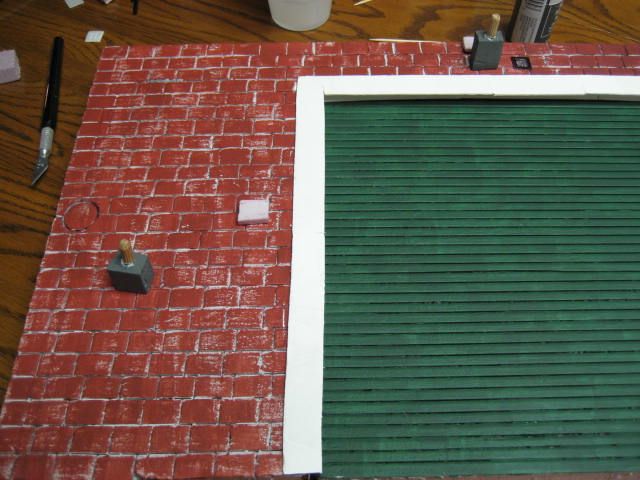 [/IMG]
After the glue on the dowel pins had dried I glued the termination boxes into position and then connected the run of conduit. I took a 1/2"x1/2" square of white foam and etched a tic tac toe grid pattern on it to simulate a keypad.
[IMG]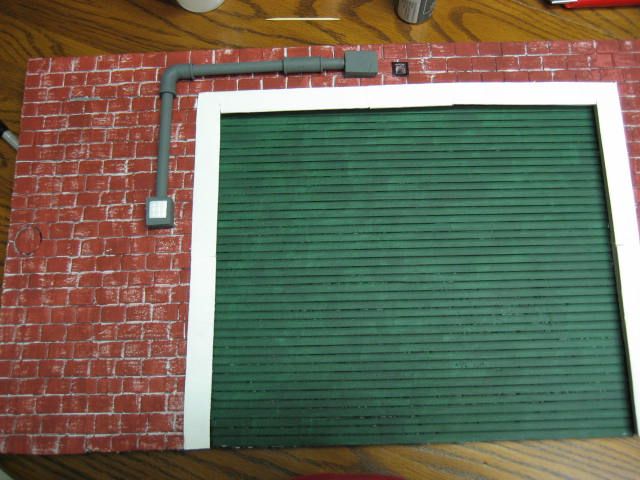 [/IMG]
I then ran two lengths of model railroad electrical wire from the termination box above the door and through the light mounting hole.
[IMG]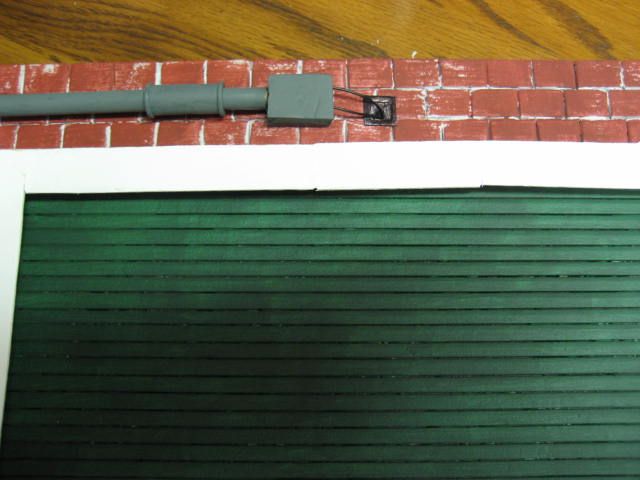 [/IMG]
Then I inserted the light through the hole.
[IMG]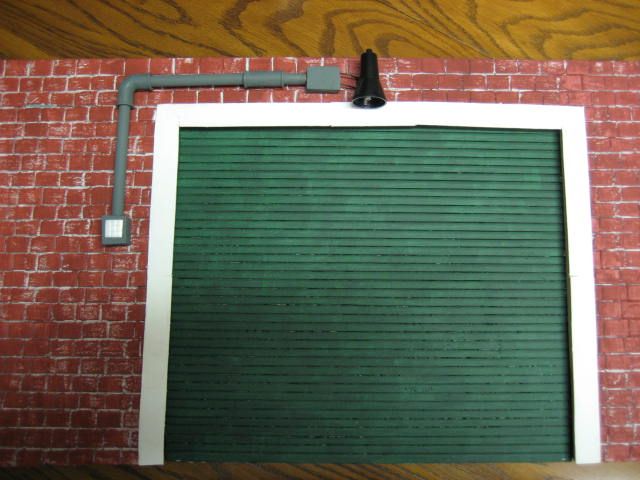 [/IMG]
And, here's how the dio looks with embellishments on all three walls.
[IMG]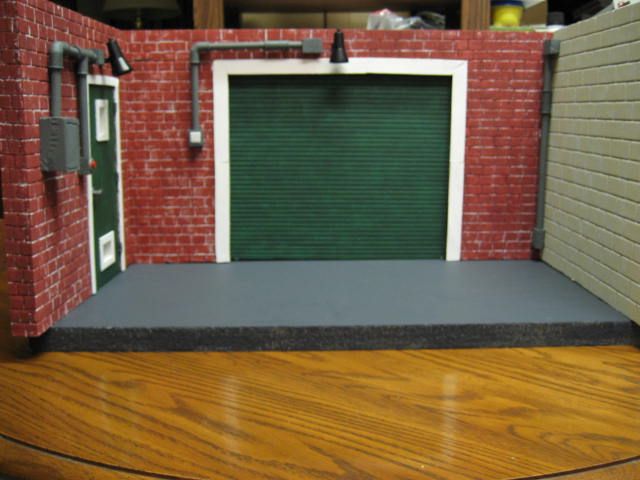 [/IMG]
And, a shot of how the lights illuminate the alley at night.
[IMG]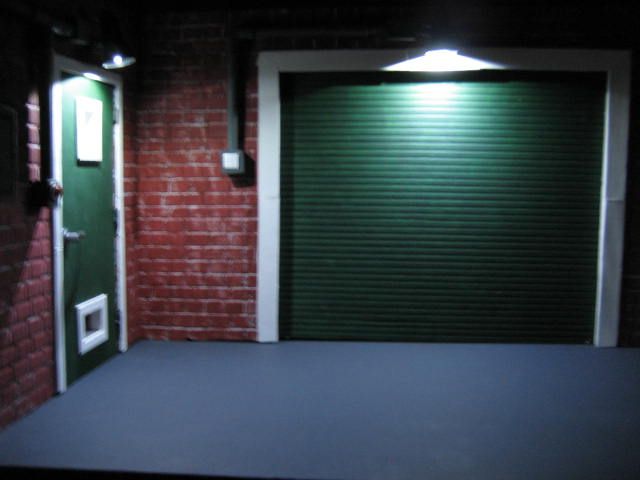 [/IMG]
At this point, I am considering this dio done. This weekend I will place some props and figures in it and take both day and night shots to post over in Finished Customs.
I would like to thank everyone that posted comments and questions in this thread. I hope this helps anyone wanting to make one of these as they are a lot of fun to plan and build. If anyone has further questions feel free to post them here or PM me.Comment
-
 Very awesome job!
Comment
-
Very impressive!!Comment
-
Breathtaking! Start to um...almost finish, it is as great piece and an informative tutorial.
Thanks for sharing this!Chalwa AKA The Pre-Crisis Chris
Chris' Blogs:
The Misadventures of Captain Blog
Comic Book Fanzines: Chain Letters for Disturbed Children
When I am grown to man's estate,
I shall be very proud and great.
And tell the other girls and boys,
not to meddle with my toys.
-Robert Louis StevensonComment
-
Holy crap,that is astounding!Comment
 Tweet
Tweet
 Sweet! I look forward to seeing what you build.


Comment