

 Tweet
Tweet
I have started making a new diorama and wanted to share pics of my progress on it.
So, after my first diorama I had one 24x12x12 piece of foam project board left so, I only needed to pick up a second 24x24 foam project board which I cut into two 24x12x12 pieces and then cut one of those into two 12x12 pieces. Then I traced and cut out the pockets for the magnets that I hot glued into place. The magnets provide excellent stability when assembling the walls.
[IMG]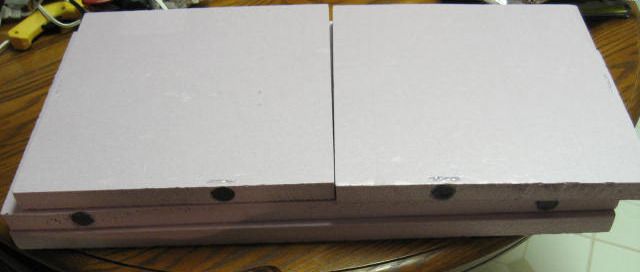 [/IMG]
[IMG]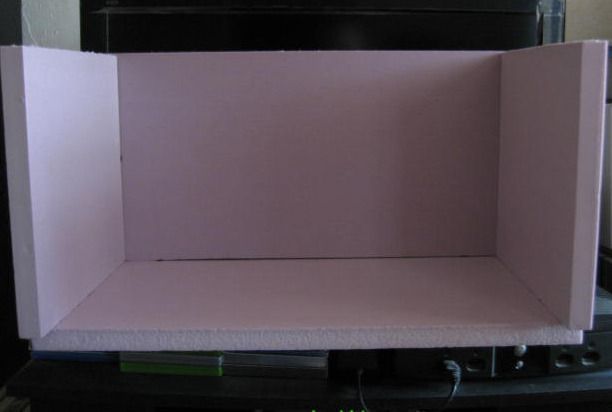 [/IMG]
[IMG] [/IMG]
Day two: After I got home from work I decided to layout the cinder block pattern on the side wall. Taking the real dimensions of a cinder block, 16"L x 8"H x 8"D, and converting them to Mego dimensions, 1 3/4"L x 3/4"H x 3/4"D, I measured and marked the perimeter of the wall then I drew the lines with my Exacto blade, using a metal straight edge as a guide.
[IMG]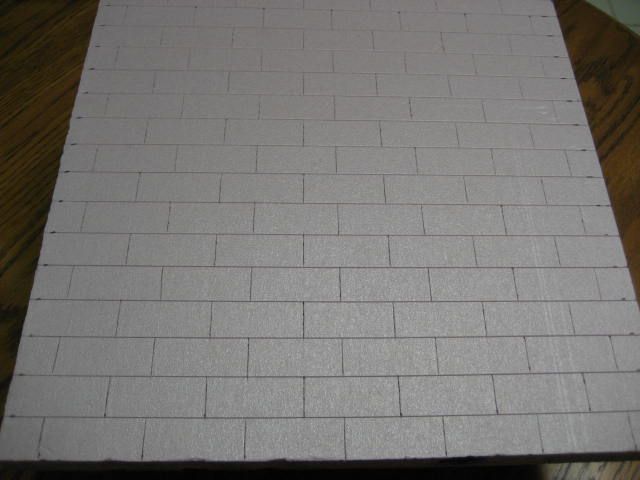 [/IMG]
After the initial line work was done I took a dead ball point pen and with a little applied pressure I traced the lines, adding definition to the blocks.
[IMG]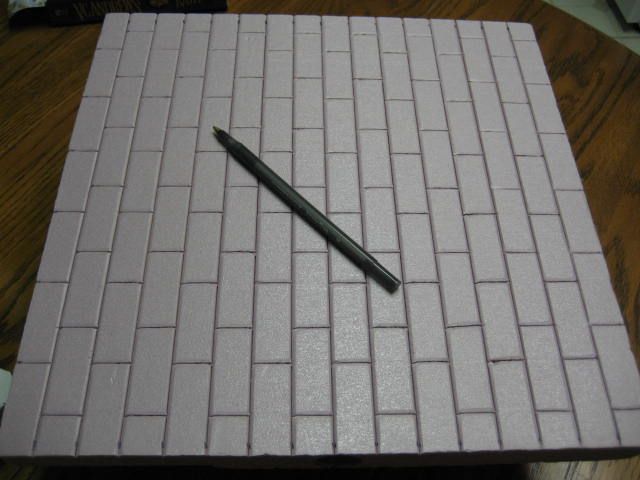 [/IMG]
Attaching it to the rest shows how this diorama is beginning to take shape.
[IMG]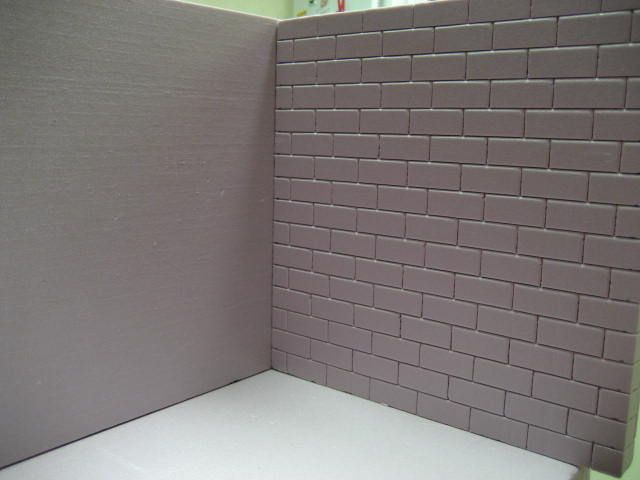 [/IMG]
Tomorrow, I plan to start the opposite wall, it will be a mason brick wall which will feature a tighter brick pattern. Also, I plan on featuring a door on that wall.
So, after my first diorama I had one 24x12x12 piece of foam project board left so, I only needed to pick up a second 24x24 foam project board which I cut into two 24x12x12 pieces and then cut one of those into two 12x12 pieces. Then I traced and cut out the pockets for the magnets that I hot glued into place. The magnets provide excellent stability when assembling the walls.
[IMG]
 [/IMG]
[IMG]
 [/IMG]
[IMG]
 [/IMG]
Day two: After I got home from work I decided to layout the cinder block pattern on the side wall. Taking the real dimensions of a cinder block, 16"L x 8"H x 8"D, and converting them to Mego dimensions, 1 3/4"L x 3/4"H x 3/4"D, I measured and marked the perimeter of the wall then I drew the lines with my Exacto blade, using a metal straight edge as a guide.
[IMG]
 [/IMG]
After the initial line work was done I took a dead ball point pen and with a little applied pressure I traced the lines, adding definition to the blocks.
[IMG]
 [/IMG]
Attaching it to the rest shows how this diorama is beginning to take shape.
[IMG]
 [/IMG]
Tomorrow, I plan to start the opposite wall, it will be a mason brick wall which will feature a tighter brick pattern. Also, I plan on featuring a door on that wall.


 for bringing that to my attention, it's often late when I write these updates and I get so caught up in describing the process I forget a detail or two.


Comment